Simple syrup – it sounds almost too simple, right? But let me tell you, this unassuming mixture of sugar and water is a baker’s secret weapon. It’s the magic touch that transforms ordinary cakes into moist, flavorful masterpieces. Whether you’re a seasoned pro or just starting your baking journey, learning how to make simple syrup will elevate your cakes to new heights.
Why Use Simple Syrup?
Before we dive into the how-to, let’s talk about the “why.” I remember the first time I brushed simple syrup onto a cake layer – I was skeptical. “Isn’t this just adding unnecessary sugar?” I thought. Oh, how wrong I was! Simple syrup does so much more than just sweeten.
Here’s the thing:
- Moisture Boost: Simple syrup adds moisture to your cakes, preventing them from drying out. This is especially crucial for layer cakes, which can sometimes be dry, especially if they’ve been frozen.
- Flavor Infusion: Simple syrup is like a blank canvas for flavor! You can infuse it with extracts, liqueurs, herbs, or spices to create unique and delicious flavor combinations that complement your cake.
- Enhanced Texture: Brushing your cake layers with simple syrup helps to create a tender, melt-in-your-mouth texture.
Simple Syrup Ingredients:
- 1 cup granulated sugar (I prefer cane sugar for its subtle molasses flavor, but regular white sugar works too!)
- 1 cup water (Filtered or bottled water will give you the purest flavor.)
Equipment You’ll Need:
- Small saucepan
- Whisk
- Heatproof bowl (for cooling)
- Pastry brush (for applying the syrup)
Instructions:
- Combine and Heat: In your saucepan, combine the sugar and water. Place the pan over medium heat and whisk constantly until the sugar dissolves completely.
- Simmer Gently: Once the sugar has dissolved, bring the mixture to a gentle simmer. Reduce the heat to low and let it simmer for about 5 minutes without stirring. This allows the syrup to thicken slightly.
- Cool Completely: Remove the pan from the heat and transfer the syrup to a heatproof bowl. Allow it to cool completely before using.
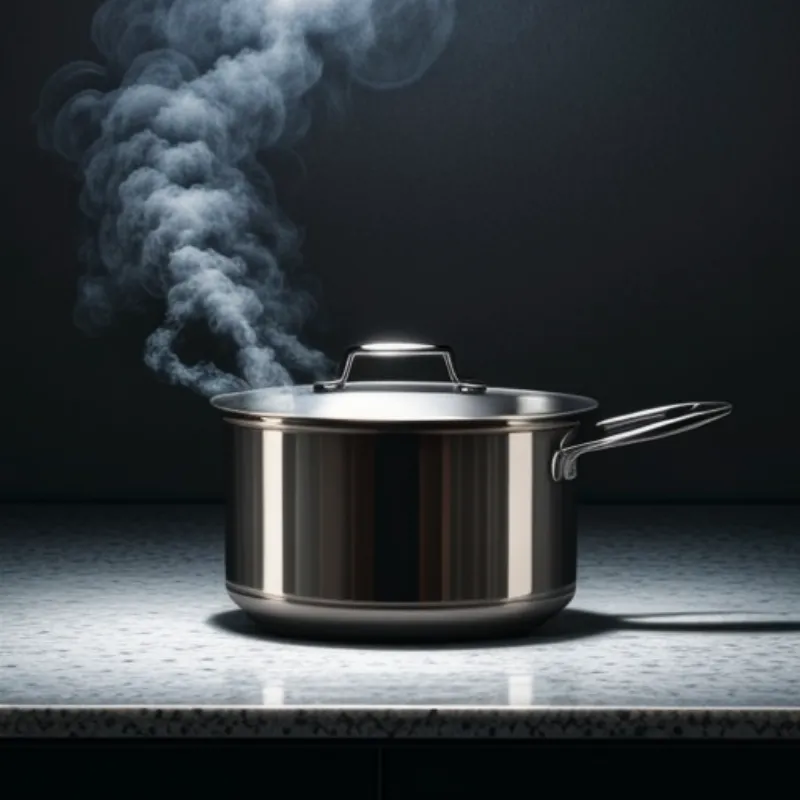
 Simple syrup simmering on stove
Tips & Tricks for the Best Simple Syrup:
- Flavor Infusion: Once the syrup has cooled, you can stir in your favorite extracts, liqueurs, or spices. Try vanilla extract, almond extract, coffee liqueur, or even a cinnamon stick!
- Storage: Store any leftover simple syrup in an airtight container in the refrigerator for up to 2 weeks.
- Reheating: If your syrup becomes too thick, simply reheat it gently on the stovetop or in the microwave.
FAQs:
- Can I make simple syrup ahead of time? Absolutely! In fact, I recommend making it a day or two in advance to allow the flavors to meld.
- What kind of cakes can I use simple syrup on? Simple syrup is fantastic for any type of cake, but it’s especially beneficial for layer cakes, sponge cakes, and Bundt cakes.
- How much syrup should I use? A little goes a long way! Start with a light brush and add more if desired. You don’t want to soak the cake, just moisten it.
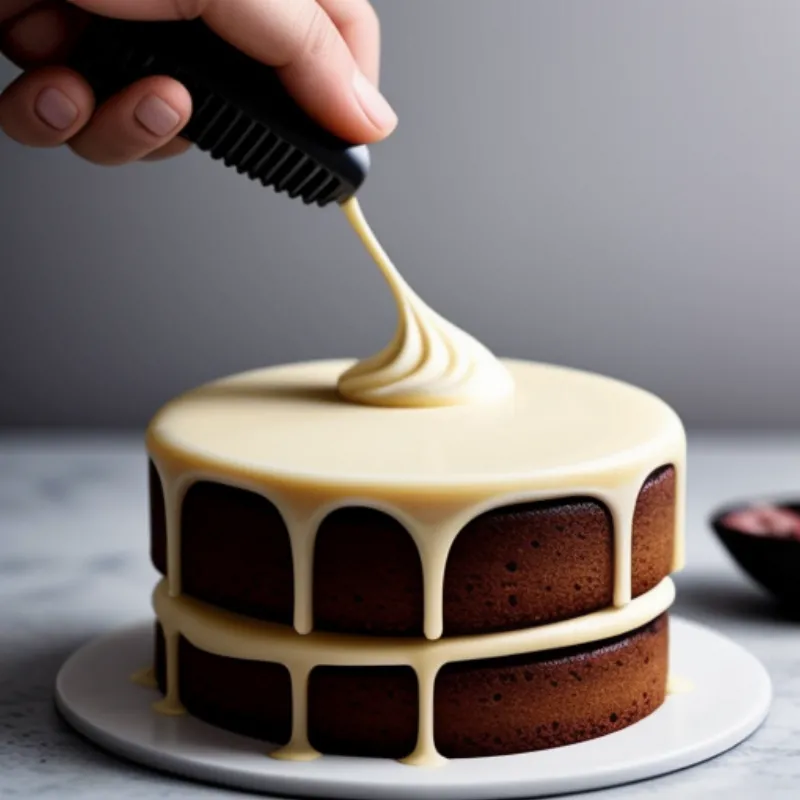
 Cake layers being brushed with simple syrup
Conclusion:
There you have it – simple syrup, demystified! It’s a simple technique that yields incredible results. Give it a try in your next cake recipe, and prepare to be amazed at the difference it makes!
Happy baking!
