Alopikos, meaning “fox bread” in Greek, might sound exotic, but it’s a surprisingly simple flatbread that’s perfect for busy weeknights or impromptu gatherings. Imagine sinking your teeth into a warm, slightly chewy flatbread with a crispy golden crust, the aroma of olive oil and herbs filling your kitchen. That’s the magic of alopikos!
This recipe will guide you through each step, ensuring your alopikos turns out fluffy and flavorful every time. Let’s bring a touch of the Mediterranean to your table!
Ingredients You’ll Need:
- 2 cups all-purpose flour (you can also use bread flour for a chewier texture)
- 1 teaspoon instant dry yeast
- 1 teaspoon sugar
- 1 teaspoon salt
- 1/2 cup warm water
- 1/4 cup olive oil, plus extra for brushing
- 2 tablespoons chopped fresh oregano (or 1 tablespoon dried oregano)
- 1 tablespoon sesame seeds (optional, for sprinkling)
Tools of the Trade:
- Large mixing bowl
- Measuring cups and spoons
- Plastic wrap or a clean kitchen towel
- Rolling pin
- Baking sheet
Let’s Get Baking!
-
Activate the Yeast: In your mixing bowl, combine the warm water, sugar, and yeast. Give it a gentle stir and let it sit for about 5-10 minutes until the mixture becomes foamy on top. This means the yeast is active and ready to work its magic!
-
Combine Dry Ingredients: In a separate bowl, whisk together the flour and salt.
-
Form the Dough: Make a well in the center of the dry ingredients and pour in the yeast mixture and olive oil. Using a wooden spoon or your hands, gradually incorporate the dry ingredients into the wet ingredients until a shaggy dough forms.
-
Knead to Perfection: Turn the dough out onto a lightly floured surface and knead for about 5-7 minutes, or until it becomes smooth and elastic. If the dough feels too sticky, add a tablespoon of flour at a time until it’s manageable.
-
First Rise: Shape the dough into a ball and place it back in the mixing bowl lightly coated with olive oil. Cover the bowl with plastic wrap or a kitchen towel and let the dough rise in a warm place for about an hour, or until it has doubled in size.
-
Punch and Shape: Gently punch down the risen dough to release any air bubbles. Divide the dough into 4 equal portions and roll each portion into a thin circle or oval, about 1/4 inch thick.
-
Second Rise: Place the shaped alopikos on a baking sheet lined with parchment paper. Cover them loosely with a clean kitchen towel and let them rise for another 20-30 minutes.
-
Prepare for Baking: Preheat your oven to 450°F (230°C).
-
Create the Signature Dimples: Brush the alopikos with olive oil and use your fingertips to create dimples all over the surface. Sprinkle with oregano and sesame seeds, if desired.
-
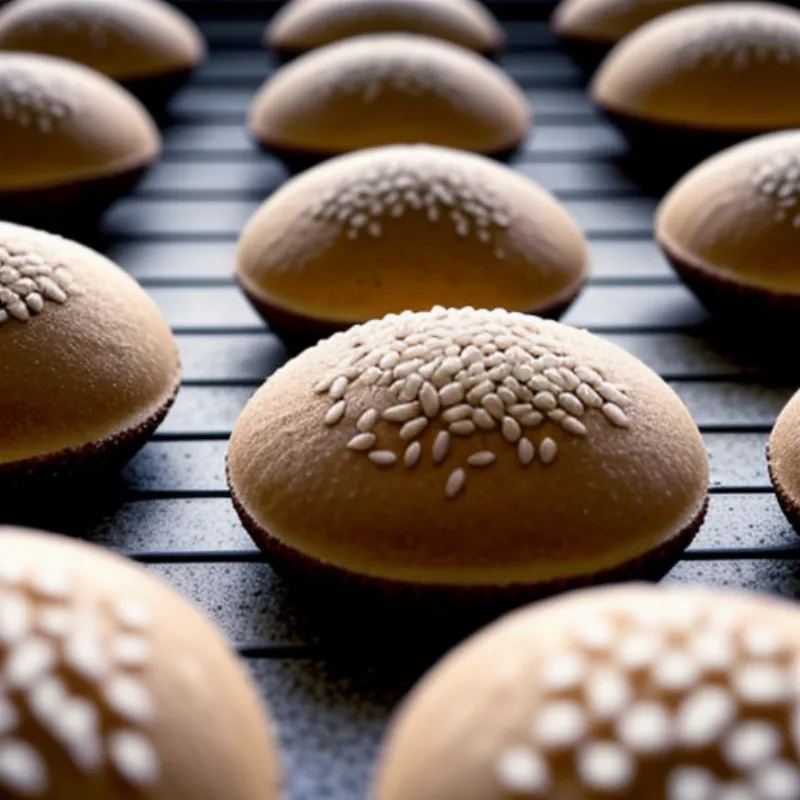
Bake to Golden Perfection: Bake for 12-15 minutes, or until the alopikos are golden brown and sound hollow when tapped on the bottom.
-
Cool and Enjoy: Remove from the oven and let the alopikos cool slightly on a wire rack before serving.
 Alopikos fresh from the oven
Tips and Tricks for Alopikos Success:
- Warm Water is Key: Make sure your water is lukewarm, not too hot or too cold, to activate the yeast properly.
- Don’t Overknead: Kneading is essential but avoid overdoing it, as it can result in tough flatbreads.
- Adjust Rising Time: The rising time may vary depending on the temperature of your kitchen. Be patient and let the dough rise until doubled in size.
- Experiment with Flavors: Feel free to get creative with the toppings! You can add different herbs, spices, garlic, or even cheese to your alopikos.
FAQs about Making Alopikos:
Q: Can I make alopikos ahead of time?
A: Absolutely! You can store leftover alopikos in an airtight container at room temperature for a day or two. Reheat them in a warm oven or on a griddle before serving.
Q: What can I serve with alopikos?
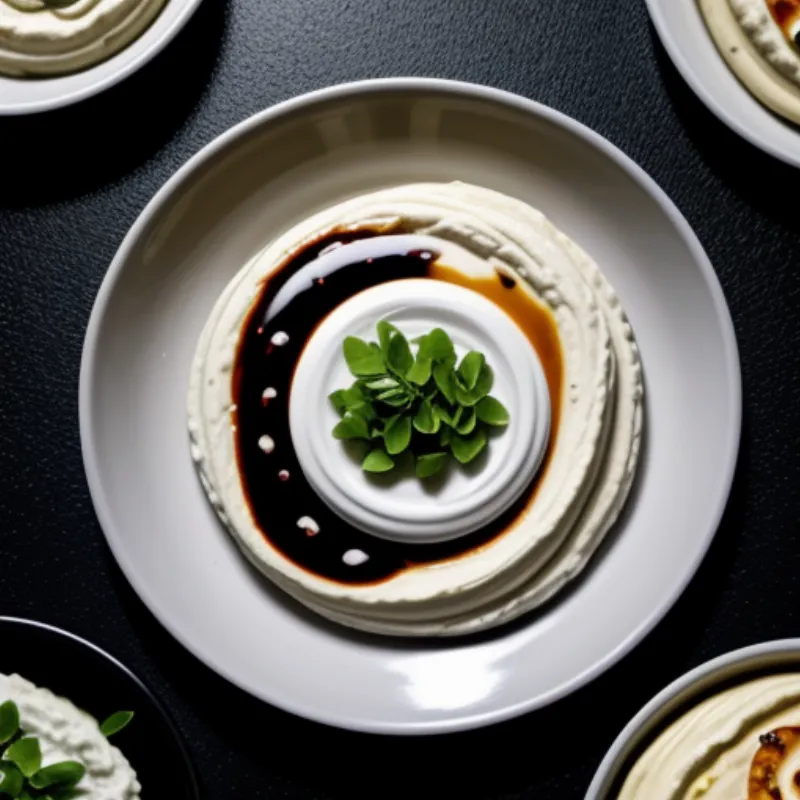
A: Alopikos is incredibly versatile! They are delicious on their own, dipped in olive oil and balsamic vinegar, or served alongside hummus, tzatziki, grilled meats, or salads.
 Alopikos with dips
A Taste of Greece in Every Bite
Making alopikos is easier than you think, and the results are incredibly rewarding. So why not gather your ingredients and embark on this culinary adventure? You’ll be amazed at how a few simple ingredients can transport you to the sun-kissed shores of Greece. Don’t forget to share your baking triumphs with us in the comments below!
We’d love to hear about your alopikos adventures! Share your photos and experiences on social media and tag #FamilyCuisine. Happy baking!
