Amazake, often called “sweet sake,” is a traditional Japanese drink with a delightful, naturally sweet flavor. Despite its name, it’s actually non-alcoholic and enjoyed by people of all ages in Japan. This creamy, comforting beverage is surprisingly easy to make at home, requiring just two simple ingredients.
Intrigued? Let’s dive into the world of amazake and discover how you can whip up a batch in your own kitchen.
Understanding Amazake: A Glimpse into Its History and Flavors
Before we get cooking, let’s take a quick journey back in time. Amazake has been around for centuries, with roots dating back to the Kofun period (300-538 AD). It was traditionally made during the winter months and enjoyed as a warming drink, often served during festivals and special occasions.
The beauty of amazake lies in its simplicity. Its sweetness comes naturally from the fermentation process, which breaks down the rice starches into sugars. This results in a subtly sweet, almost honey-like flavor that’s both satisfying and refreshing.
Making Your Own Amazake: A Step-by-Step Guide
Ready to experience the magic of amazake? Here’s what you’ll need:
Ingredients:
- Short-grain rice (glutinous rice): 1 cup (This type of rice, also known as sushi rice, gives amazake its characteristic creamy texture)
- Koji (rice inoculated with koji mold): 1 cup (Koji is the key ingredient that works its magic to convert the rice starches into sugars. You can find it online or at Asian grocery stores)
- Water: 4 cups (You’ll need extra water later for adjusting the consistency)
Equipment:
- Rice cooker: (While not strictly necessary, a rice cooker makes the process incredibly easy)
- Large pot: (If you don’t have a rice cooker)
- Thermometer: (To monitor the temperature during fermentation)
- Cheesecloth: (For straining the amazake)
- Large bowl: (For mixing and fermenting)
Instructions:
- Cook the rice: Rinse the rice thoroughly until the water runs clear. Cook the rice according to your rice cooker’s instructions or in a pot on the stovetop.
- Cool the rice: Once cooked, spread the rice out on a large plate or baking sheet to cool it down to around 100°F (38°C).
- Combine the ingredients: Transfer the cooled rice to a large bowl and crumble the koji over it. Mix well with clean hands.
- Ferment the mixture: Add 4 cups of warm water (around 100°F) to the rice and koji mixture. Stir well to combine.
- Maintain the temperature: Cover the bowl with a clean kitchen towel and place it in a warm spot (around 140°F or 60°C) for 8-12 hours. You can use a yogurt maker, a warm oven (with the light on), or simply find a warm spot in your kitchen. Check the temperature regularly and adjust as needed.
- Check for sweetness: After 8 hours, taste the amazake. It should have a pleasantly sweet flavor. If it’s not sweet enough, continue fermenting for a few more hours.
- Strain the amazake: Once the desired sweetness is achieved, line a large bowl with cheesecloth and pour the fermented mixture through it. Gently squeeze the cheesecloth to extract all the liquid.
- Adjust the consistency: You can enjoy amazake as is, or thin it out with additional warm water to your liking.
Tips and Tricks for Amazing Amazake:
- Koji quality: Using fresh, high-quality koji is crucial for a successful fermentation. Look for koji that has a pleasant aroma and a slightly sweet taste.
- Temperature control: Maintaining a consistent temperature during fermentation is key to achieving the right sweetness and texture. Invest in a thermometer if you plan to make amazake regularly.
- Don’t over-ferment: While a slightly tangy flavor is normal, over-fermenting can result in a sour taste. Keep a close eye on your amazake and stop the fermentation process once the desired sweetness is reached.
Serving Suggestions:
Amazake can be enjoyed warm or chilled. Here are some delicious ways to savor this versatile drink:
- Traditional: Serve warm in a small cup as a comforting and digestive drink.
- Refreshing treat: Chill the amazake and enjoy it as a refreshing beverage on a hot day.
- Breakfast bowl: Add a dollop of yogurt, fresh fruit, and granola for a nourishing breakfast.
- Smoothie base: Blend amazake with your favorite fruits and vegetables for a healthy and flavorful smoothie.
FAQs:
Q: Can I make amazake without a rice cooker?
A: Absolutely! You can cook the rice on the stovetop using a pot and lid. Just make sure to rinse the rice thoroughly and cook it according to the package instructions.
Q: I don’t have cheesecloth. What can I use instead?
A: A fine-mesh sieve or a clean, thin kitchen towel can be used as substitutes for cheesecloth.
Q: How long can I store amazake?
A: Freshly made amazake can be stored in an airtight container in the refrigerator for up to 5 days.
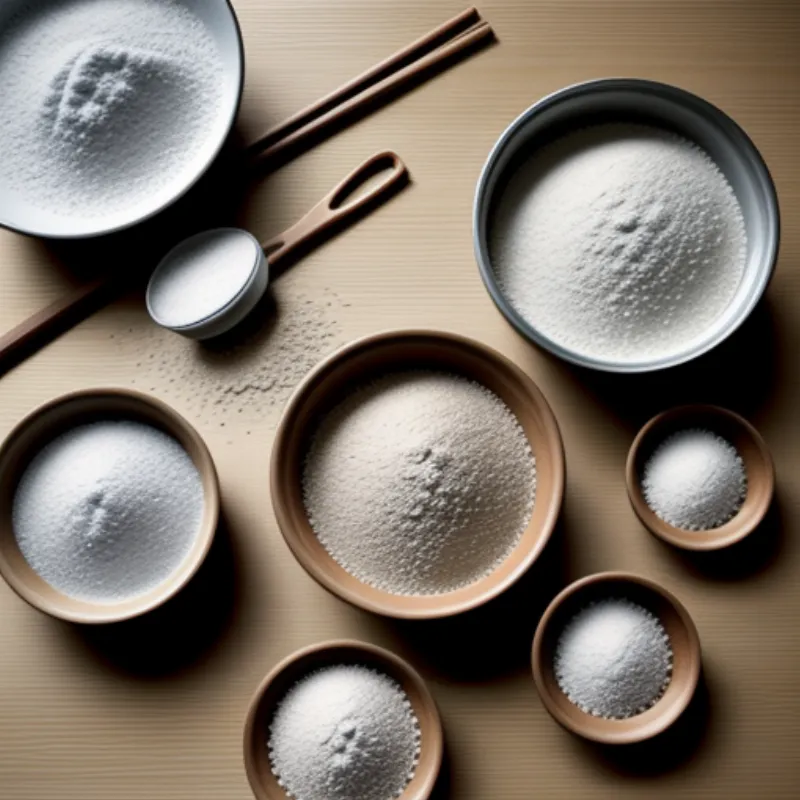
 Amazake Ingredients
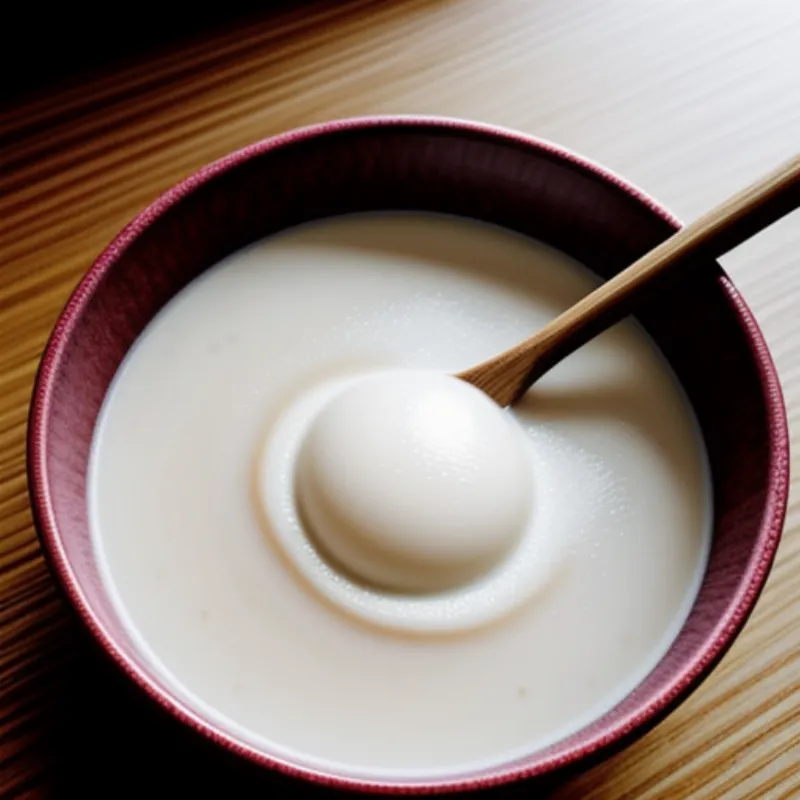
 Cooked Amazake in a Bowl
Embark on Your Amazake Adventure
Making your own amazake is a rewarding experience that allows you to connect with Japanese culinary traditions and enjoy the natural sweetness of fermented foods. So go ahead, grab your ingredients, and embark on your amazake adventure! Your taste buds will thank you.
