Arnott’s biscuits – the name alone evokes a sense of cozy nostalgia, bringing back memories of childhood tea parties and shared moments of simple joy. These iconic Australian treats have a special place in many hearts, and while nothing quite compares to the original, recreating them in your own kitchen is a fun and rewarding experience.
This guide will walk you through the steps to make your own batch of homemade Arnott’s-inspired biscuits, filling your home with the irresistible aroma of freshly baked goodness. Whether you’re a seasoned baker or just starting out, we’ll provide tips and tricks to ensure your biscuits turn out perfectly golden and delicious.
Gathering Your Ingredients and Tools
Before we embark on our biscuit-making adventure, let’s gather everything we need. The beauty of this recipe lies in its simplicity, requiring pantry staples you likely already have on hand.
Ingredients:
- 1 cup (2 sticks) unsalted butter, softened
- 1/2 cup granulated sugar
- 1 teaspoon vanilla extract
- 2 1/4 cups all-purpose flour
- 1/4 teaspoon salt
Tools:
- Mixing bowls
- Electric mixer (optional, but helpful)
- Measuring cups and spoons
- Rolling pin
- Cookie cutters
- Baking sheet
- Parchment paper
Time to Bake: A Step-by-Step Guide
Now comes the fun part – let’s transform these simple ingredients into irresistible biscuits.
1. Creaming the Butter and Sugar: The Foundation of Flavor
In a large bowl, beat together the softened butter and sugar until the mixture is light and fluffy. This step is crucial for creating a tender and melt-in-your-mouth texture. I remember my grandmother emphasizing the importance of this step, saying, “Cream the butter and sugar until you can’t feel the sugar granules anymore.”
2. Adding Flavor and Flour: Building the Dough
Stir in the vanilla extract, allowing its warm, fragrant notes to infuse the dough. Gradually add the flour and salt, mixing until just combined. Be careful not to overmix, as this can lead to tough biscuits.
3. Chilling for Optimal Texture: A Moment of Rest
Form the dough into a disc, wrap it tightly in plastic wrap, and refrigerate for at least 30 minutes. This chilling period allows the gluten in the flour to relax, preventing the biscuits from shrinking excessively during baking and ensuring a wonderfully tender crumb.
4. Rolling and Cutting: Shaping Your Biscuits
Preheat your oven to 350°F (175°C) and line a baking sheet with parchment paper. On a lightly floured surface, roll out the dough to about 1/4-inch thickness. Use your favorite cookie cutters to create shapes that spark joy – from classic rounds to whimsical animals, the possibilities are endless!
5. Baking to Golden Perfection: The Final Transformation
Carefully transfer the cut-out biscuits to the prepared baking sheet, leaving a little space between each one. Bake for 10-12 minutes, or until the edges turn a light golden brown. Keep a close eye on them towards the end of the baking time, as ovens can vary.
6. Cooling and Enjoying: The Moment We’ve Been Waiting For
Once baked, allow the biscuits to cool completely on the baking sheet before serving. This allows them to firm up and develop their signature crispness.
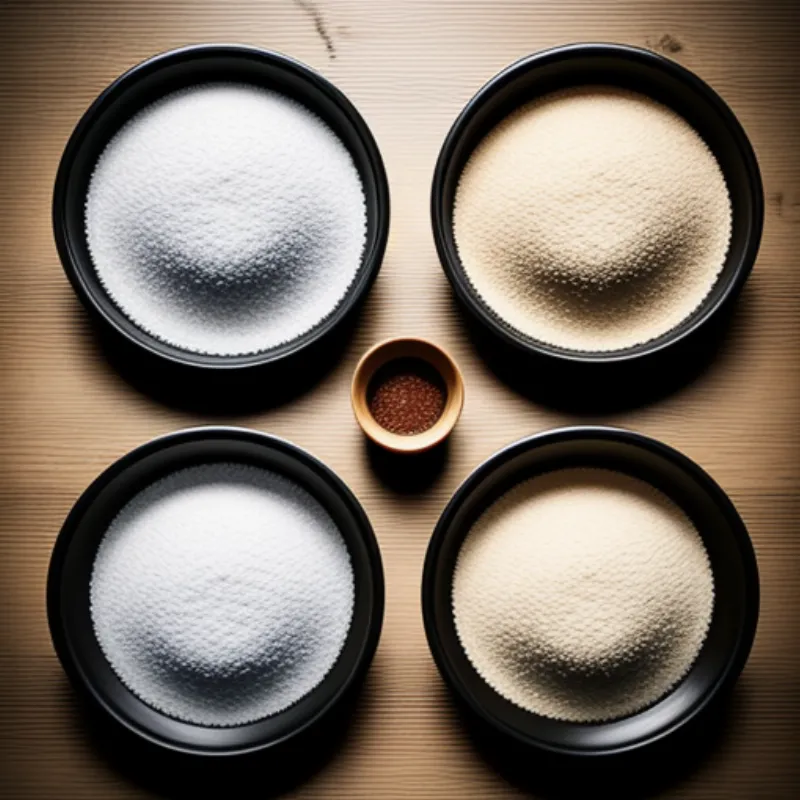
 Arnott's Biscuits Ingredients
Tips for Biscuit-Baking Success
- Butter Temperature is Key: Ensure your butter is softened to room temperature for optimal creaminess. Cold butter won’t incorporate properly with the sugar, while overly soft butter can result in flat biscuits.
- Don’t Overmix the Dough: Overmixing develops gluten, leading to tougher biscuits. Mix the dough until it just comes together.
- Experiment with Flavors: Get creative! Add a pinch of cinnamon to the dough or sprinkle the unbaked biscuits with coarse sugar for added sweetness and crunch.
FAQs: Answering Your Biscuit-Baking Questions
Q: Can I use salted butter instead of unsalted?
A: Yes, you can use salted butter, but omit the added salt in the recipe.
Q: Can I freeze the biscuit dough?
A: Absolutely! The dough can be frozen for up to 3 months. Thaw it overnight in the refrigerator before rolling and baking.
 Arnott's Biscuits Baking
Conclusion: A Taste of Homemade Goodness
Congratulations! You’ve successfully created a batch of homemade Arnott’s-inspired biscuits. The aroma filling your kitchen is a testament to your baking prowess. These golden treats are best enjoyed with a hot cup of tea or coffee, shared with loved ones, and savored with every bite. So go ahead, indulge in the simple pleasure of homemade goodness and create new memories with every crumb.
