There’s something truly magical about a slice of Aunt Julia’s poppy seed cake. The aroma alone is enough to transport you back to childhood, to cozy afternoons spent in her warm kitchen. This cake is the stuff of legends in our family, famous for its tender crumb, delicate sweetness, and the satisfying crunch of poppy seeds in every bite.
Today, I’m thrilled to share her secret recipe with you. It’s easier than you might think to recreate this bakery-worthy treat in your own kitchen. Whether you’re a seasoned baker or just starting out, this guide will walk you through each step to ensure your poppy seed cake turns out absolutely perfect. Get ready for a taste of nostalgia and a whole lot of deliciousness!
Ingredients You’ll Need
For this recipe, you’ll want to gather the following ingredients. Using high-quality ingredients will make all the difference in the final flavor, so don’t be afraid to splurge a little!
For the Cake:
- 1 cup (2 sticks) unsalted butter, softened
- 1 ¾ cups granulated sugar
- 4 large eggs
- 3 cups all-purpose flour
- 2 teaspoons baking powder
- ½ teaspoon salt
- 1 cup whole milk
- 1 teaspoon vanilla extract
- ¾ cup poppy seeds
For the Glaze:
- 3 cups powdered sugar
- ¼ cup milk
- 1 tablespoon melted butter
- 1 teaspoon vanilla extract
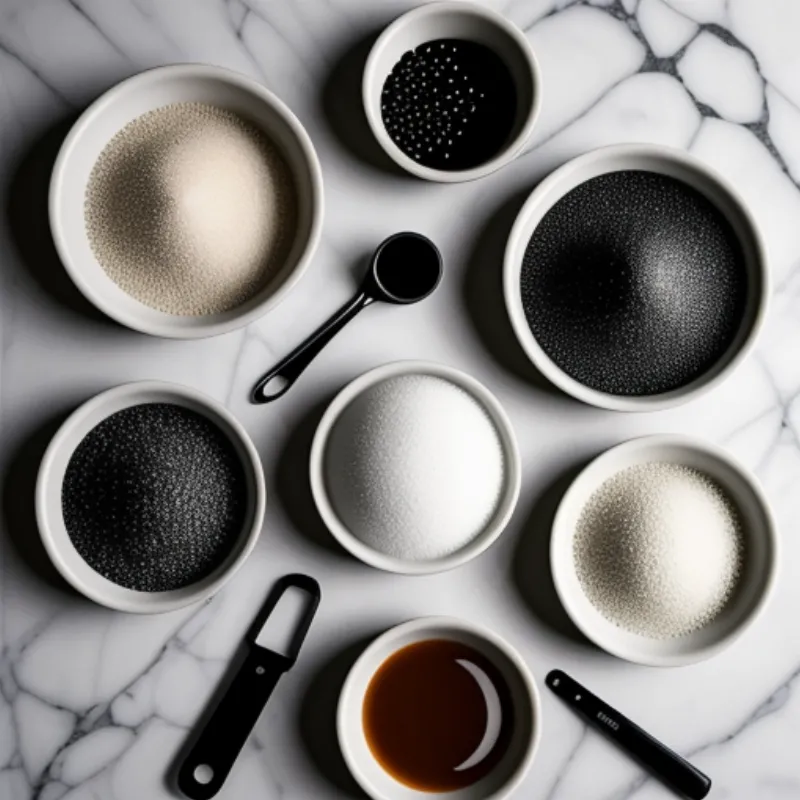
 Aunt Julia's Poppy Seed Cake Ingredients
Tools of the Trade
Before we dive in, let’s make sure you have the right tools on hand:
- Two 9-inch round cake pans
- Parchment paper
- Electric mixer
- Mixing bowls (various sizes)
- Measuring cups and spoons
- Rubber spatula
- Whisk
- Toothpick or cake tester
- Wire rack
Let’s Get Baking!
Now comes the fun part – let’s turn these simple ingredients into a cake that’s sure to impress:
Step 1: Prep the Pans
Preheat your oven to 350°F (175°C). Grease and flour your cake pans. To prevent sticking, line the bottoms with parchment paper. This ensures your cake layers will come out cleanly.
Step 2: Combine the Dry Ingredients
In a large bowl, whisk together the flour, baking powder, and salt. Set aside. This helps to evenly distribute the leavening agents for a cake that rises beautifully.
Step 3: Cream the Butter and Sugar
In a separate large bowl, cream together the softened butter and sugar using an electric mixer on medium speed. Beat until the mixture is light and fluffy, about 3-4 minutes.
Step 4: Incorporate the Eggs
Add the eggs one at a time, beating well after each addition. Scrape down the sides of the bowl as needed to ensure everything is incorporated evenly.
Step 5: Alternate Wet and Dry Ingredients
Gradually add the dry ingredients to the wet ingredients, alternating with the milk and beginning and ending with the dry ingredients. Mix on low speed just until combined. Be careful not to overmix!
Step 6: Fold in the Poppy Seeds and Vanilla
Stir in the vanilla extract and poppy seeds using a rubber spatula. Make sure the poppy seeds are distributed evenly throughout the batter.
Step 7: Bake to Perfection
Divide the batter evenly between the prepared cake pans. Bake for 30-35 minutes, or until a wooden toothpick inserted into the center comes out clean.
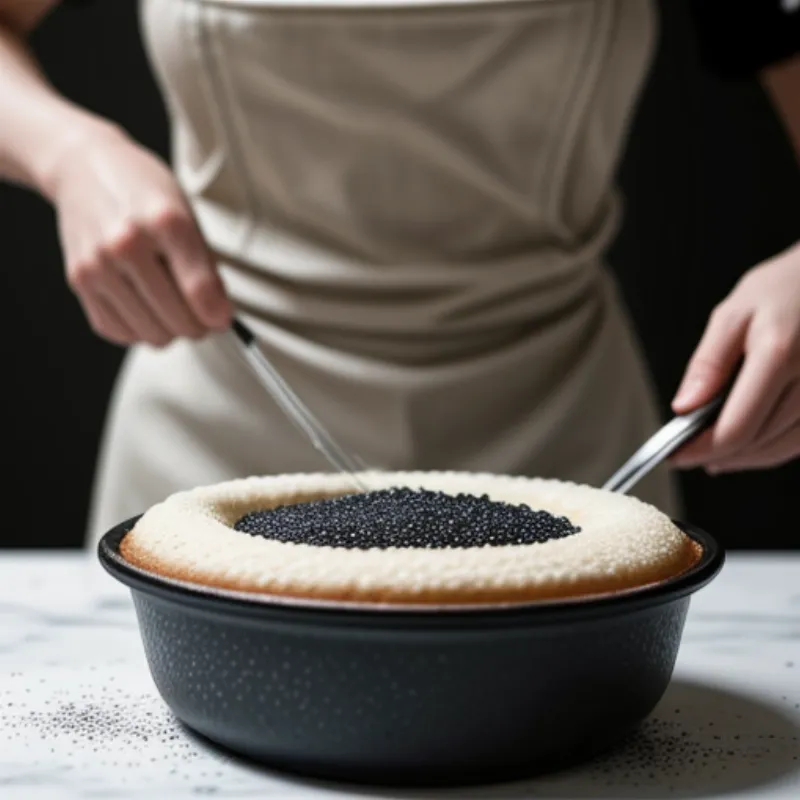
 Pouring Batter for Poppy Seed Cake
Step 8: Cool Completely
Once baked, let the cakes cool in the pans for 10 minutes before inverting them onto a wire rack to cool completely. Cooling the cakes completely prevents the glaze from melting and ensures clean slices.
Step 9: Make the Glaze
While the cakes are cooling, prepare the glaze. Whisk together the powdered sugar, milk, melted butter, and vanilla extract until smooth and free of lumps.
Step 10: Assemble and Enjoy!
Once the cakes have cooled completely, frost the bottom layer with half of the glaze. Top with the second cake layer and frost with the remaining glaze.
Tips and Tricks for Success
- Room Temperature Ingredients: Using room temperature ingredients, especially the butter and eggs, will help them emulsify better, resulting in a smoother, more homogenous batter.
- Don’t Overmix: Overmixing the batter can lead to a tough cake. Mix only until the ingredients are just combined.
- Toothpick Test: The toothpick test is the most reliable way to check for doneness. If it comes out with a few moist crumbs attached, the cake is done. If it comes out wet, it needs a few more minutes.
- Glaze Consistency: The glaze should be thick but pourable. If it’s too thick, add a teaspoon of milk at a time until it reaches the desired consistency. If it’s too thin, add more powdered sugar, a tablespoon at a time.
FAQs about Poppy Seed Cake
Q: Can I substitute the all-purpose flour with a gluten-free alternative?
A: Absolutely! You can use a 1:1 gluten-free baking flour blend for a delicious gluten-free version of this cake.
Q: Can I freeze poppy seed cake?
A: Yes, you can freeze this cake either unfrosted or frosted. Wrap it tightly in plastic wrap and then again in aluminum foil. It will keep well in the freezer for up to 2 months.
A Final Word
Aunt Julia’s poppy seed cake is more than just a dessert; it’s a taste of home, family, and love. By following this recipe, you’ll be able to recreate these cherished memories in your own kitchen and share them with the people you love most.
We’d love to hear about your baking adventures! Share your experience making Aunt Julia’s poppy seed cake by leaving a comment below. Happy baking!
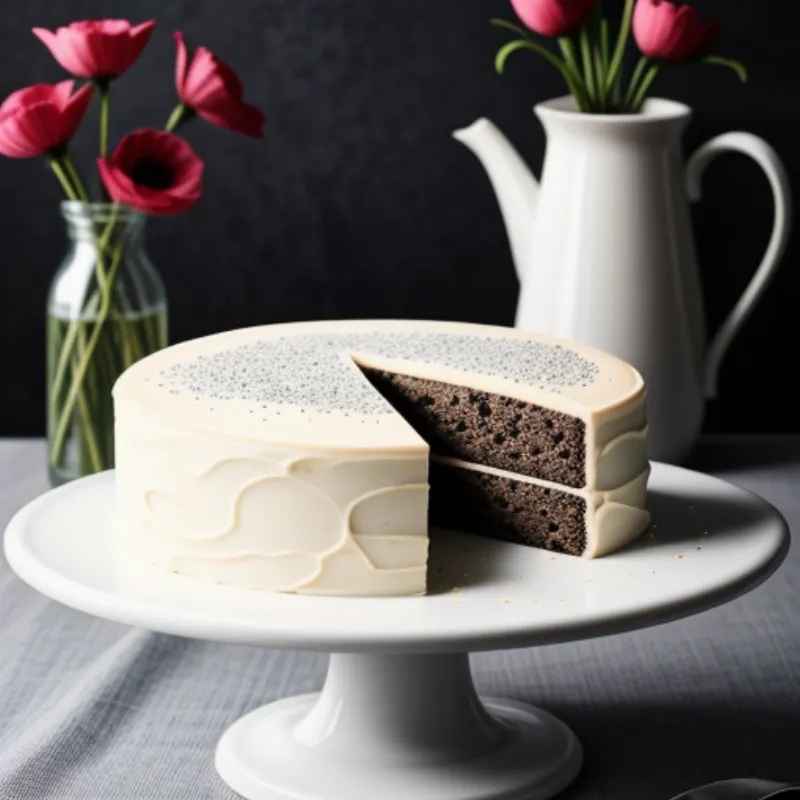
 Frosted Poppy Seed Cake
