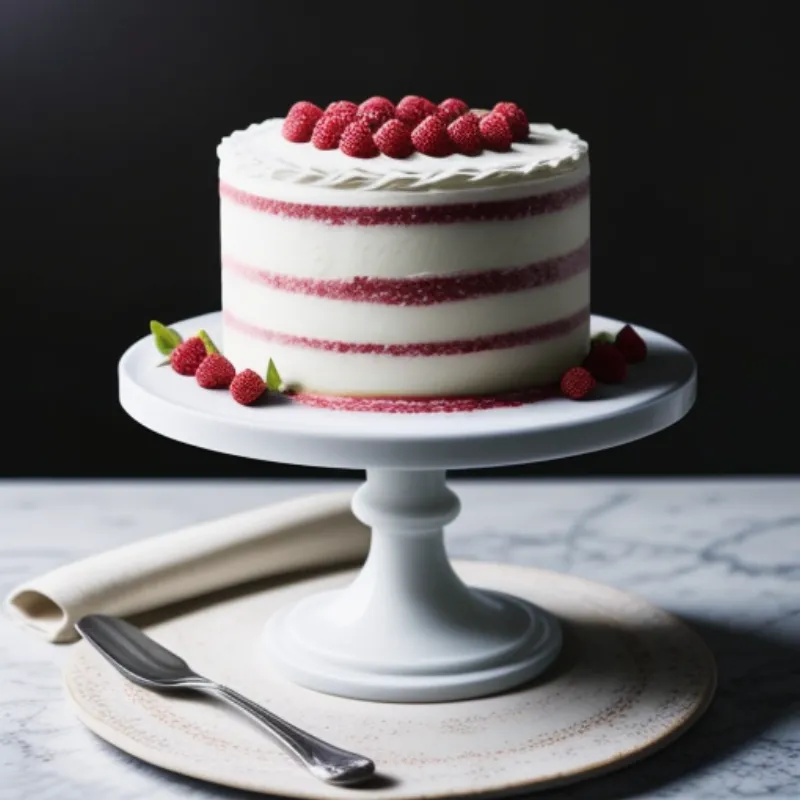
The Aurelius Cake, named after the Roman emperor for its regal flavors and majestic appearance, is not your everyday dessert. It’s a symphony of textures and tastes, a journey for your taste buds that whispers of ancient feasts and forgotten delicacies. Though shrouded in an air of mystery, this cake is surprisingly achievable, even for a home baker like yourself.
Intrigued? Today, we’ll demystify the Aurelius Cake, guiding you step-by-step to create this culinary masterpiece in your own kitchen.
Ingredients: A Symphony of Flavors
Before we embark on our baking quest, let’s gather the noble ingredients that will form our Aurelius Cake:
For the Cake:
- 2 ½ cups all-purpose flour, sifted (We recommend King Arthur Flour for its consistent quality)
- 1 ½ cups granulated sugar (For a slightly caramel note, use golden caster sugar)
- ¾ cup unsalted butter, softened (European-style butter, like Kerrygold, will lend a richer flavor)
- 4 large eggs, at room temperature
- 1 cup whole milk, slightly warmed (For added richness, substitute with buttermilk)
- 2 teaspoons pure vanilla extract (Use a high-quality extract, like Nielsen-Massey, for a more pronounced vanilla flavor)
- 1 teaspoon baking powder
- ½ teaspoon baking soda
- ¼ teaspoon salt
For the Filling:
- 1 cup heavy whipping cream
- ½ cup powdered sugar
- 1 teaspoon vanilla extract
- ¼ teaspoon almond extract (optional, for a hint of nuttiness)
For the Glaze:
- 1 cup powdered sugar
- 2-3 tablespoons milk
- 1 teaspoon vanilla extract
- Pinch of salt
Tools of the Trade:
- Two 9-inch round cake pans
- Parchment paper
- Electric mixer (stand mixer or hand mixer)
- Spatulas (rubber and offset)
- Measuring cups and spoons
- Sifter
- Mixing bowls (various sizes)
- Whisk
- Serrated knife
- Cake stand or serving plate
The Baking Quest: Step-by-Step Guide
I. Preparing the Realm (Cake Pans):
- Preheat your oven to 350°F (175°C).
- Grease and flour your cake pans. To prevent sticking, line the bottoms with parchment paper.
II. Summoning the Batter:
- In a large bowl, cream together the softened butter and granulated sugar until light and fluffy. This will take about 3-5 minutes using an electric mixer.
- Add the eggs one at a time, mixing well after each addition. Make sure each egg is fully incorporated before adding the next.
- In a separate bowl, whisk together the flour, baking powder, baking soda, and salt. This ensures the leavening agents are evenly distributed for a cake that rises beautifully.
- Gradually add the dry ingredients to the wet ingredients, alternating with the milk, and beginning and ending with the dry ingredients. Mix on low speed until just combined, being careful not to overmix.
- Stir in the vanilla extract. The batter should be smooth and pourable.
III. The Baking Ritual:
- Divide the batter evenly between the prepared cake pans.
- Bake for 30-35 minutes, or until a wooden skewer inserted into the center comes out clean.
- Let the cakes cool in the pans for 10 minutes before inverting them onto a wire rack to cool completely.
IV. Crafting the Enchanting Filling:
- While the cakes cool, prepare the filling. In a chilled bowl, beat the heavy whipping cream until stiff peaks form.
- Gradually add the powdered sugar and vanilla extract, beating until smooth and well combined.
- For an extra layer of flavor, add ¼ teaspoon of almond extract.
V. Assembling the Aurelius Cake:
- Once the cakes are completely cool, use a serrated knife to carefully level the tops if needed.
- Place one cake layer on your serving plate or cake stand.
- Evenly spread the whipped cream filling over the first layer.
- Gently top with the second cake layer.
VI. The Final Flourish: The Glaze
- In a bowl, whisk together the powdered sugar, milk, vanilla extract, and salt until smooth and pourable. Add more milk, one tablespoon at a time, if needed to reach your desired consistency.
- Pour the glaze over the top of the cake, allowing it to drip down the sides. You can use an offset spatula to help spread the glaze evenly.
VII. A Feast for the Eyes:
- Now, let your creativity flow! Decorate the cake as you wish. Fresh berries, chocolate shavings, chopped nuts, or edible flowers all make beautiful and delicious garnishes.
Serving Your Masterpiece:
The Aurelius Cake is best served at room temperature. It will keep well covered at room temperature for 1-2 days or in the refrigerator for up to 4 days.
Tips from the Royal Baker:
- Room Temperature Ingredients: Using room temperature ingredients, especially the butter and eggs, ensures that the batter emulsifies properly, resulting in a cake with a tender crumb.
- Don’t Overmix!: Overmixing the batter can develop the gluten in the flour, leading to a tough cake. Mix until just combined for a light and airy texture.
- Cool Completely: It’s crucial to let the cake layers cool completely before frosting to prevent the filling from melting and creating a soggy cake.
 Aurelius Cake
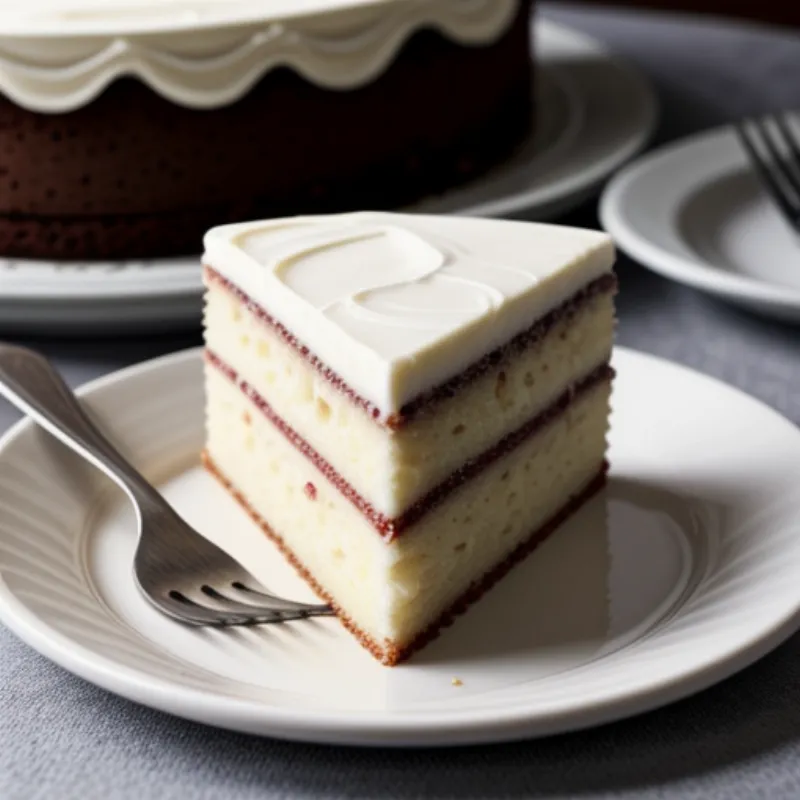
 Slice of Aurelius Cake
FAQs: Unraveling the Mysteries
Q: Can I substitute the all-purpose flour with a gluten-free alternative?
A: Absolutely! While we haven’t tested it ourselves, many gluten-free flour blends work well in this recipe. We recommend using a blend that is known for its baking qualities, like Bob’s Red Mill 1-to-1 Baking Flour.
Q: I don’t have buttermilk on hand. Can I still make this cake?
A: Not to worry! While buttermilk adds a wonderful tang, you can easily substitute it with regular milk.
Q: Can I freeze the Aurelius Cake?
A: Yes, you can freeze the unfrosted cake layers for up to 2 months. Wrap them well in plastic wrap and then aluminum foil to prevent freezer burn. When ready to use, thaw overnight in the refrigerator and frost as directed.
There you have it! You’ve successfully unlocked the legend and baked your very own Aurelius Cake. Now, it’s time to share your creation with friends and family. Be sure to capture their reactions as they take their first bite of this extraordinary cake.
Don’t forget to share your baking triumphs (and any questions you might have) in the comments below. Happy baking!
