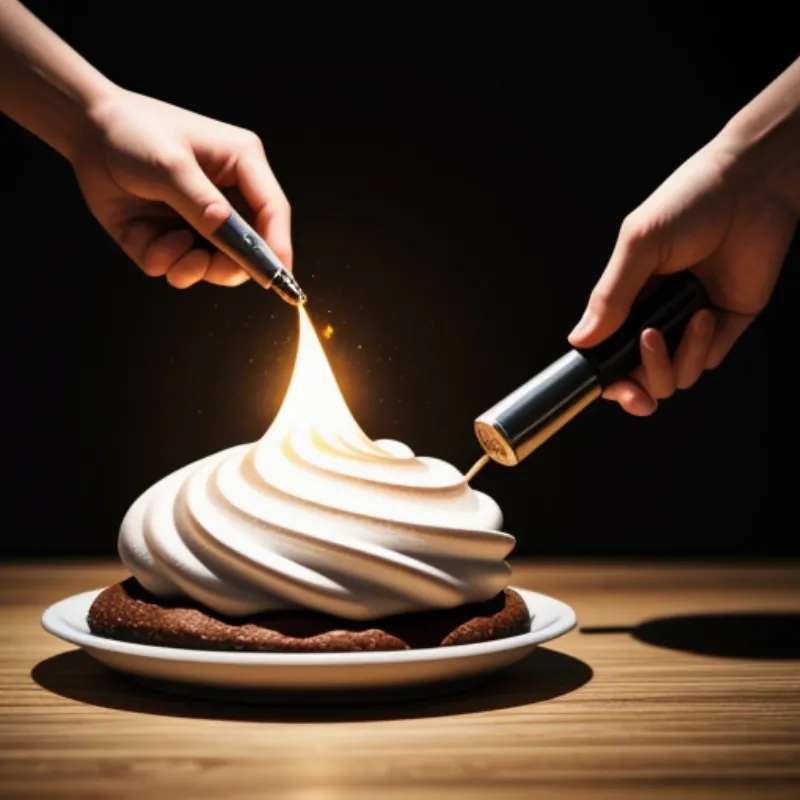
Baked Alaska, a dessert that seems straight out of a culinary magic show, is surprisingly achievable in your own kitchen. This impressive treat, with its contrasting temperatures and beautiful presentation, is sure to wow your family and friends. It’s a delicious combination of cold, creamy ice cream enveloped in a fluffy, golden meringue, all baked to perfection. Intrigued? Let’s turn up the heat and bake a masterpiece!
Unveiling the Magic: Ingredients and Tools
Ingredients You’ll Need:
- 1 quart of your favorite ice cream (slightly softened for easier spreading)
- 1 pre-baked cake layer (about 8-9 inches in diameter) – Angel food cake or pound cake work best
- 4 large egg whites (at room temperature)
- 1/4 teaspoon cream of tartar
- 1/2 cup granulated sugar
- 1/4 teaspoon vanilla extract
Tools of the Trade:
- Electric mixer
- Mixing bowls
- Spatulas
- Baking sheet
- Parchment paper
- Chef’s knife
 Assembling the Baked Alaska
The Art of Crafting Baked Alaska: Step-by-Step Guide
Step 1: Preparing the Foundation
- Line a baking sheet with parchment paper.
- Place your pre-baked cake layer on the prepared baking sheet. This will be the base of your Baked Alaska.
Step 2: Creating the Ice Cream Dome
- Scoop the slightly softened ice cream onto the cake layer.
- Using a spatula, shape the ice cream into a smooth, dome-shaped mound.
- Place the entire baking sheet with the ice cream-covered cake into the freezer for at least 3-4 hours, or until the ice cream is completely solid.
Step 3: Whipping Up the Meringue Magic
- Preheat your oven to 500°F (260°C).
- In a clean and dry mixing bowl, beat the egg whites with an electric mixer on medium speed until soft peaks form.
- Add the cream of tartar and continue beating until stiff peaks form.
- Gradually add the sugar, one tablespoon at a time, beating continuously until the meringue is glossy and holds stiff peaks.
- Gently fold in the vanilla extract.
Step 4: The Grand Assembly
- Carefully remove the frozen ice cream-covered cake from the freezer.
- Working quickly, spread the meringue evenly over the entire surface of the ice cream, ensuring it reaches the cake layer at the bottom to seal in the ice cream completely.
- Make sure there are no gaps in the meringue, as this will prevent the ice cream from melting too quickly in the oven.
 Torching the meringue
Step 5: Baking to Perfection
- Immediately transfer the assembled Baked Alaska to the preheated oven.
- Bake for 3-5 minutes, or until the meringue is golden brown and lightly toasted.
Step 6: Serving and Savoring
- Remove the Baked Alaska from the oven and let it rest for a minute or two before serving.
- Use a sharp, serrated knife to slice and serve immediately.
Tips and Tricks from a Seasoned Baker
- Freezing is Key: Make sure the ice cream is completely frozen solid before adding the meringue. This ensures it will stay frozen while baking.
- Meringue Mastery: For stiff peaks, ensure your egg whites are at room temperature and your mixing bowl is completely free of any grease or water.
- Torch Power: If you have a kitchen torch, you can use it to further brown and toast the meringue for an extra touch of visual flair.
Frequently Asked Questions (FAQs)
Can I use a different type of cake for the base?
Absolutely! Feel free to experiment with different cake flavors. However, denser cakes like pound cake or angel food cake tend to hold up better under the weight of the ice cream and meringue.
Can I make Baked Alaska ahead of time?
While it’s best served immediately, you can assemble the ice cream-covered cake and freeze it for up to 24 hours before adding the meringue and baking.
A Final Word: Embrace the Challenge
Baked Alaska might seem intimidating, but with these detailed instructions and helpful tips, you’ll be well on your way to creating this show-stopping dessert. So, gather your ingredients, put on your baker’s hat, and prepare to wow everyone with your culinary prowess!
