Have you ever heard of Bath Oliver biscuits? These unassuming crackers hold a fascinating history and a surprisingly delicious flavor. Originating in 18th-century England, Bath Olivers are known for their crisp texture and slightly salty, savory taste, making them the perfect accompaniment to a cup of tea or a bowl of soup.
Whether you’re a seasoned baker or just starting your culinary journey, this step-by-step guide will equip you with everything you need to know to bake perfect Bath Oliver biscuits at home.
What You’ll Need to Get Started
Ingredients:
- 225g (1 3/4 cup) plain flour, plus extra for dusting
- 55g (1/2 cup) butter, cold and diced
- 25g (1/4 cup) yeast extract (such as Marmite or Vegemite)
- 1/2 teaspoon salt
- 150ml (2/3 cup) cold water
Optional Ingredients:
- 1 tablespoon milk, for brushing (this helps achieve a beautiful golden color)
- Pinch of sea salt, for sprinkling
Equipment:
- Large mixing bowl
- Rolling pin
- Baking sheet
- Parchment paper
- Fork
- Pastry brush (optional)
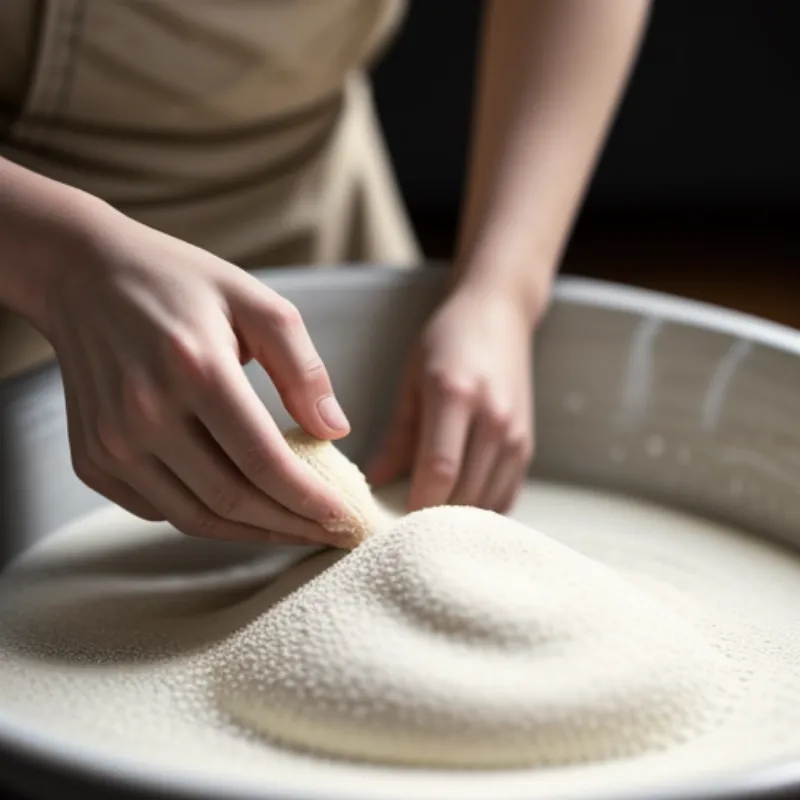
 Bath Oliver Biscuit Dough
Let’s Get Baking: A Step-by-Step Guide
- Prepare Your Dough: In a large bowl, combine the flour, butter, and salt. Use your fingertips to rub the butter into the flour until the mixture resembles breadcrumbs.
- Add the Flavor: Stir in the yeast extract until it’s evenly distributed throughout the flour mixture.
- Incorporate the Water: Gradually add the cold water, mixing with a spoon until the dough comes together.
- Knead to Perfection: Turn the dough out onto a lightly floured surface and knead for about 5 minutes, or until smooth and elastic.
- Rest and Relax: Shape the dough into a ball, wrap it in cling film, and refrigerate for at least 30 minutes. This allows the gluten to relax, making it easier to roll out.
- Roll It Out: Preheat your oven to 200°C (400°F). Lightly dust your work surface with flour and roll out the dough thinly to about 3mm (1/8 inch) thickness.
- Create the Biscuits: Using a round cookie cutter or a sharp knife, cut out biscuits about 5cm (2 inches) in diameter.
- Dock the Dough: Prick the biscuits all over with a fork. This crucial step prevents air bubbles from forming during baking.
- Prepare for Baking: Line a baking sheet with parchment paper and carefully transfer the biscuits onto it.
- Optional Brushing: For an extra touch of flavor and color, brush the tops of the biscuits with a little milk and sprinkle with a pinch of sea salt.
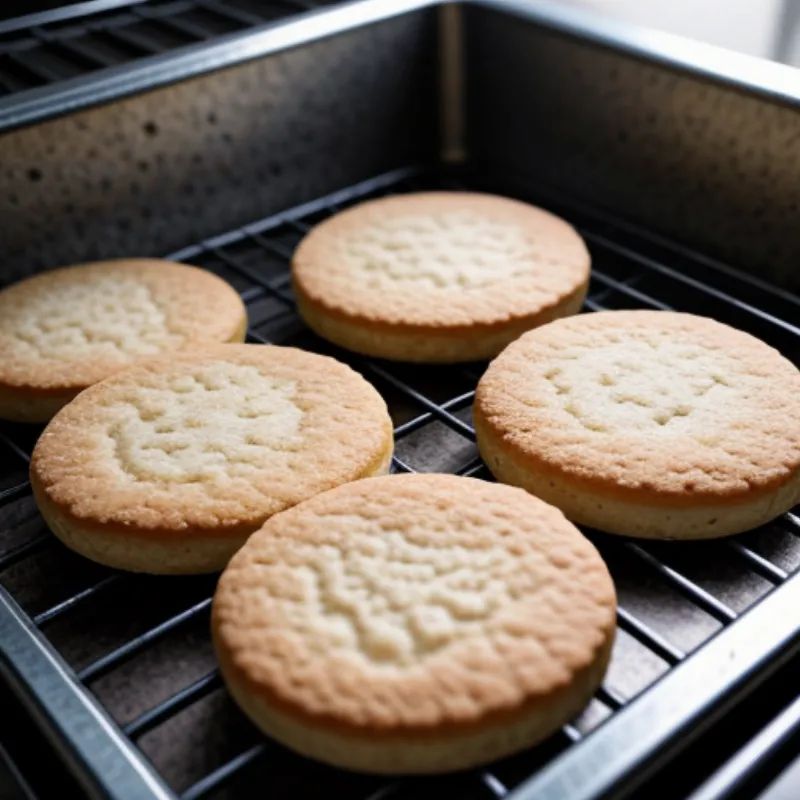
- Bake to Perfection: Bake for 10-12 minutes, or until the biscuits are golden brown and crisp.
- Cool and Enjoy: Remove from the oven and allow the biscuits to cool completely on a wire rack.
 Freshly Baked Bath Oliver Biscuits
Tips and Tricks for the Best Bath Olivers:
- Yeast Extract Choice: While Marmite or Vegemite are traditional choices, feel free to experiment with other yeast extracts for a unique flavor twist.
- Rolling Out Dough: For uniformly thin biscuits, use a rolling pin with guide rings.
- Cutting Shapes: Don’t feel limited to rounds! Try cutting the dough into squares or using decorative cookie cutters for a personal touch.
- Storage: Once cooled, store your Bath Oliver biscuits in an airtight container at room temperature for up to 5 days.
FAQs
Can I freeze Bath Oliver biscuits?
Absolutely! These biscuits freeze beautifully. After baking, allow them to cool completely. Arrange them in a single layer on a baking sheet and freeze until solid. Once frozen, transfer them to a freezer-safe bag or container. Frozen Bath Olivers will keep for up to 3 months. To enjoy, simply bake them from frozen at 180°C (350°F) for 5-7 minutes, or until heated through.
What can I serve Bath Oliver biscuits with?
The beauty of Bath Oliver biscuits lies in their versatility. They’re delicious on their own but pair wonderfully with:
- Cheese: Their savory flavor complements a variety of cheeses, from sharp cheddar to creamy brie.
- Dips: Serve them alongside your favorite dips, such as hummus, guacamole, or spinach and artichoke dip.
- Soups and Stews: Their crisp texture adds a delightful crunch when crumbled over soups or stews.
- Tea: Enjoy them the traditional way with a cup of tea or coffee for a comforting snack.
Ready to Bake?
Now that you’re armed with this foolproof recipe and expert tips, it’s time to gather your ingredients and experience the joy of baking authentic Bath Oliver biscuits. They’re sure to become a household favorite!
Don’t forget to share pictures of your baking creations and let us know how you enjoy your Bath Olivers in the comments below. Happy baking!
