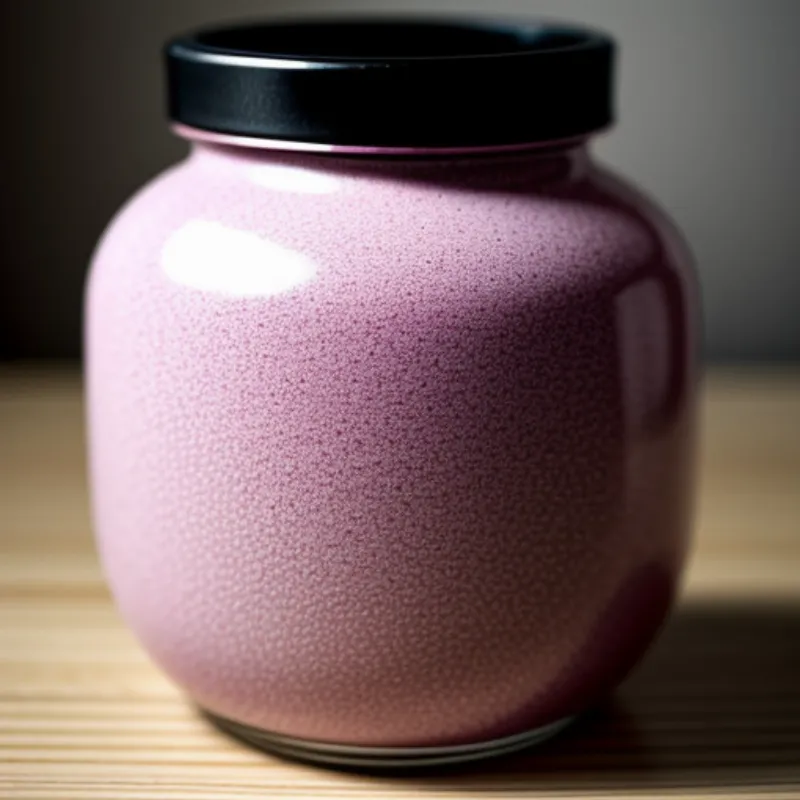
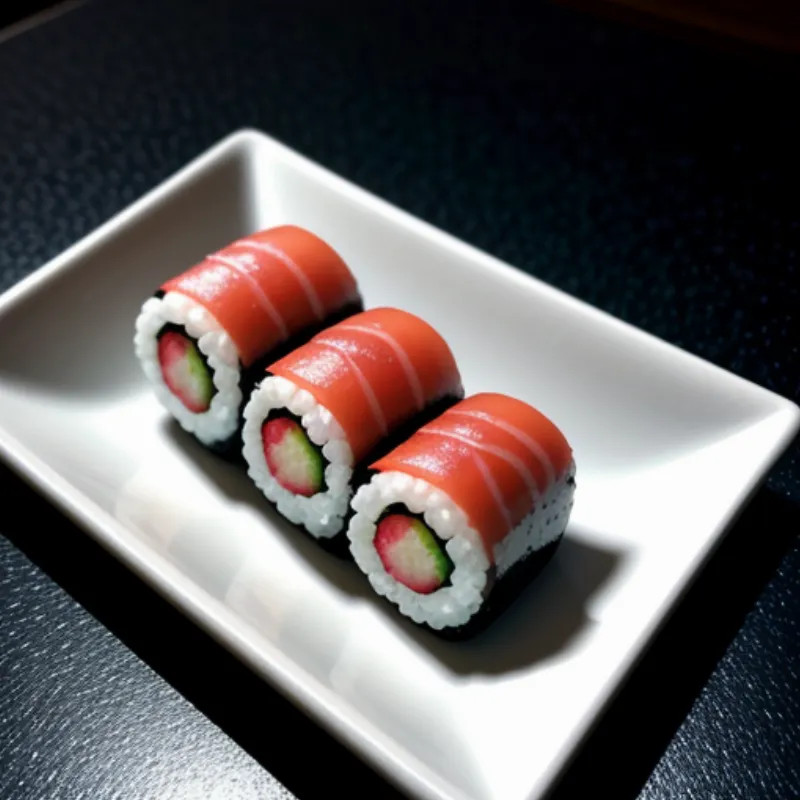
Beni shoga, literally translating to “red pickled ginger,” is a staple condiment in Japanese cuisine. This vibrant pink ginger pickle, with its unique sweet, sour, and slightly spicy flavor, is a perfect accompaniment to a variety of dishes. If you’re a fan of Japanese food, you’ve likely encountered this delightful condiment served alongside sushi or as a topping for ramen.
This guide will take you step-by-step through the process of making your own beni shoga at home. It’s easier than you might think, and the result is a jar of vibrant, flavorful ginger that will elevate your Japanese cooking.
Unveiling the Flavors of Beni Shoga
Beni shoga isn’t just about its striking color; it’s the flavor that makes it truly special. The ginger’s natural spiciness is mellowed by the pickling process, creating a harmonious balance of sweet, sour, and spicy notes. The addition of red shiso leaves (or plum juice) imparts a beautiful pink hue and adds a subtle floral aroma, making it a feast for both the eyes and the palate.
Gathering Your Ingredients
Making your own beni shoga at home requires just a few simple ingredients. Here’s what you’ll need:
Main Ingredients:
- Young Ginger (Shin Shoga): 200 grams (about 1 cup). Choose young ginger with thin skin and a pale yellow color for a more tender texture and less fibrous strands.
- Rice Vinegar: 1/2 cup. Opt for unseasoned rice vinegar for a clean, slightly sweet flavor.
- Sugar: 1/4 cup. White granulated sugar works best for this recipe.
- Salt: 1 tablespoon. Use regular table salt.
Coloring:
- Red Shiso Leaves (Aka Shiso): 5-6 leaves (optional). These leaves provide a natural pink color and a subtle floral aroma.
- Red Plum Juice (Umezu): 1 tablespoon (optional). An alternative to red shiso leaves for achieving the pink hue.
Equipment:
- Jar: A sterilized glass jar with a lid, large enough to hold the ginger.
- Small Saucepan: For making the pickling liquid.
- Mandoline Slicer or Sharp Knife: For thinly slicing the ginger.
A Note on Ingredients
Young ginger is key to achieving the best texture for beni shoga. If you can’t find young ginger, you can use mature ginger, but make sure to peel it thoroughly and slice it as thinly as possible.
Red shiso leaves can be found at Japanese grocery stores or online. If unavailable, red plum juice is a good substitute for color.
Let’s Make Beni Shoga!
Step 1: Preparing the Ginger
- Wash the young ginger thoroughly under cold water. Using a spoon or the back of a knife, gently scrape off the skin.
- Using a mandoline slicer or a sharp knife, thinly slice the ginger into rounds or juliennes. For a more intense flavor, you can keep the ginger in larger pieces.
- Place the sliced ginger in a bowl and sprinkle it with salt. Gently massage the salt into the ginger for about a minute. This process helps to draw out excess moisture and soften the ginger.
Step 2: Creating the Pickling Liquid
- In a small saucepan, combine the rice vinegar, sugar, and red shiso leaves (or plum juice, if using).
- Heat the mixture over medium heat, stirring constantly until the sugar dissolves.
- Once the sugar is dissolved, remove the pan from the heat and let the pickling liquid cool completely.
Step 3: Pickling the Ginger
- Rinse the salted ginger under cold water to remove excess salt. Gently squeeze out any excess water from the ginger.
- Pack the ginger slices tightly into the sterilized jar.
- Pour the cooled pickling liquid over the ginger, ensuring that the ginger is fully submerged.
- Close the jar tightly with the lid and refrigerate for at least 24 hours to allow the flavors to develop.
Beni Shoga: Tips & Tricks
- Adjusting the Flavor: For a sweeter beni shoga, add a bit more sugar to the pickling liquid. If you prefer a tangier taste, increase the amount of rice vinegar slightly.
- Experiment with Add-ins: Get creative and add other flavor enhancers to your beni shoga. Try adding a pinch of red pepper flakes for a touch of heat, or a few slices of lemon for a citrusy twist.
- Storage: Beni shoga can be stored in the refrigerator for up to 3 months. It’s best to store it in a glass jar with a tight-fitting lid to maintain its freshness and flavor.
Beni Shoga FAQs
Q: Can I use regular ginger instead of young ginger?
A: While young ginger is preferred for its tenderness and less fibrous texture, you can use mature ginger. Just make sure to peel it thoroughly and slice it as thinly as possible.
Q: I don’t have red shiso leaves or plum juice. Can I still make beni shoga?
A: Yes, you can omit the red shiso leaves or plum juice. Your beni shoga will have a pale yellow color instead of pink, but the flavor will be similar.
Q: My beni shoga turned out too salty. What should I do?
A: If you find your beni shoga too salty, simply rinse the ginger slices under cold water before using them. You can also try soaking them in cold water for a few minutes to reduce the saltiness.
Enjoying Your Homemade Beni Shoga
 beni-shoga-closeup
Your homemade beni shoga is now ready to add a burst of flavor and color to your favorite Japanese dishes! Here are some serving suggestions:
- Sushi: Beni shoga is traditionally served as a palate cleanser between different types of sushi.
- Ramen: Add a spoonful or two of beni shoga to your bowl of ramen for an extra layer of flavor and a bit of tang.
- Donburi (Rice Bowls): Top your favorite donburi bowls with beni shoga for a tangy, refreshing bite.
- Grilled Meats: The sweet, sour, and spicy flavors of beni shoga pair perfectly with grilled meats, such as chicken or pork.
 beni-shoga-with-sushi
Making beni shoga at home is a rewarding experience. You’ll not only have a delicious condiment on hand, but you’ll also gain a deeper appreciation for the art of Japanese pickling. So go ahead, gather your ingredients, and embark on a culinary adventure!
We’d love to hear about your beni shoga making experience. Share your thoughts, questions, and photos in the comments section below. And don’t forget to explore our other delicious recipes on Family Cuisine!
