Biskota, the crunchy, twice-baked cookies from Albania, are more than just a treat – they’re a delicious connection to generations past. With a simple recipe and a whole lot of heart, these cookies are perfect for sharing with loved ones over a cup of coffee or tea. If you’re looking for a taste of authentic Albanian baking, look no further! This guide will walk you through How To Make Biskota step-by-step, ensuring you get that perfect crunch in every bite.
Unveiling the Secrets of Biskota
Imagine this: you’re sitting on a sun-drenched patio, the aroma of freshly baked cookies filling the air. You take a bite of a biskota, and its subtle sweetness and satisfying crunch transport you straight to the heart of an Albanian home.
Biskota holds a special place in Albanian culture. These cookies are a staple at family gatherings, celebrations, and even everyday moments. Their unassuming appearance hides a depth of flavor and history that’s truly captivating.
What sets biskota apart is the twice-baking process, which gives them their signature texture and allows them to stay fresh for weeks. Don’t be intimidated by the extra step – it’s surprisingly simple and well worth the effort.
Ingredients for Baking Delightful Biskota
Ready to embark on your biskota-making adventure? Here’s what you’ll need to gather:
- 4 large eggs
- 1 1/2 cups (300g) granulated sugar
- 1 cup (2 sticks) unsalted butter, softened
- 1 teaspoon vanilla extract
- 1 teaspoon baking powder
- 1/2 teaspoon salt
- 5-6 cups (600-720g) all-purpose flour, plus more for dusting
Optional ingredients for added flavor:
- 1 teaspoon lemon zest
- 1/2 teaspoon ground cinnamon
Tips for choosing the best ingredients:
- Butter: Make sure your butter is softened to room temperature for optimal creaminess.
- Flour: Use good quality all-purpose flour and add it gradually for a perfect dough consistency.
Tools of the Trade: Equipping Your Kitchen for Success
Before we dive into the baking process, let’s gather the essential tools:
- 2 large mixing bowls
- Electric mixer (handheld or stand mixer)
- Measuring cups and spoons
- Wooden spoon or spatula
- Baking sheet
- Parchment paper or silicone baking mat
- Wire rack
The Biskota Baking Journey: A Step-by-Step Guide
Step 1: Creating the Biskota Foundation
- In a large bowl, cream together the softened butter and sugar using an electric mixer until light and fluffy.
- Add the eggs one at a time, mixing well after each addition.
- Stir in the vanilla extract (and lemon zest or cinnamon, if using).
Step 2: Building the Perfect Dough
- In a separate bowl, whisk together the baking powder, salt, and 4 cups of flour.
- Gradually add the dry ingredients to the wet ingredients, mixing on low speed until just combined.
- Add the remaining flour, 1/2 cup at a time, until a soft dough forms. You may not need to use all the flour.
- Turn the dough out onto a lightly floured surface and knead for a few minutes until smooth.
Step 3: Shaping Your Biskota
- Divide the dough into 3-4 equal portions.
- Roll each portion into a long log, about 2 inches in diameter.
- Cut the logs into 1-inch thick slices.
Step 4: The First Bake – Setting the Stage
- Preheat your oven to 350°F (175°C). Line a baking sheet with parchment paper or a silicone baking mat.
- Place the biskota slices onto the prepared baking sheet, leaving a little space between each one.
- Bake for 20-25 minutes, or until lightly golden.
Step 5: The Second Bake – Achieving the Crunch
- Reduce oven temperature to 300°F (150°C).
- Remove the biskota from the oven and let them cool slightly on the baking sheet.
- Once cool enough to handle, carefully cut each biskota slice in half lengthwise.
- Place the halved biskota back onto the baking sheet, cut side up.
- Bake for another 15-20 minutes, or until dry and golden brown.
Step 6: Cooling and Enjoying Your Biskota Masterpieces
- Remove the biskota from the oven and let them cool completely on a wire rack before serving.
Biskota FAQs: Answering Your Baking Queries
Q: Can I freeze biskota dough?
A: Absolutely! Wrap the dough tightly in plastic wrap and freeze for up to 3 months. Thaw overnight in the refrigerator before baking.
Q: How do I store biskota to maintain its crunch?
A: Store cooled biskota in an airtight container at room temperature for up to 2 weeks.
Q: My biskota turned out a bit hard. What happened?
A: Overbaking can cause biskota to harden. Make sure to check for doneness towards the end of the baking time.
Chef’s Tip from Maria, an Albanian Baking Enthusiast: “For a touch of extra flavor, brush the biskota with a simple syrup made with equal parts sugar and water after the first bake. This adds a subtle sweetness and a beautiful sheen.”
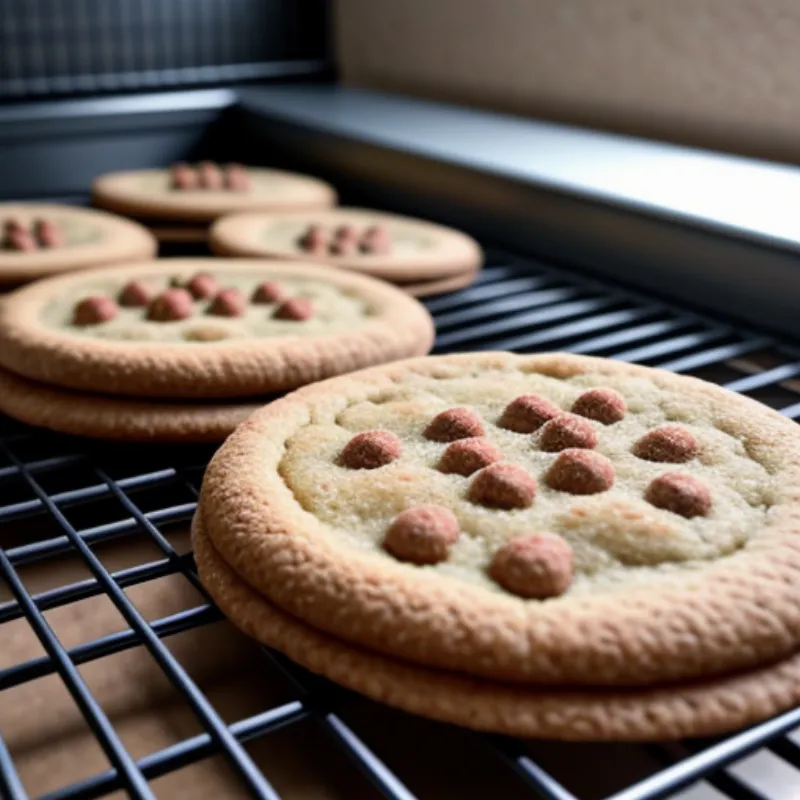
 Albanian Biskota on Cooling Rack
Beyond the Basics: Variations on the Classic
While the traditional biskota recipe is absolutely delicious, feel free to get creative and add your personal touch:
- Nutty Delight: Incorporate chopped walnuts, almonds, or pistachios into the dough for added texture and nutty flavor.
- Citrus Burst: Enhance the citrus notes by adding the zest of an orange or a combination of lemon and orange.
- Chocolate Indulgence: Dip half of each cooled biskota in melted dark chocolate for a decadent treat.
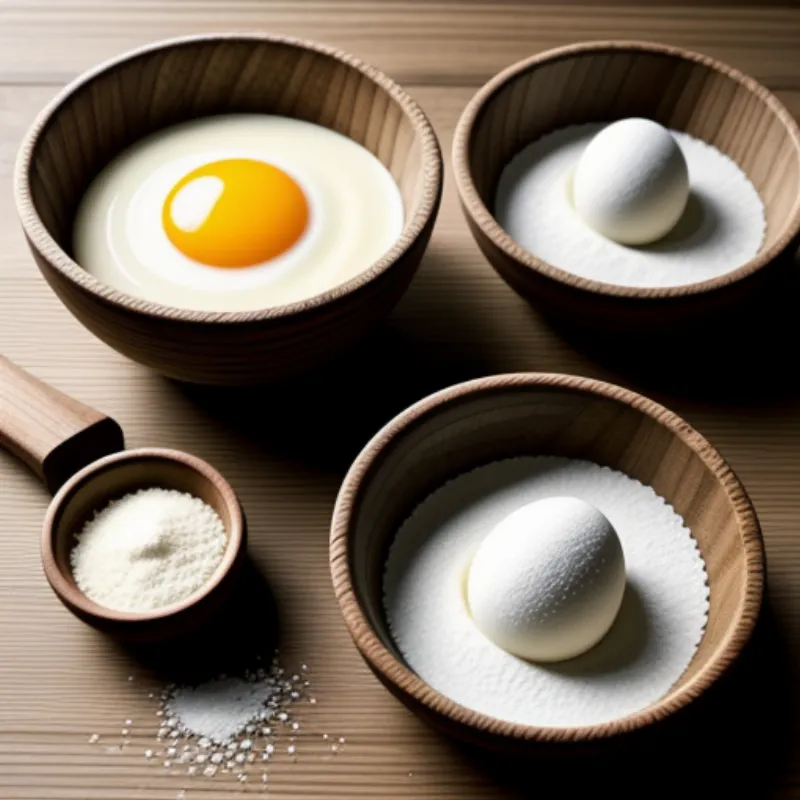
 Biskota Ingredients
Conclusion: Savor the Flavors of Tradition and Togetherness
Baking biskota is more than just following a recipe – it’s about connecting with a rich culinary heritage and creating delicious memories with loved ones. As you bite into a piece of warm, crunchy biskota, we hope you feel the warmth and love that goes into every bite of this Albanian classic.
Share your biskota creations with us! We’d love to see your baking triumphs. Tag us on social media or leave a comment below with your experience. Happy baking!
And for more delightful recipes from around the world, explore the other culinary treasures on Family Cuisine.
