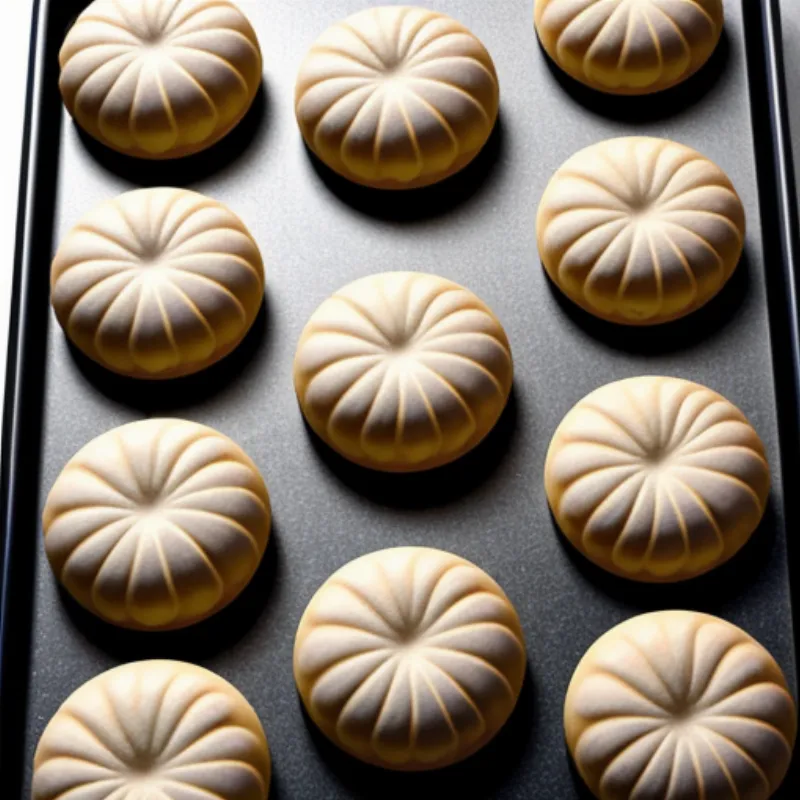
Biskotso, the twice-baked breadstick that Filipinos know and love, is like a warm hug on a plate. Crispy on the outside, slightly chewy on the inside, and bursting with buttery, sugary goodness, it’s the kind of treat that takes you straight back to childhood. Whether you’re enjoying it with your morning coffee, dipping it in your afternoon tea, or sharing it with friends and family, biskotso always hits the spot. The best part? It’s surprisingly easy to make at home.
Let’s Bake!
Ready to embark on a culinary adventure to the Philippines? Follow this simple, step-by-step guide to making perfect biskotso every time.
Ingredients You’ll Need:
- 2 cups all-purpose flour
- 1 teaspoon baking powder
- 1/2 teaspoon salt
- 1 cup unsalted butter, softened
- 1 cup granulated sugar
- 2 large eggs
- 1 teaspoon vanilla extract
- 1/2 cup milk
- 1/4 cup granulated sugar, for topping
Tools of the Trade:
- 2 large mixing bowls
- Electric mixer
- Whisk
- Rubber spatula
- Baking sheet
- Parchment paper
Step-by-Step Instructions:
- Preheat and Prep: Preheat your oven to 350°F (175°C) and line a baking sheet with parchment paper.
- Dry Ingredients Unite: In a large bowl, whisk together the flour, baking powder, and salt. Set aside.
- Creamy Dreamy Butter: In another large bowl, cream together the softened butter and sugar using an electric mixer until light and fluffy.
- Egg-cellent Addition: Beat in the eggs one at a time, followed by the vanilla extract.
- Gradual Incorporation: Gradually add the dry ingredients to the wet ingredients, alternating with the milk, and mixing until just combined. Don’t overmix!
- Shape and Bake (Round 1): Drop the dough by rounded tablespoons onto the prepared baking sheet. Bake for 15-20 minutes, or until lightly golden.
- Cooling Break: Remove the biskotso from the oven and let them cool slightly on the baking sheet.
- Slice and Dice: Once cool enough to handle, cut each cookie diagonally into 1/2-inch thick slices.
- Round 2: The Crispy Finish: Place the biskotso slices back on the baking sheet, cut-side up. Bake for another 10-15 minutes, or until golden brown and crispy.
- Sugary Bliss: While the biskotso is still warm, sprinkle generously with the remaining sugar.
- Cool and Enjoy: Let the biskotso cool completely on a wire rack before serving.
 Filipino Biskotso Cookies
Tips and Tricks for Biskotso Perfection:
- Softened Butter is Key: Make sure your butter is at room temperature for easy creaming.
- Don’t Overmix: Overmixing the dough can lead to tough biskotso. Mix until just combined.
- Even Baking: For even baking, make sure your biskotso slices are arranged in a single layer on the baking sheet.
- Storage: Store your biskotso in an airtight container at room temperature for up to 3 days.
FAQs: Your Biskotso Questions Answered
Can I use margarine instead of butter?
While margarine can be used as a substitute, it won’t yield the same rich flavor and texture as butter. For best results, stick with butter.
Can I add other flavors to my biskotso?
Absolutely! Biskotso is a versatile treat. Get creative with additions like chopped nuts, dried fruits, or even a hint of citrus zest.
My biskotso turned out too hard. What happened?
Overbaking is a common culprit for hard biskotso. Keep a close eye on them during the second bake, and take them out as soon as they turn golden brown.
 Freshly Baked Biskotso
A Taste of Filipino Tradition
Biskotso is more than just a cookie in the Philippines; it’s a symbol of hospitality, often shared with guests as a gesture of warmth and welcome. “Many Filipino families, my own included,” shares Chef Maria Romero, a renowned expert in Filipino cuisine, “have their own special biskotso recipe passed down through generations.” So, as you savor the crispy, buttery goodness of your homemade biskotso, remember that you’re experiencing a piece of Filipino culture and tradition.
This recipe is your gateway to a world of flavor and a chance to create memories in your own kitchen. So gather your ingredients, put on your apron, and get ready for a baking adventure that will transport you to the heart of the Philippines with every delicious bite!
