The Black Forest Cake, a decadent chocolate cake layered with cherries and whipped cream, is a true masterpiece of German baking. Whether you’re celebrating a special occasion or simply craving a luxurious treat, this cake is sure to impress. Today, I’ll guide you through each step to create your own Black Forest Cake masterpiece right in your own kitchen. I promise, it’s easier than you might think!
A Taste of the Black Forest: A Brief History
The origins of the Black Forest Cake are a bit of a mystery, with several stories claiming its creation. Some say it was inspired by the traditional Black Forest dress, with its dark chocolate shavings resembling the region’s dark, romantic forests. Others claim it was first created in a small Black Forest cafe in the 1930s. Regardless of its true origin, one thing is for certain: this cake has captured the hearts and taste buds of people worldwide.
Baking Your Black Forest Cake: Ingredients You’ll Need
For the Chocolate Cake:
- 2 cups (250g) all-purpose flour
- 2 cups (400g) granulated sugar
- ¾ cup (60g) unsweetened cocoa powder
- 1 teaspoon baking soda
- 1 teaspoon baking powder
- ½ teaspoon salt
- 1 cup (240ml) buttermilk
- ½ cup (120ml) vegetable oil
- 2 large eggs
- 1 teaspoon vanilla extract
- 1 cup (240ml) freshly brewed hot coffee
For the Cherry Filling:
- 2 cans (14 oz each) pitted sweet cherries, drained (reserve the juice!)
- ¼ cup (40g) granulated sugar
- 2 tablespoons cornstarch
- 1 tablespoon Kirsch (cherry brandy) – optional
For the Whipped Cream Frosting:
- 2 cups (480ml) heavy whipping cream
- ½ cup (60g) powdered sugar
- 1 teaspoon vanilla extract
- Chocolate shavings and fresh cherries, for decorating
Gathering Your Baking Tools
Before we begin our baking journey, let’s make sure you have everything you need:
- 2 round cake pans (9-inch)
- Parchment paper
- Mixer (stand mixer or hand mixer)
- Spatulas
- Saucepan
- Whisk
- Serrated knife
- Piping bag and tip (optional, for frosting)
The Black Forest Cake Journey: Step-by-Step Instructions
1. Baking the Chocolate Cake Layers:
- Preheat your oven to 350°F (175°C). Grease and flour your cake pans, then line the bottoms with parchment paper for easy cake removal later.
- In a large bowl, whisk together the flour, sugar, cocoa powder, baking soda, baking powder, and salt. This ensures all the dry ingredients are evenly distributed.
- In a separate bowl, combine the buttermilk, vegetable oil, eggs, and vanilla extract. Mix well.
- Gradually add the wet ingredients to the dry ingredients, mixing on low speed until just combined. Be careful not to overmix!
- Gradually pour in the hot coffee and mix until the batter is smooth. The coffee enhances the chocolate flavor and adds moisture to the cake.
- Divide the batter evenly between the prepared cake pans.
- Bake for 30-35 minutes, or until a toothpick inserted into the center comes out clean.
- Let the cakes cool in the pans for 10 minutes before inverting them onto a wire rack to cool completely.
2. Creating the Luscious Cherry Filling:
- Drain the cherries, reserving about ½ cup of the cherry juice.
- In a saucepan, combine the reserved cherry juice, sugar, and cornstarch. Whisk until smooth.
- Heat the mixture over medium heat, stirring constantly, until it thickens and becomes bubbly.
- Remove from heat and stir in the cherries and Kirsch (if using).
- Set aside to cool completely.
3. Preparing the Dreamy Whipped Cream Frosting:
- In a large bowl, whip the heavy cream using a mixer until soft peaks form.
- Gradually add the powdered sugar and vanilla extract, continuing to whip until stiff peaks form. Be careful not to overwhip!
4. Assembling Your Black Forest Cake Masterpiece:
- Once the cakes are completely cool, use a serrated knife to carefully level the tops if necessary.
- Place one cake layer on a serving plate or cake stand.
- Spread half of the cherry filling evenly over the cake layer.
- Top with half of the whipped cream frosting.
- Carefully place the second cake layer on top.
- Spread the remaining cherry filling over the second cake layer.
- Frost the entire cake with the remaining whipped cream frosting, creating swirls and peaks for decoration.
- Sprinkle the top and sides of the cake with chocolate shavings.
- Garnish with fresh cherries for a final touch of elegance.
Tips & Tricks for Black Forest Perfection
- Cake Cooling: Ensure the cakes are completely cool before frosting to prevent the frosting from melting.
- Cherry Choice: You can use fresh or frozen cherries for the filling. If using frozen, thaw and drain them well before using.
- Kirsch Substitute: If you don’t have Kirsch, you can substitute it with an equal amount of cherry juice or omit it altogether.
- Piping Techniques: For a more professional look, use a piping bag and a star tip to create decorative swirls with the whipped cream frosting.
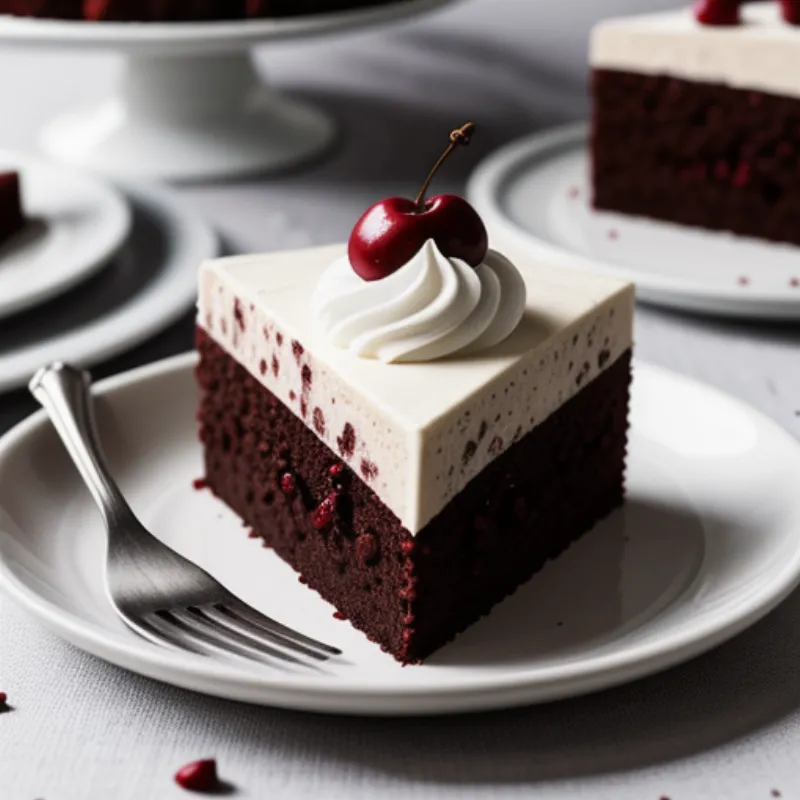
 Slice of Black Forest Cake
FAQs About Making Black Forest Cake
Q: Can I make this cake ahead of time?
A: Absolutely! You can bake the cake layers and make the cherry filling a day in advance. Store them separately in the refrigerator, and assemble the cake on the day of serving.
Q: What can I use instead of buttermilk?
A: If you don’t have buttermilk on hand, you can easily make your own. Simply add 1 tablespoon of lemon juice or white vinegar to 1 cup of milk and let it sit for 5 minutes before using.
Q: How should I store leftover Black Forest Cake?
A: Store the cake in an airtight container in the refrigerator for up to 3 days.
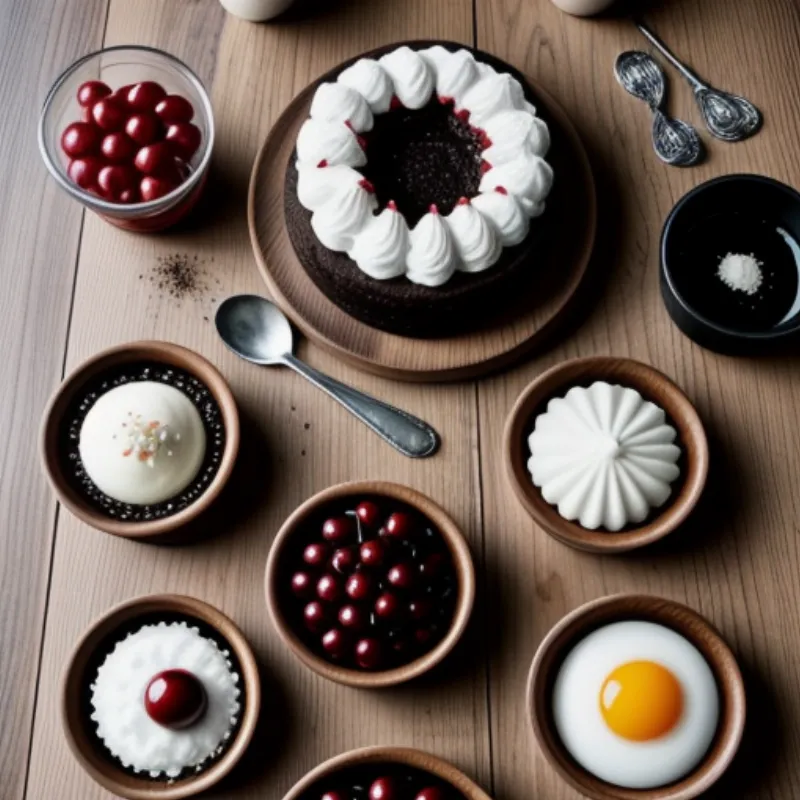
 Ingredients for Black Forest Cake
Your Black Forest Adventure Awaits!
There you have it! Now you’re ready to embark on your own Black Forest Cake adventure. Remember, baking is a journey, so enjoy every step, from whisking the batter to savoring the delicious results. And if you’re looking for more delicious cake recipes, be sure to check out our Kirsch Cake recipe. It’s another German classic that will transport your taste buds!
Don’t forget to share your Black Forest Cake creations with us! Leave a comment below and let us know how your baking adventure went. Happy baking!
