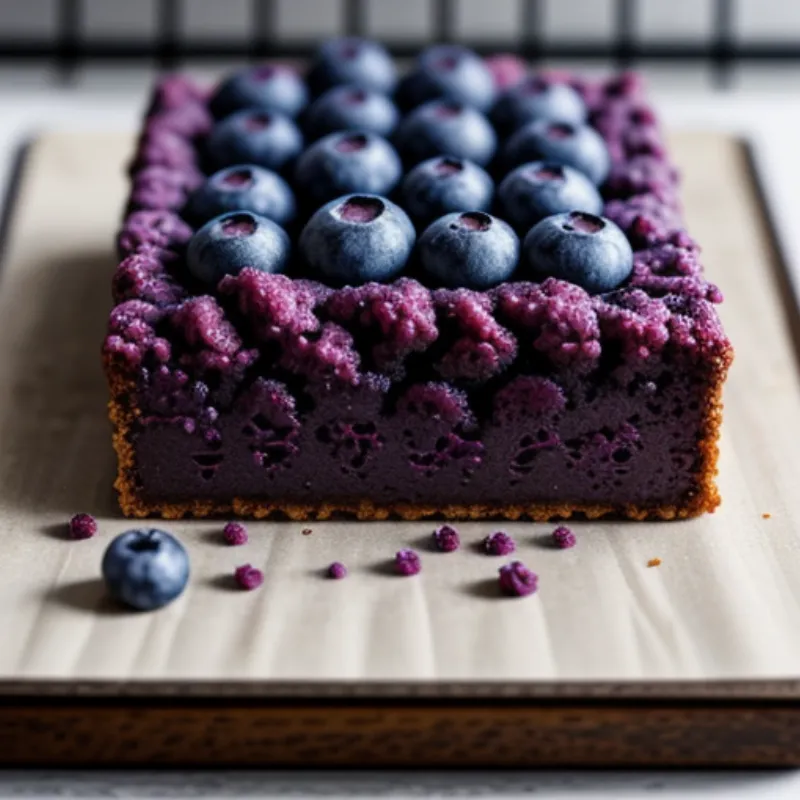
Blueberry buckle cake, have you heard of it? Imagine sinking your teeth into a warm, moist cake bursting with juicy blueberries and topped with a sweet and crunchy crumble. Sounds heavenly, right? This delightful treat is a cinch to bake and perfect for satisfying your sweet cravings any day of the week. Whether you’re a baking novice or a seasoned pro, this foolproof recipe will have you whipping up a bakery-worthy blueberry buckle cake in no time.
Gathering Your Ingredients: A Symphony of Flavors
Before we embark on our baking journey, let’s gather our delicious ingredients. Don’t worry; I’ve got you covered with substitutions if you need them!
For the Cake:
- 1 ½ cups (190g) all-purpose flour (or a gluten-free blend for a delicious twist!)
- ½ cup (60g) granulated sugar
- 2 teaspoons baking powder
- ¼ teaspoon salt
- ½ cup (115g) unsalted butter, softened to room temperature
- ¾ cup (180ml) milk (I love using whole milk for extra richness, but feel free to use your preferred type)
- 1 teaspoon vanilla extract
- 1 large egg
For the Blueberry Filling:
- 2 cups (250g) fresh blueberries (frozen blueberries work too, just thaw and drain them well)
- ¼ cup (50g) granulated sugar
- 1 tablespoon lemon juice (this brightens up the blueberry flavor beautifully)
- 1 teaspoon cornstarch (this helps thicken the filling and prevent sogginess)
For the Crumble Topping:
- ½ cup (60g) all-purpose flour
- ¼ cup (50g) packed light brown sugar
- ¼ teaspoon ground cinnamon (a touch of warmth and spice)
- ¼ cup (55g) cold unsalted butter, cut into small pieces
Tools of the Trade: Baking Essentials
Now, let’s gather our baking arsenal. You’ll need:
- 9-inch square baking pan (I love using glass ones because you can see the magic happening!)
- Mixing bowls (a large one for the batter and a smaller one for the filling and topping)
- Whisk or fork
- Electric mixer (optional, but it makes life easier!)
- Rubber spatula
- Measuring cups and spoons
- Parchment paper (for easy removal and less cleanup – yay!)
Let’s Get Baking: A Step-by-Step Dance of Deliciousness
Alright, baking enthusiasts, are you ready to create some magic? Let’s get started!
Step 1: Preparing the Cake Batter
- Preheat your oven to a cozy 350°F (175°C) and grease your baking pan. I like to line mine with parchment paper for effortless removal later.
- In your large mixing bowl, whisk together the flour, sugar, baking powder, and salt. This ensures everything is evenly distributed for a consistent crumb.
- Now, add the softened butter to the dry ingredients and cream them together until the mixture resembles coarse crumbs. You can use an electric mixer for this or flex your muscles and use a whisk or fork.
- In a separate bowl, whisk together the milk, egg, and vanilla extract. This is our wet ingredient team, ready to join the party!
- Gradually add the wet ingredients to the dry ingredients, mixing until just combined. Don’t overmix; we want a tender cake, not a tough one.
Step 2: The Blueberry Delight
- In your smaller mixing bowl, combine the blueberries, sugar, lemon juice, and cornstarch. Toss gently to coat the blueberries evenly. The cornstarch will work its magic, ensuring a thick and luscious filling.
Step 3: The Crumble Crown
- In the same bowl (no need to wash it!), combine the flour, brown sugar, and cinnamon for the crumble topping.
- Add the cold butter pieces to the dry ingredients and use your fingers or a pastry cutter to work the butter into the mixture until it resembles coarse crumbs. This crumbly topping will add a delightful crunch to our cake.
Step 4: Assembling the Masterpiece
- Pour the cake batter into the prepared baking pan and spread it evenly.
- Sprinkle the blueberry filling evenly over the cake batter.
- Now, sprinkle that irresistible crumble topping over the blueberries, ensuring it covers the entire surface.
Step 5: Baking Time!
- Bake for 45-55 minutes, or until a wooden skewer inserted into the center comes out clean or with a few moist crumbs attached. Keep an eye on it; ovens can be a bit like that!
Step 6: Cooling and Serving
- Once baked, let the cake cool in the pan for about 10-15 minutes before serving. This allows the filling to set and prevents it from being too runny.
 Blueberry Buckle Cake
Tips and Tricks from My Kitchen to Yours
- Frozen Blueberries? No Problem! If using frozen blueberries, don’t thaw them completely. Toss them with the other filling ingredients while still slightly frozen to prevent them from bleeding too much into the batter.
- Cornstarch is Key: Don’t skip the cornstarch in the blueberry filling! It’s essential for thickening the filling and preventing a soggy cake. Nobody likes a soggy bottom!
- Serving Suggestions: This cake is delicious on its own, but you can elevate it with a scoop of vanilla ice cream or a dollop of freshly whipped cream.
Blueberry Buckle Cake: A Slice of Happiness
And there you have it – a beautifully baked blueberry buckle cake ready to impress your family and friends. This delightful treat is perfect for potlucks, picnics, or simply enjoying a cozy afternoon tea.
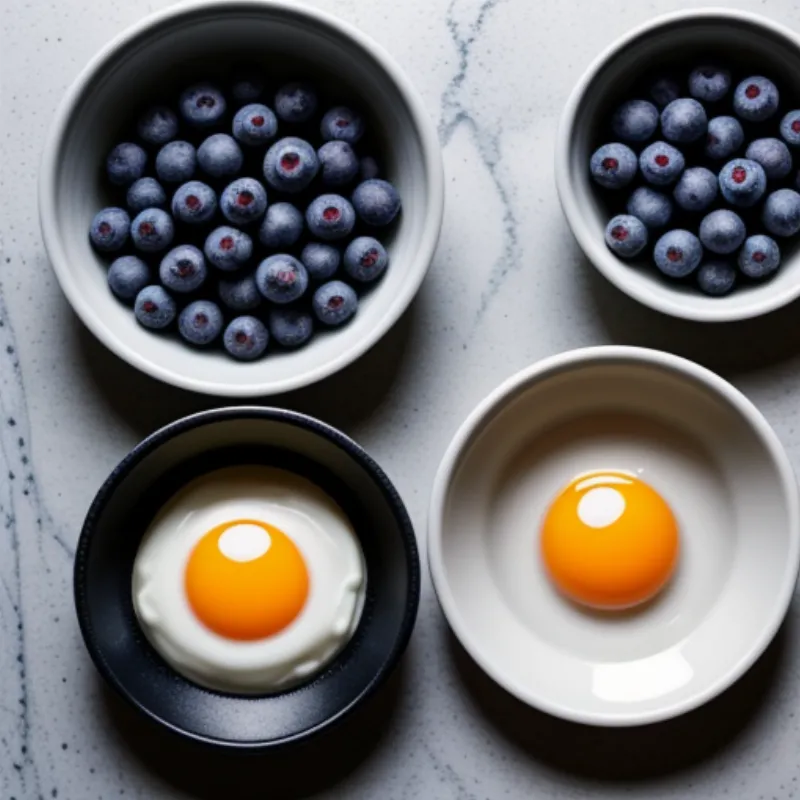
 Blueberry Buckle Cake Ingredients
So, what are you waiting for? Preheat that oven, gather your ingredients, and let’s get baking! Don’t forget to share your blueberry buckle creations with me in the comments below – I love seeing your baking triumphs!
