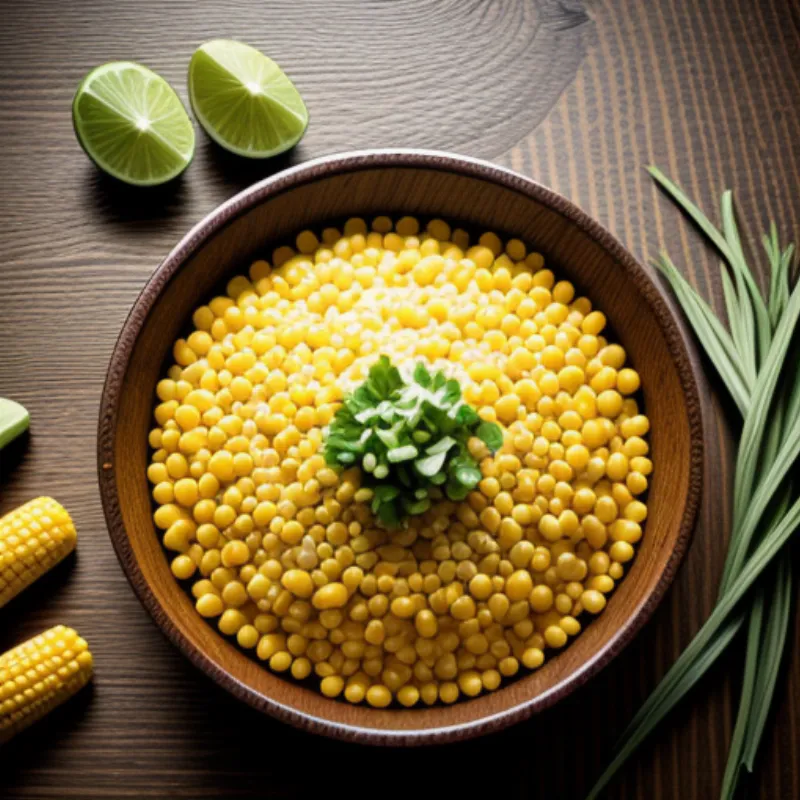
Few things scream summer quite like biting into a sweet, juicy ear of corn on the cob. It’s a simple pleasure, evocative of picnics, barbeques, and long, sunny days. But achieving that perfect texture – those crisp kernels bursting with flavor – requires a little know-how. Fear not, fellow food lovers! This comprehensive guide will equip you with all the secrets to making flawlessly boiled corn on the cob every single time.
From Field to Feast: Choosing the Best Corn
The journey to perfect boiled corn begins with selecting the right ears. Look for corn with bright green husks that are tightly wrapped and slightly moist. The kernels should be plump and milky, and when pierced with a fingernail, they should release a milky juice. Avoid ears with dry or yellowing husks, as they’re likely past their prime.
What You’ll Need: Gathering Your Culinary Tools
- Large pot: Choose a pot that can comfortably accommodate the number of ears you’re cooking, with enough room for water to fully cover them.
- Tongs: These will be your trusty sidekick for safely handling the hot corn.
- Sharp knife: Perfect for removing those stubborn silks.
- Salt: The quintessential seasoning for boiled corn.
Let’s Get Cooking: A Step-by-Step Guide to Boiling Corn on the Cob
-
Shuck the Corn: Peel back the husks and remove the silky threads. This step ensures a cleaner, more enjoyable eating experience.
-
Prepare the Pot: Fill your large pot with enough water to cover the corn by about 2 inches. Add a generous tablespoon of salt to the water. This not only seasons the corn but also helps it retain its vibrant color.
-
Bring to a Boil: Cover the pot and bring the water to a rolling boil over high heat.
-
Add the Corn: Gently place the shucked corn ears into the boiling water. Make sure they’re fully submerged.
-
Cook to Perfection: Allow the corn to cook for 3-5 minutes, or until the kernels are tender and bright yellow.
-
Check for Doneness: To test for doneness, pierce a kernel with a fork or knife. It should be tender and release a bit of milky juice.
-
Remove and Serve: Using tongs, carefully remove the corn from the boiling water and place them on a serving platter.
 Boiled Corn on the Cob
Mastering the Art of Boiled Corn: Tips and Tricks
- Don’t Overcook: The key to perfectly cooked corn is to avoid overcooking. Overcooked corn can become tough and lose its sweetness.
- Add Flavor to the Pot: For an extra layer of flavor, try adding aromatics to the boiling water, such as a bay leaf, a few sprigs of fresh thyme, or a clove of garlic.
- Keep it Warm: If you’re not serving the corn immediately, keep it warm by covering the pot with a lid or wrapping it in a clean kitchen towel.
Serving Suggestions: Enjoying Your Culinary Masterpiece
Boiled corn on the cob is delicious on its own, but you can elevate it further with a variety of toppings. Here are a few ideas:
- Classic Butter and Salt: There’s a reason this combination is a classic – it’s simply irresistible!
- Spicy Chili Lime: Add a kick with a sprinkle of chili powder and a squeeze of fresh lime juice.
- Parmesan and Herbs: For a touch of elegance, try grated Parmesan cheese and fresh herbs like parsley or chives.
 Corn on the Cob with Toppings
Frequently Asked Questions
Q: Can I use frozen corn for boiling?
A: Absolutely! Simply adjust the cooking time accordingly. Frozen corn will take a bit longer to cook through, usually around 5-7 minutes.
Q: How long does boiled corn last in the refrigerator?
A: Boiled corn is best enjoyed fresh, but it can be stored in the refrigerator for up to 3 days. Wrap it tightly in plastic wrap or aluminum foil to prevent it from drying out.
From Our Kitchen to Yours: A Final Word
Boiling corn on the cob might seem like a straightforward task, but with a little attention to detail, you can achieve culinary greatness. Embrace the simplicity, savor the flavors, and enjoy the fruits of your labor. So go ahead, gather your ingredients, and treat yourself to a taste of summer with this timeless classic.
