Boiled taro, a staple in many cuisines around the world, is a deceptively simple dish that’s both delicious and incredibly versatile. With its creamy texture and subtly sweet flavor, boiled taro can be enjoyed on its own, as a side dish, or as an ingredient in a variety of recipes.
Whether you’re familiar with this humble root vegetable or trying it for the first time, this comprehensive guide will teach you how to make perfect boiled taro every time. Get ready to impress your family and friends with this easy and flavorful dish!
Everything You Need to Boil Taro
Before we begin our culinary journey, let’s gather our ingredients and tools.
Ingredients:
- 1 pound taro root, peeled and cut into 1-inch chunks
- Water, for boiling
- Salt, to taste (optional)
Pro Tip from Chef Ana: “When selecting taro root, look for firm, unblemished tubers that feel heavy for their size. Avoid taro with soft spots or a musty smell.”
Equipment:
- Large pot
- Chef’s knife
- Cutting board
- Slotted spoon or colander
How to Boil Taro to Perfection
Now that we have our ingredients and tools ready, let’s dive into the step-by-step process of boiling taro:
-
Prepare the Taro: Wash the taro root thoroughly under cold running water. Using a sharp chef’s knife, carefully peel the rough outer skin, revealing the creamy white flesh underneath. Cut the peeled taro into 1-inch chunks. This ensures even cooking.
-
Boil the Taro: Place the taro chunks in a large pot and cover with cold water. Add a generous pinch of salt, if desired. The salt enhances the taro’s natural sweetness and seasons the water. Bring the pot to a boil over high heat.
-
Simmer Until Tender: Once the water comes to a boil, reduce the heat to medium-low and cover the pot. Let the taro simmer gently for about 20-30 minutes, or until tender when pierced with a fork. The cooking time may vary depending on the size and freshness of the taro.
-
Check for Doneness: To check if the taro is cooked through, insert a fork or a sharp knife into the center of a chunk. It should pierce easily without resistance. If it’s still firm, continue simmering for a few more minutes and check again.
-
Drain and Serve: Once the taro is cooked to your liking, carefully drain the water using a colander. You can now enjoy your perfectly boiled taro!
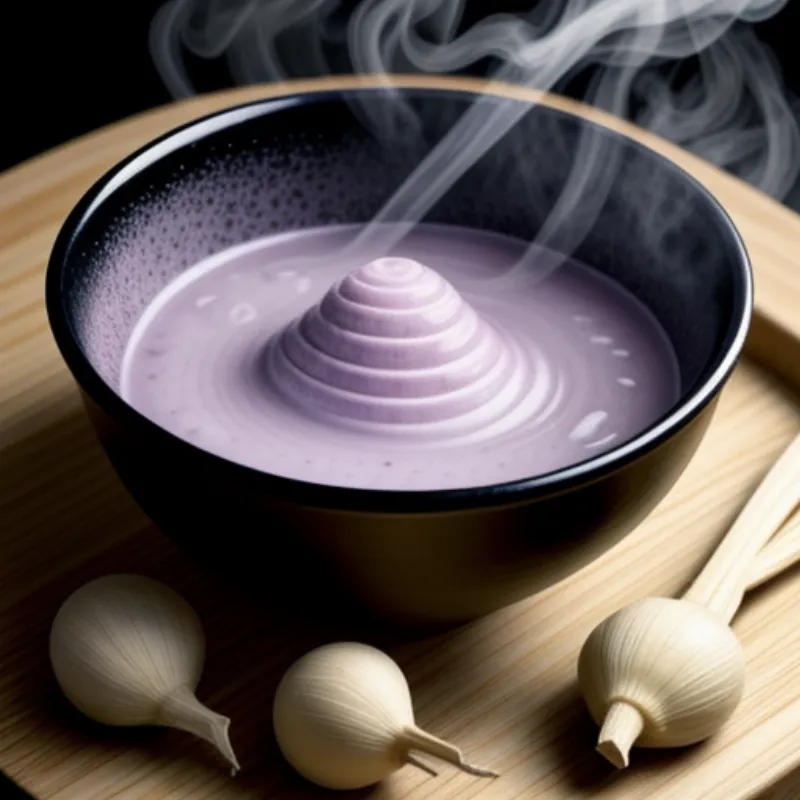
 Bowl of boiled taro
Tips and Tricks for the Best Boiled Taro
Here are some additional tips to elevate your boiled taro game:
- Soaking: For easier peeling, soak the taro root in cold water for about 30 minutes before peeling.
- Flavor Variations: Add aromatics to the boiling water for an extra layer of flavor. Bay leaves, garlic cloves, or a few slices of ginger work wonders.
- Don’t Overcook: Keep a close eye on the taro while it’s simmering to prevent overcooking. Overcooked taro can become mushy.
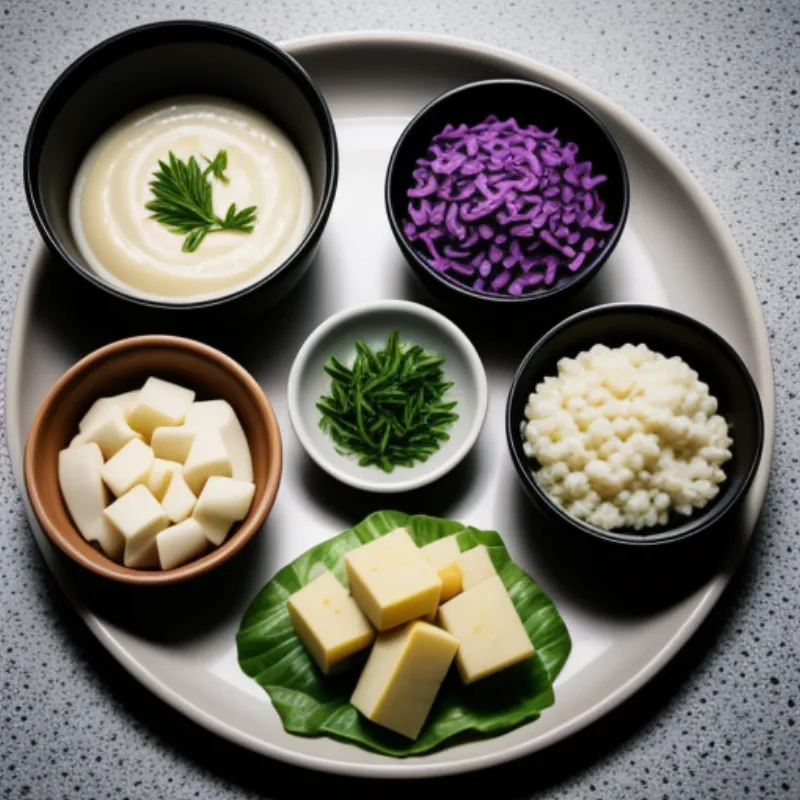
 Different ways to serve boiled taro
Conclusion
Boiling taro might seem like a basic culinary task, but with these tips and techniques, you can achieve perfect results every time. Whether you enjoy it as a simple side dish or incorporate it into your favorite recipes, boiled taro is a versatile ingredient that deserves a place in your culinary repertoire. So why wait? Head to your nearest grocery store, grab some taro root, and start cooking!
We’d love to hear from you! Share your boiled taro creations and experiences in the comments below. Happy cooking!
