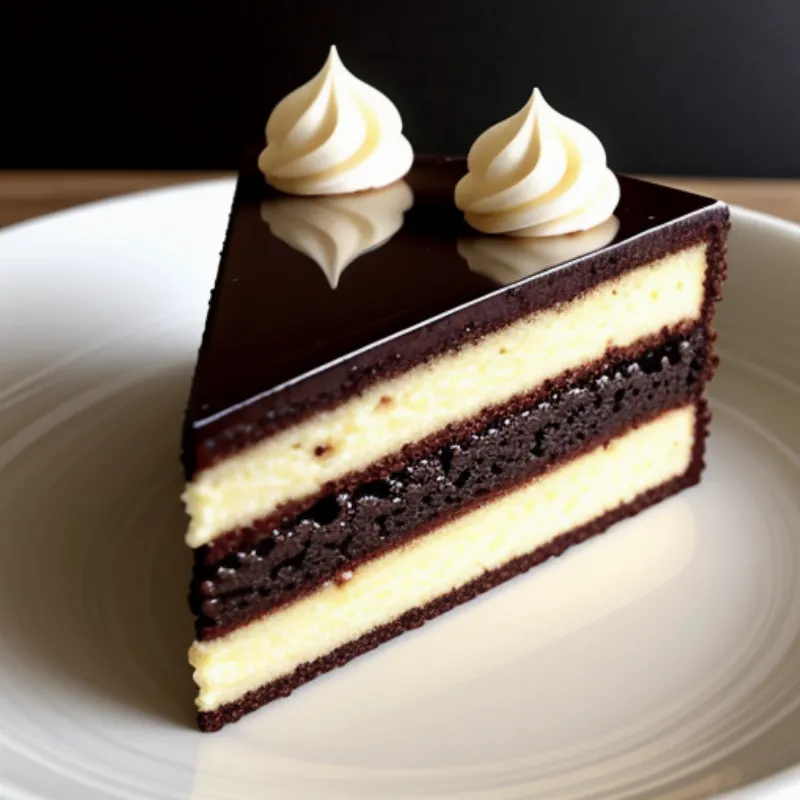
Few desserts can rival the timeless appeal of Boston Cream Pie. This beloved treat, despite its name, is not a pie at all but a decadent cake. Imagine fluffy vanilla sponge cake layered with rich vanilla custard and topped with a smooth, glossy chocolate ganache. It’s a symphony of textures and flavors that has captivated taste buds for generations.
Whether you’re a seasoned baker or a novice in the kitchen, this comprehensive guide will equip you with all the knowledge you need to create this classic dessert at home. Get ready to impress your loved ones with a slice of pure indulgence!
Ingredients You’ll Need
For the Cake:
- 1 1/2 cups (190g) all-purpose flour
- 1 1/2 teaspoons baking powder
- 1/4 teaspoon salt
- 1/2 cup (115g) unsalted butter, softened
- 1 cup (200g) granulated sugar
- 2 large eggs
- 1 teaspoon vanilla extract
- 1/2 cup (120ml) whole milk
For the Pastry Cream:
- 1 cup (240ml) whole milk
- 1/4 cup (50g) granulated sugar
- 1/4 cup (30g) cornstarch
- 1/4 teaspoon salt
- 2 large egg yolks
- 1 tablespoon unsalted butter
- 1 teaspoon vanilla extract
For the Chocolate Ganache:
- 1 cup (170g) semi-sweet chocolate chips
- 1/2 cup (120ml) heavy cream
Tools You’ll Need
- Two 9-inch round cake pans
- Parchment paper
- Electric mixer
- Whisk
- Rubber spatula
- Serrated knife
- Medium saucepan
- Heatproof bowl
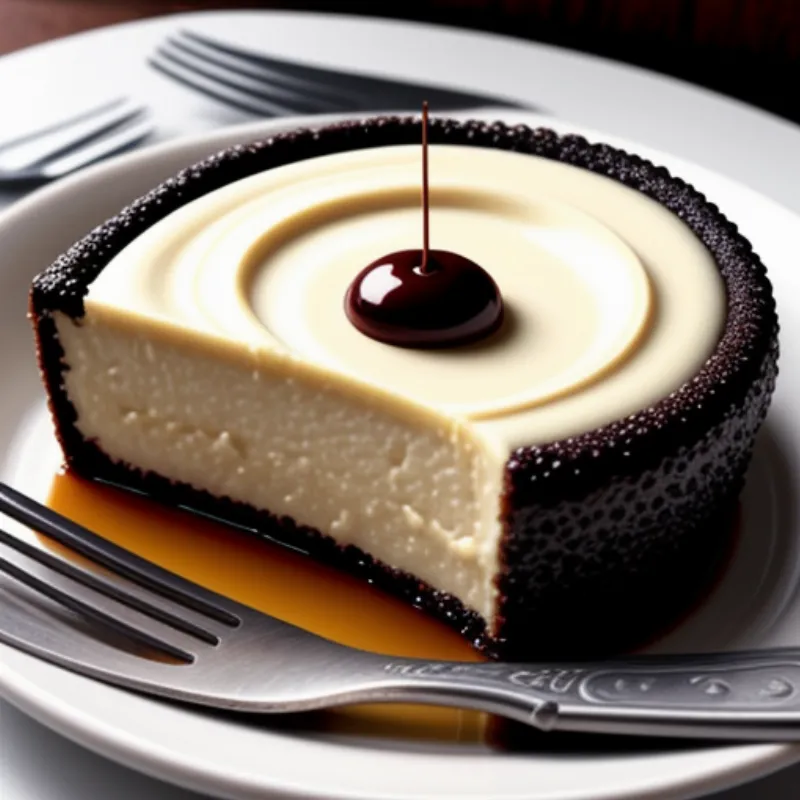
 Boston Cream Pie Layers
Step-by-Step Instructions
Making the Cake:
- Preheat oven and prepare pans: Preheat your oven to 350°F (175°C). Grease and flour two 9-inch round cake pans. Line the bottoms with parchment paper for easy removal later.
- Whisk dry ingredients: In a medium bowl, whisk together the flour, baking powder, and salt. Set aside.
- Cream butter and sugar: In a large bowl, cream together the softened butter and sugar using an electric mixer until light and fluffy.
- Incorporate eggs: Beat in the eggs one at a time, mixing well after each addition. Stir in the vanilla extract.
- Combine wet and dry ingredients: Gradually add the dry ingredients to the wet ingredients, alternating with the milk, and beginning and ending with the dry ingredients. Mix until just combined, being careful not to overmix.
- Bake: Divide the batter evenly between the prepared cake pans. Bake for 25-30 minutes, or until a wooden skewer inserted into the center comes out clean.
- Cool: Let the cakes cool in the pans for 10 minutes before inverting them onto a wire rack to cool completely.
Making the Pastry Cream:
- Heat milk: In a medium saucepan, heat the milk over medium heat until it just begins to simmer.
- Whisk sugar, cornstarch, and salt: In a separate bowl, whisk together the sugar, cornstarch, and salt.
- Temper egg yolks: Gradually whisk about half of the hot milk into the egg yolks, whisking constantly to temper them.
- Cook custard: Pour the tempered egg yolk mixture back into the saucepan with the remaining milk. Cook over medium heat, whisking constantly, until the mixture thickens and comes to a boil.
- Remove from heat: Remove the saucepan from the heat and stir in the butter and vanilla extract until smooth.
- Cool: Pour the pastry cream into a heatproof bowl, cover the surface directly with plastic wrap to prevent a skin from forming, and refrigerate until completely chilled.
Making the Chocolate Ganache:
- Heat cream: Place the chocolate chips in a heatproof bowl. In a small saucepan, heat the heavy cream over medium heat until it just begins to simmer.
- Pour cream over chocolate: Pour the hot cream over the chocolate chips. Let stand for a few minutes, then stir until smooth and glossy.
Assembling the Boston Cream Pie:
- Level cakes: Once the cakes have cooled completely, use a serrated knife to level off any domed tops, creating two even layers.
- Fill with pastry cream: Place one cake layer on a serving plate. Spread the chilled pastry cream evenly over the top, leaving a small border around the edge.
- Top with second cake layer: Carefully place the second cake layer on top of the pastry cream.
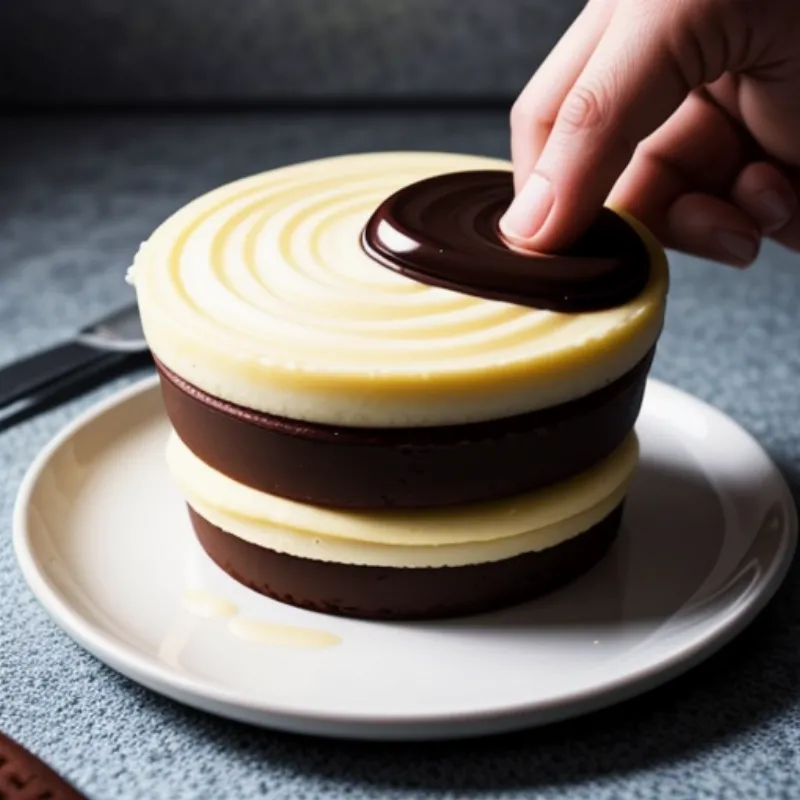
- Frost with ganache: Pour the chocolate ganache over the top of the cake, allowing it to drip down the sides.
 Assembling Boston Cream Pie
Tips and Tricks
- Room temperature ingredients: Make sure your butter, eggs, and milk are at room temperature before starting. This will help ensure a smooth and homogenous batter.
- Don’t overmix: Overmixing the cake batter can result in a tough cake. Mix until the ingredients are just combined.
- Prevent lumps in pastry cream: To avoid lumps in your pastry cream, whisk the cornstarch and sugar together before adding any liquid, and whisk constantly while cooking.
- Chill thoroughly: Allow the pastry cream to chill completely before assembling the cake to prevent the ganache from melting.
- Get creative with decorations: Feel free to get creative with your decorations! You can use fresh berries, chocolate shavings, or piped whipped cream to add an extra touch of elegance.
FAQs
Can I use a different type of milk?
Yes, you can use low-fat or skim milk, but keep in mind that it might slightly alter the texture and richness of the cake and pastry cream.
Can I make this recipe ahead of time?
Yes, you can bake the cakes and make the pastry cream a day ahead of time. Store them separately in the refrigerator, and assemble the cake the day you plan to serve it.
How do I store Boston Cream Pie?
Store leftover Boston Cream Pie in the refrigerator for up to 3 days.
 Boston Cream Pie Slice
Conclusion
There’s something truly special about a dessert that has stood the test of time. Boston Cream Pie is a testament to the fact that classic flavors never go out of style. With its harmonious blend of textures and tastes, it’s a dessert that’s sure to impress your family and friends. So, put on your apron, gather your ingredients, and embark on this culinary adventure. We guarantee it’ll be a baking experience you won’t soon forget! Don’t forget to share your masterpiece with us in the comments below. Happy baking!
