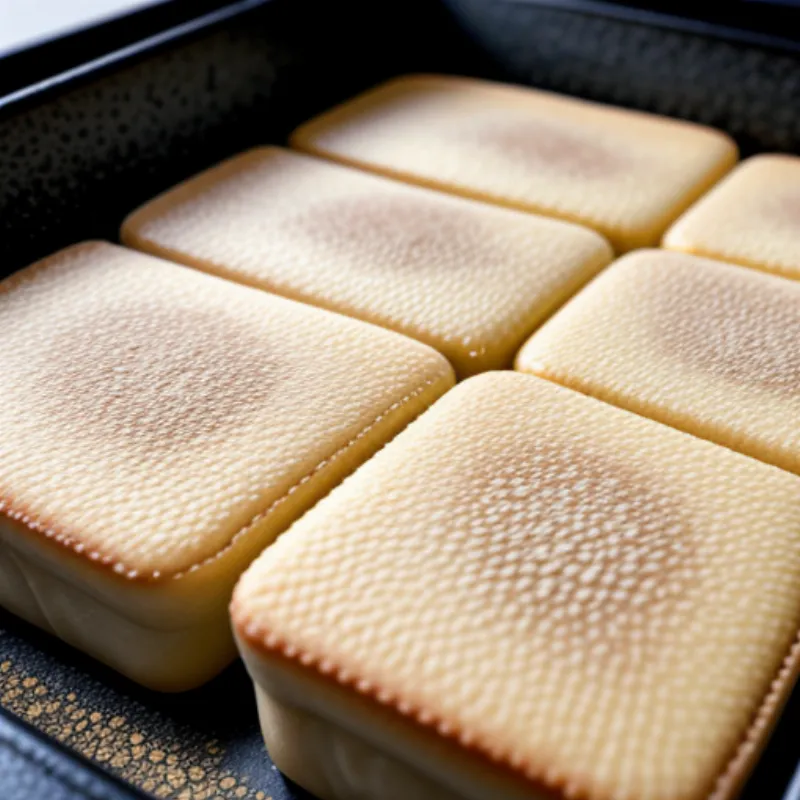
Butter mochi, also known as “mochi butter cake,” is a beloved Hawaiian dessert that’s as fun to say as it is to eat! This delightful treat offers a unique texture experience with its chewy, gooey consistency, thanks to the star ingredient – glutinous rice flour. Imagine biting into a sweet, slightly crisp exterior that gives way to a soft, almost custard-like center, bursting with a delicate coconut flavor. It’s no wonder butter mochi has captured hearts (and taste buds!) far beyond the shores of Hawaii.
Intrigued? You should be! This recipe will guide you step-by-step to create your very own batch of irresistible butter mochi. Don’t worry if you’re a baking novice, we’ve got you covered with easy-to-follow instructions, helpful tips, and answers to some frequently asked questions. So, let’s gather our ingredients and embark on this delicious adventure!
Ingredients:
To create this Hawaiian classic, you’ll need the following ingredients:
- 1 cup glutinous rice flour (also known as sweet rice flour or mochiko flour)
- 1 cup granulated sugar
- 1 teaspoon baking powder
- 1/2 teaspoon salt
- 1 (13.5-ounce) can unsweetened coconut milk
- 1/2 cup melted unsalted butter, slightly cooled
- 2 large eggs, lightly beaten
- 1 teaspoon vanilla extract
- 1/4 cup toasted sesame seeds, for topping (optional)
Ingredient Substitutions:
- Gluten-Free Option: While glutinous rice flour is naturally gluten-free, ensure your brand is certified gluten-free if you have celiac disease or gluten sensitivity.
- Coconut Milk Alternative: If you’re not a fan of coconut, you can substitute it with an equal amount of whole milk or evaporated milk. However, keep in mind that this will slightly alter the flavor profile.
Equipment:
Here’s what you’ll need to have on hand:
- 9×13 inch baking pan
- Parchment paper or non-stick cooking spray
- Large mixing bowl
- Whisk
- Rubber spatula
- Measuring cups and spoons
- Small bowl (for toasting sesame seeds)
Instructions:
Now, let’s get baking!
-
Preheat and Prepare: Preheat your oven to 350°F (175°C). Grease a 9×13 inch baking pan with butter or cooking spray. For easy removal later, line the pan with parchment paper, leaving some overhang on the sides. This will create “handles” for lifting the mochi out once it’s baked.
-
Combine Dry Ingredients: In your large mixing bowl, whisk together the glutinous rice flour, granulated sugar, baking powder, and salt. Make sure these ingredients are well combined, ensuring a consistent texture in your final product.
-
Combine Wet Ingredients: In a separate bowl, whisk together the coconut milk, melted butter, beaten eggs, and vanilla extract until thoroughly combined.
-
Combine Wet and Dry: Gradually pour the wet ingredients into the dry ingredients, whisking constantly to avoid lumps. Continue whisking until a smooth batter forms. It’s crucial to avoid overmixing, as this can result in a denser mochi.
-
Pour and Bake: Pour the batter into your prepared baking pan and spread it evenly. If using sesame seeds, sprinkle them evenly over the top. Bake for 50-60 minutes, or until the top is golden brown and the center is set. You can test for doneness by inserting a toothpick into the center; it should come out clean or with a few moist crumbs.
-
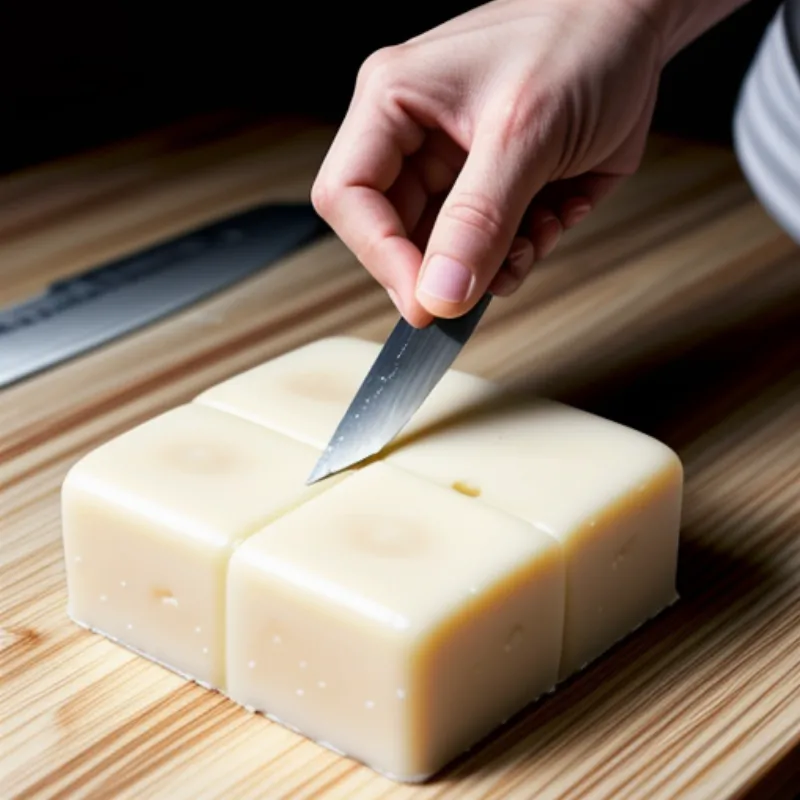
Cool and Cut: Once baked, remove the mochi from the oven and let it cool completely in the pan before cutting. Cooling allows the mochi to set fully, making it easier to slice without it being overly sticky.
-
Slice and Serve: Once cooled, use a sharp knife to cut the mochi into bite-sized squares. Serve immediately and enjoy the chewy, gooey goodness!
 Butter Mochi in Baking Pan
Tips and Tricks:
-
Toasting Sesame Seeds: To enhance the nutty flavor of your sesame seeds, toast them in a dry skillet over medium heat until they become fragrant and lightly browned. Keep a close eye on them, as they can burn quickly!
-
Storage: Butter mochi is best enjoyed fresh on the same day it’s made. However, you can store leftovers in an airtight container at room temperature for up to 2 days. For longer storage, you can freeze it for up to a month. Thaw overnight in the refrigerator before serving.
FAQs:
Here are answers to some common questions about making butter mochi:
1. What is glutinous rice flour, and where can I find it?
Glutinous rice flour, also known as sweet rice flour or mochiko flour, is made from finely ground short-grain glutinous rice. Despite its name, it’s naturally gluten-free. You can usually find it in the Asian aisle of most supermarkets or at Asian grocery stores.
2. Can I use a different sized pan?
While a 9×13 inch pan is standard for this recipe, you can use a slightly smaller or larger pan. Keep in mind that baking time may vary depending on the size and material of your pan.
3. My mochi turned out too sticky. What happened?
Overmixing the batter or insufficient baking time can lead to sticky mochi. Be sure to follow the instructions carefully and bake until the center is set.
 Cutting Butter Mochi
Conclusion:
There you have it – your guide to creating a taste of Hawaii in your own kitchen! With its simple ingredients and straightforward steps, making butter mochi is an enjoyable baking experience for all skill levels. So gather your ingredients, put on your apron, and get ready to impress your friends and family with this delightfully chewy, gooey treat. Don’t forget to share your butter mochi creations with us! Leave a comment below and let us know how yours turned out. And if you enjoyed this recipe, be sure to check out our other delicious recipes on Family Cuisine, like our guides to making red bean cake or the always impressive snow skin mooncake! Happy baking!
