A slice of cake is a little piece of happiness. But you know what’s even better? A slice of cake with a delicious filling, of course! Whether you’re a baking enthusiast or a complete beginner, learning How To Make Cakes With Fillings opens up a world of flavor combinations and creative possibilities. This comprehensive guide will equip you with all the knowledge and tips you need to create stunning and scrumptious cakes that will wow your family and friends.
Indulge Your Senses: Exploring Cake Fillings
From the classic elegance of pastry cream to the tangy sweetness of fruit preserves, the world of cake fillings is as diverse as it is delicious. The beauty of fillings lies in their ability to elevate a simple cake into a symphony of textures and flavors. Imagine biting into a fluffy vanilla cake layered with a smooth chocolate ganache or a vibrant lemon curd – pure bliss!
Essential Ingredients for Success
Before we embark on our baking journey, let’s gather our ingredients. The beauty of cake baking is that even with a few basic pantry staples, you can create something truly special. Here’s what you’ll need to make a basic vanilla cake and a versatile vanilla buttercream frosting, which you can then customize with your choice of fillings:
For the Cake:
- 2 cups (250g) all-purpose flour
- 2 cups (400g) granulated sugar
- 1 teaspoon (5g) baking powder
- 1/2 teaspoon (3g) baking soda
- 1/4 teaspoon (1.5g) salt
- 1 cup (2 sticks) unsalted butter, softened
- 2 large eggs
- 1 cup (240ml) buttermilk
- 1 teaspoon (5ml) vanilla extract
For the Vanilla Buttercream Frosting:
- 1 cup (2 sticks) unsalted butter, softened
- 3-4 cups (375-500g) powdered sugar
- 1/4 cup (60ml) milk or heavy cream
- 1 teaspoon (5ml) vanilla extract
- Pinch of salt
Filling Options:
- Fruit Preserves: Strawberry, raspberry, blueberry, apricot – the possibilities are endless!
- Chocolate Ganache: A decadent blend of chocolate and cream, perfect for chocolate lovers.
- Lemon Curd: A tangy and refreshing filling that pairs well with vanilla or berry-flavored cakes.
- Pastry Cream: A classic choice with its smooth, custard-like texture.
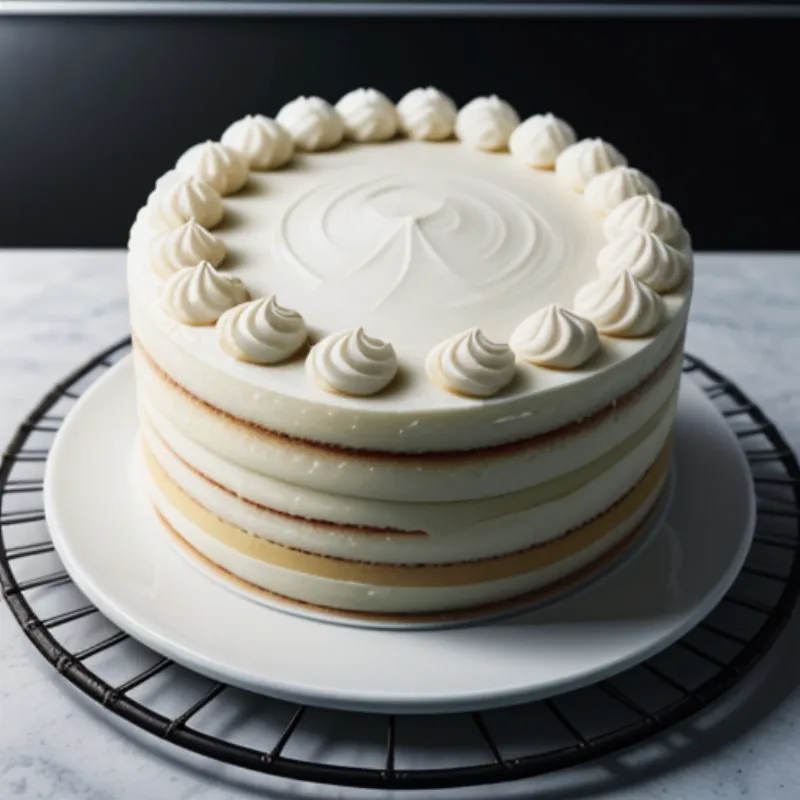
 Three Layered Cake
Tools of the Trade: Baking Equipment
Having the right tools on hand can make your baking experience smoother and more enjoyable. Here’s a list of essential equipment:
- Two 9-inch round cake pans
- Parchment paper
- Electric mixer
- Mixing bowls
- Measuring cups and spoons
- Spatulas
- Serrated knife
- Piping bag and tips (optional)
Step-by-Step Guide: Creating Your Masterpiece
Now that we have our ingredients and equipment ready, let’s dive into the baking process. Remember, baking is all about precision and patience. Follow these steps carefully, and you’ll be well on your way to creating a cake that’s as delicious as it looks:
- Prepare the Cake Pans: Grease and flour two 9-inch round cake pans. Line the bottoms with parchment paper for easy removal later.
- Preheat the Oven: Set your oven to 350°F (175°C).
- Combine Dry Ingredients: In a large bowl, whisk together the flour, sugar, baking powder, baking soda, and salt.
- Cream the Butter and Sugar: In a separate bowl, cream together the softened butter and sugar until light and fluffy.
- Add Eggs One at a Time: Beat in the eggs one at a time, mixing well after each addition.
- Alternate Adding Wet and Dry Ingredients: Gradually add the dry ingredients to the wet ingredients, alternating with the buttermilk, and beginning and ending with the dry ingredients. Beat until just combined.
- Stir in Vanilla: Stir in the vanilla extract.
- Pour Batter into Pans: Divide the batter evenly between the prepared cake pans.
- Bake: Bake for 30-35 minutes, or until a toothpick inserted into the center comes out clean.
- Cool Cakes Completely: Let the cakes cool in the pans for 10 minutes before inverting them onto a wire rack to cool completely.
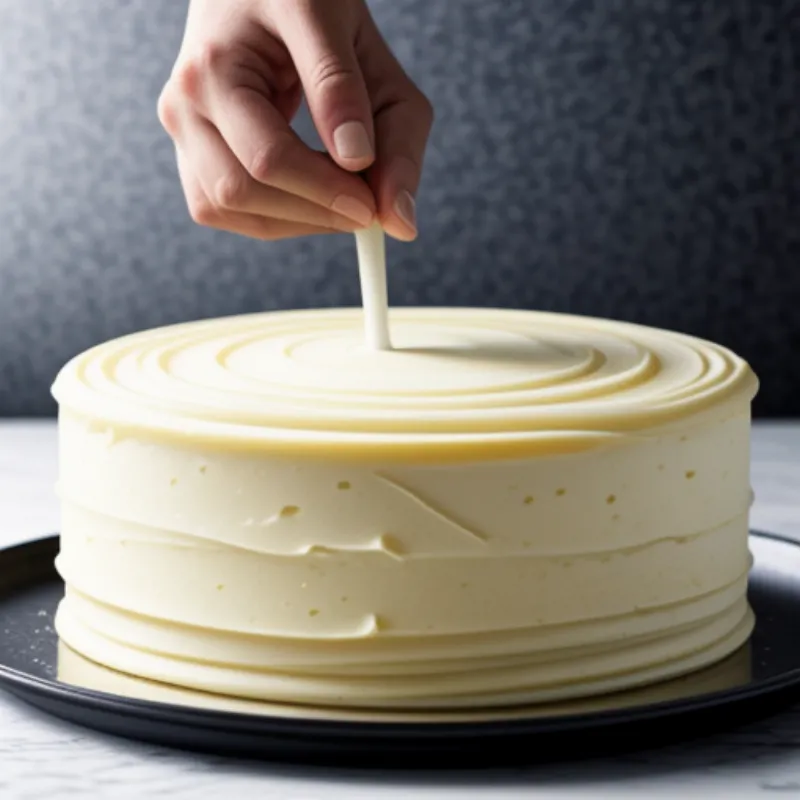
 Frosting a Cake
Filling and Frosting: The Fun Part!
Now that your cakes have cooled completely, it’s time to assemble our masterpiece. This is where your creativity can truly shine!
- Level the Cakes (Optional): If your cake layers have domed tops, use a serrated knife to carefully level them off.
- Prepare Your Filling: Choose your desired filling from the options listed above. You can use store-bought fillings or make your own from scratch.
- Assemble the Cake: Place one cake layer on a serving plate or cake stand. Spread an even layer of filling over the cake, leaving a small border around the edges. Top with the second cake layer.
- Frost the Cake: Frost the entire cake with vanilla buttercream frosting, using a spatula or piping bag.
- Decorate: Get creative with decorations! You can use sprinkles, chopped nuts, fresh fruit, or chocolate shavings.
Tips and Tricks for Perfect Cakes
Here are a few insider tips to help you achieve cake-baking perfection:
- Room Temperature Ingredients: Make sure your butter, eggs, and buttermilk are at room temperature before starting. This will help ensure your ingredients blend together smoothly.
- Don’t Overmix: Overmixing the batter can result in tough cakes. Mix until the ingredients are just combined.
- Use a Toothpick to Test for Doneness: A toothpick inserted into the center of the cake should come out clean when the cake is fully baked.
- Cool Cakes Completely: It’s crucial to let your cakes cool completely before frosting them to prevent the frosting from melting.
FAQs: Addressing Your Baking Queries
Q: Can I use a different type of frosting?
A: Absolutely! Feel free to experiment with different frostings, such as cream cheese frosting, chocolate frosting, or whipped cream.
Q: Can I make these cakes ahead of time?
A: Yes, you can bake the cakes up to 2 days in advance. Wrap them tightly in plastic wrap and store them at room temperature. Frost the cake closer to serving time.
Q: My cake sank in the middle. What went wrong?
A: There are a few reasons why a cake might sink in the middle, such as underbaking, opening the oven door too frequently during baking, or using expired baking powder or baking soda.
Conclusion: Unleash Your Inner Baker
Congratulations! You’ve now learned the art of making cakes with fillings. Armed with this knowledge, you can impress your loved ones with an array of delicious and visually stunning creations. Remember, baking is a journey of experimentation and creativity. Don’t be afraid to try new flavor combinations, fillings, and decorations to make each cake uniquely your own. Happy baking!
