Canelé. Just the name itself sounds elegant, doesn’t it? These petite French pastries, with their caramelized crusts and custardy interiors, are a true testament to the art of baking. While they might seem intimidating at first glance, I’m here to guide you through each step, ensuring you too can create these delightful treats in your own kitchen.
Whether you’re a seasoned baker or just starting out, this comprehensive guide will equip you with everything you need to know about How To Make Canelé – from understanding the ingredients to achieving that signature glossy crust. Let’s embark on this delicious journey together!
Unraveling the Secrets of Canelé
Imagine biting into a canelé – the satisfying crunch of the caramelized crust gives way to a soft, vanilla-scented custard. It’s a symphony of textures and flavors that has captivated dessert lovers for centuries.
Originating in Bordeaux, France, these pastries have a rich history, often linked to the nuns of the Annonciades convent in the 18th century. While the exact origins remain a bit of a mystery, one thing is certain: canelé have stood the test of time and continue to be cherished worldwide.
Gathering Your Canelé Ingredients
Before we dive into the baking process, let’s gather our ingredients. Remember, baking is a science, so using the right ingredients in the correct proportions is key to achieving perfect canelé.
For the Canelé Batter:
- 2 cups (500 ml) whole milk
- 1 vanilla bean, split and scraped (or 2 teaspoons vanilla extract)
- 1 cup (125 g) all-purpose flour
- 1 cup (200 g) granulated sugar
- 2 large eggs
- 2 egg yolks
- 1/4 cup (50 g) unsalted butter, melted and cooled
- 1/4 cup (60 ml) dark rum (optional, but recommended for flavor)
For the Canelé Molds:
- Beeswax or nonstick cooking spray
Chef’s Tip: “For an extra intense vanilla flavor, infuse the milk with the vanilla bean a day ahead. Simply heat the milk with the scraped bean over low heat, then cover and refrigerate overnight. Strain before using.” – Chef Pierre, Pastry Chef
Essential Tools for Canelé Success
Having the right tools can make your canelé baking experience smoother and more enjoyable. Here’s what you’ll need:
- Medium saucepan
- Whisk
- Fine-mesh sieve
- Mixing bowls
- Rubber spatula
- Canelé molds (copper or silicone)
- Pastry brush (if using beeswax)
A Step-by-Step Guide on How To Make Canelé
Now comes the exciting part – bringing our canelé to life! Follow these steps carefully for the best results:
Step 1: Infusing the Milk with Flavor
- In a saucepan, combine the milk and vanilla bean (or vanilla extract) and bring to a simmer over medium heat.
- Once simmering, remove from heat and let steep for at least 30 minutes, or even better, overnight in the refrigerator for a more intense vanilla flavor.
Step 2: Creating the Canelé Batter
- In a large bowl, whisk together the flour and sugar until well combined.
- In a separate bowl, whisk together the eggs and egg yolks until light and frothy.
- Gradually whisk the egg mixture into the flour mixture, ensuring no lumps remain.
- Slowly drizzle in the melted and cooled butter, whisking constantly to incorporate.
- Strain the infused milk through a fine-mesh sieve into the batter, whisking continuously.
- Stir in the rum (if using).
- Cover the bowl with plastic wrap and refrigerate for at least 24 hours, or up to 48 hours. This resting period is crucial for developing the flavor and texture of the canelé.
Step 3: Preparing the Canelé Molds
- If using copper molds, generously grease the inside of each mold with beeswax. This step is essential for achieving the signature caramelized crust and preventing sticking.
- If using silicone molds, lightly grease with nonstick cooking spray.
Step 4: Baking the Canelé
- Preheat your oven to 400°F (200°C).
- Place the canelé molds on a baking sheet.
- Remove the batter from the refrigerator and give it a good whisk.
- Fill each mold to about 3/4 full with batter.
- Bake for 60-75 minutes, or until the canelé are deeply caramelized and the crust is dark brown. The baking time may vary depending on your oven and the type of molds used.
Chef’s Tip: “To ensure even cooking, rotate the baking sheet halfway through baking. For a softer crust, you can lower the oven temperature to 375°F (190°C) after the first 30 minutes of baking.” – Chef Pierre, Pastry Chef
Step 5: Cooling and Unmolding
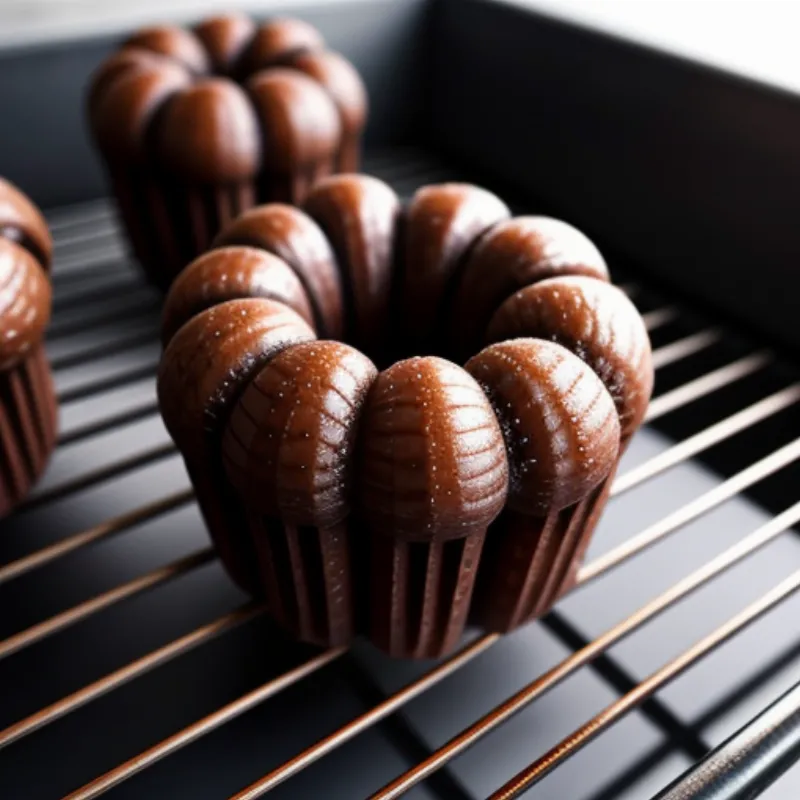
- Once baked, remove the canelé from the oven and let them cool in the molds for about 10 minutes.
- Invert the molds onto a wire rack to release the canelé.
 Canelé Cooling
Tips for Canelé Perfection:
- Batter Consistency: The canelé batter should have a similar consistency to crepe batter – thin enough to pour but not too runny.
- Resting Time: Don’t skip the resting period! Refrigerating the batter for at least 24 hours allows the gluten in the flour to relax, resulting in a more tender texture.
- Beeswax: Using beeswax is highly recommended for authentic canelé. It gives the pastries their signature crispy crust and adds a subtle honeyed flavor.
- Baking Time: Keep a close eye on the canelé while baking, as oven temperatures can vary. Adjust the baking time as needed to achieve that perfect caramelized crust.
Troubleshooting Your Canelé
Even experienced bakers encounter challenges sometimes. Here are some common canelé troubles and how to address them:
- Canelé are sunken in the center: This usually indicates underbaking. Increase the baking time slightly and make sure the oven temperature is accurate.
- Canelé have a tough crust: Overbaking can lead to a tough crust. Reduce the baking time slightly or lower the oven temperature towards the end of baking.
- Canelé stuck to the molds: Ensure you’ve greased the molds properly, especially if using copper.
Serving and Enjoying Your Canelé
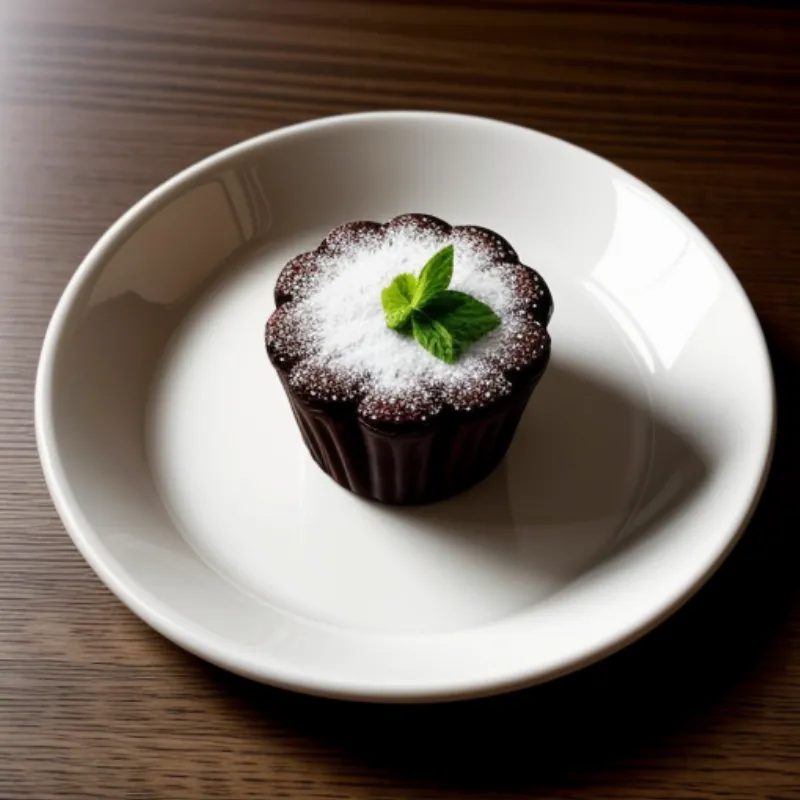
 Canelé Plating
Canelé are best enjoyed slightly warm or at room temperature. Their unique texture and flavor combination make them a delightful treat on their own, but they also pair wonderfully with a cup of coffee, tea, or even a glass of dessert wine.
These elegant pastries can elevate any occasion, from casual gatherings to special celebrations.
Exploring Canelé Variations
Once you’ve mastered the classic canelé recipe, feel free to get creative and experiment with different flavors! Some popular variations include:
- Chocolate Canelé: Add 1/4 cup of unsweetened cocoa powder to the dry ingredients for a rich, chocolatey twist.
- Citrus Canelé: Add the zest of an orange or lemon to the batter for a refreshing citrusy aroma.
- Spiced Canelé: Incorporate warm spices like cinnamon, nutmeg, or cardamom into the batter for a cozy and comforting flavor.
Conclusion
Making canelé might seem like a culinary adventure, but with this step-by-step guide, you’re well on your way to baking these French delights with confidence. Remember, patience and attention to detail are key. Don’t be afraid to experiment and add your personal touch to this classic recipe. Now, put on your apron, gather your ingredients, and embark on the rewarding journey of crafting your own perfect canelé!
We’d love to hear about your canelé baking experience! Share your thoughts, questions, and photos in the comments section below. Happy baking!
