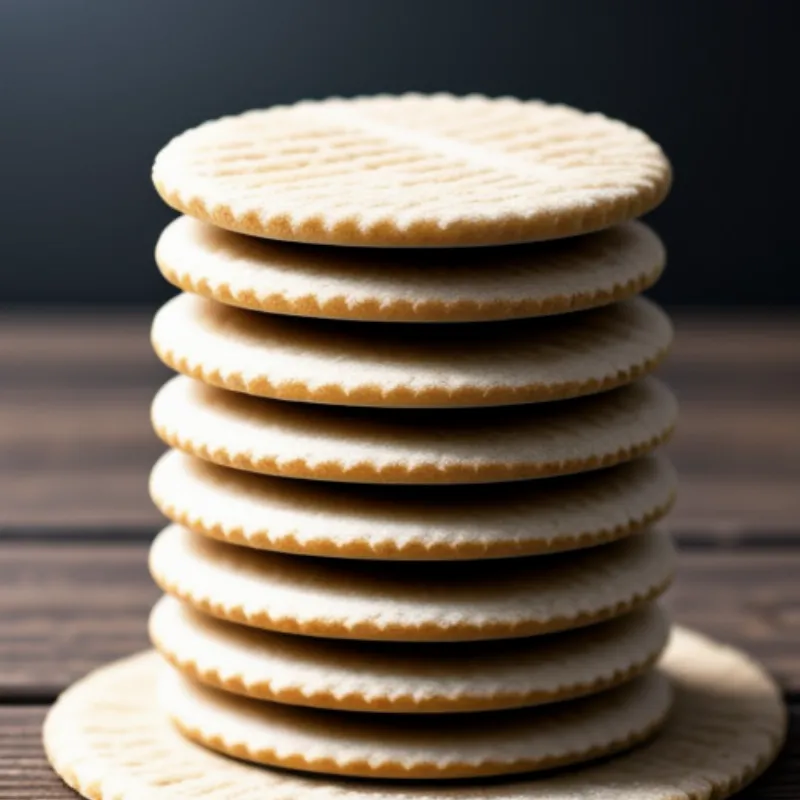
Caramel wafer biscuits: the name alone evokes a sense of childhood joy and sweet indulgence. These delicate, crisp wafers layered with luscious caramel are the perfect treat for any occasion. Whether you’re a seasoned baker or a complete beginner, this recipe will guide you step-by-step to create these irresistible treats in your own kitchen. Get ready to impress your friends and family with a batch of homemade caramel wafer biscuits that are even tastier than anything you can find in a store!
The Magic of Homemade Caramel Wafer Biscuits
These aren’t just any cookies; they’re thin, crispy wafers sandwiching a smooth, buttery caramel filling. The beauty of this recipe lies in its simplicity. With a few basic pantry staples and some easy-to-follow instructions, you’ll be biting into a crunchy, gooey masterpiece in no time.
“My grandmother used to make these wafer biscuits for every holiday,” says renowned pastry chef, Emily Carter. “The aroma of caramelized sugar filling the house is a memory I’ll always cherish. It’s a simple recipe, but the taste is pure magic.”
Gathering Your Ingredients
Here’s what you’ll need to get started:
For the Wafer Biscuits:
- 1 cup (2 sticks) unsalted butter, softened
- 1/2 cup granulated sugar
- 1 teaspoon vanilla extract
- 1/4 teaspoon salt
- 2 cups all-purpose flour
For the Caramel Filling:
- 1 cup packed light brown sugar
- 1/2 cup unsalted butter
- 1/4 cup heavy cream
- 1 teaspoon vanilla extract
Tools of the Trade
- Two baking sheets
- Parchment paper
- Electric mixer
- Saucepan
- Rubber spatula
- Wire rack
Let’s Get Baking!
Making the Wafer Biscuits:
- Preheat your oven to 350°F (175°C) and line your baking sheets with parchment paper.
- Cream the butter and sugar: In a mixing bowl, cream together the softened butter and granulated sugar until the mixture is light and fluffy.
- Add the vanilla and salt: Beat in the vanilla extract and salt until well combined.
- Gradually incorporate the flour: Gradually add the flour to the wet ingredients, mixing on low speed until just combined. Be careful not to overmix the dough.
- Roll out the dough: Divide the dough in half. On a lightly floured surface, roll out each half into a very thin rectangle, about 1/8-inch thick. If the dough feels sticky, you can chill it in the refrigerator for 15-20 minutes before rolling.
- Cut the wafers: Using a sharp knife or a pizza cutter, cut the rolled-out dough into rectangles of your desired size.
- Bake the wafers: Carefully transfer the cut wafers onto the prepared baking sheets. Bake for 8-10 minutes, or until the edges are lightly golden brown.
- Cool completely: Once baked, remove the wafer biscuits from the oven and let them cool completely on a wire rack before filling.
Creating the Caramel Filling:
- Combine the ingredients: In a medium saucepan, combine the brown sugar, butter, and heavy cream.
- Cook over medium heat: Cook the mixture, stirring constantly, until the sugar dissolves and the caramel comes to a boil.
- Simmer and cool: Reduce the heat to low and simmer for 2-3 minutes, stirring occasionally, until the caramel thickens slightly. Remove from heat and stir in the vanilla extract. Allow the caramel to cool slightly before filling the wafers.
Assembling Your Caramel Wafer Biscuits:
- Pair the wafers: Once the wafers are completely cool, pair them up according to size and shape.
- Spread the caramel: Spread a generous spoonful of the cooled caramel filling onto the bottom side of half of the wafer biscuits.
- Sandwich together: Top with the remaining wafer biscuits, pressing down gently to spread the caramel evenly.
- Set and enjoy: Allow the caramel to set for at least 30 minutes before serving.
Tips for Perfect Caramel Wafer Biscuits
- Use high-quality butter: The flavor of the butter shines through in both the wafers and the caramel, so using a good quality butter will significantly enhance the taste.
- Don’t overbake the wafers: The wafers should be lightly golden brown around the edges. Overbaking will make them dry and brittle.
- Let the caramel cool: Allowing the caramel to cool slightly before filling the wafers will prevent it from making the wafers soggy.
- Storage: Store your caramel wafer biscuits in an airtight container at room temperature for up to 3 days.
FAQs: Your Caramel Wafer Biscuit Questions Answered!
Q: Can I use store-bought caramel for the filling?
A: While homemade caramel is always recommended for the best flavor, you can use store-bought caramel in a pinch. Look for a soft caramel that is easy to spread.
Q: My wafer biscuits turned out a bit soft. What went wrong?
A: This could be due to a few factors, such as underbaking the wafers or not allowing the caramel to cool sufficiently before filling. Make sure the wafers are completely cool and the caramel is thickened before assembling.
Q: Can I freeze caramel wafer biscuits?
A: Yes, you can freeze these biscuits for up to 2 months. Wrap them tightly in plastic wrap and then place them in a freezer-safe bag or container.
Indulge and Enjoy!
There you have it – a timeless classic that’s sure to become a family favorite. These caramel wafer biscuits are perfect for sharing with loved ones, gifting on special occasions, or simply indulging in a moment of pure sweetness. So, gather your ingredients, put on your apron, and experience the joy of baking these delightful treats from scratch!
 Caramel Wafer Biscuits
 Making the Caramel Filling
 Rolled Wafer Biscuit Dough
Did you try this recipe? We’d love to hear about your experience! Share your thoughts and photos in the comments below. And if you’re looking for more delicious homemade treats, be sure to check out our recipe for How to Make Dulce de Leche Cheesecake!
