Charlotte, a timeless dessert with roots in 18th-century France, is making a comeback in modern kitchens. And for good reason! This elegant dessert, featuring ladyfinger cookies encasing a creamy filling, is as delightful to the eyes as it is to the palate.
Whether you’re a seasoned baker or a novice in the kitchen, this comprehensive guide will equip you with everything you need to know to make a show-stopping charlotte at home. From understanding the nuances of different charlotte variations to mastering the art of assembling this architectural dessert, we’ve got you covered.
Get ready to impress your family and friends with your newfound baking prowess, as we embark on this culinary journey together!
What Exactly is Charlotte?
Before we dive into the recipe, let’s unravel the history and essence of this classic dessert.
The name “charlotte” is believed to have originated from Queen Charlotte, the wife of King George III of England. A culinary pioneer of her time, she was a known patron of the arts and a lover of fresh produce. This dessert, with its elegant presentation and use of fresh fruit, seems a fitting tribute to her legacy.
Traditionally, charlotte is made by lining a mold with ladyfingers (also known as Savoiardi biscuits) and filling it with a Bavarian cream or fruit puree. The dessert is then chilled to allow the flavors to meld and the ladyfingers to soften slightly, creating a harmonious blend of textures and tastes.
How To Make Charlotte: A Step-by-Step Guide
Ingredients You’ll Need
For the Ladyfinger Shell:
- 2 packages (about 3 ounces each) ladyfingers
- 1/4 cup unsalted butter, melted
- 1/4 cup granulated sugar
For the Filling:
- 2 cups heavy cream
- 1 cup whole milk
- 1/2 cup granulated sugar
- 1/4 cup cornstarch
- 1/4 teaspoon salt
- 1 large egg yolk
- 1 teaspoon vanilla extract
- 1 cup fresh berries (such as raspberries, blueberries, or strawberries)
For Decoration (Optional):
- Fresh berries
- Mint leaves
- Chocolate shavings
Tools of the Trade
- 2 mixing bowls
- Whisk
- Rubber spatula
- Medium saucepan
- Measuring cups and spoons
- 9-inch springform pan
- Parchment paper
Let’s Get Baking!
Preparing the Ladyfinger Shell:
- Prepare the pan: Grease the bottom of your springform pan and line it with parchment paper. This will prevent the charlotte from sticking and ensure easy removal later.
- Create the base: Dip each ladyfinger into the melted butter, then press it firmly into the bottom of the prepared pan, sugar-side down. Continue arranging the ladyfingers until the entire base is covered.
- Build the sides: Trim ladyfingers as needed to fit upright along the sides of the pan, ensuring they’re tall enough to create a rim.
Crafting the Creamy Filling:
- Combine ingredients: In a medium saucepan, whisk together the milk, sugar, cornstarch, and salt. Heat over medium heat, stirring constantly, until the mixture thickens and comes to a boil.
- Temper the egg yolk: In a small bowl, whisk the egg yolk lightly. Gradually drizzle a small amount of the hot milk mixture into the egg yolk, whisking constantly to temper it and prevent curdling. Pour the tempered yolk mixture back into the saucepan.
- Cook and cool: Cook the mixture for an additional minute, stirring constantly, until it’s thick enough to coat the back of a spoon. Remove from heat and stir in the vanilla extract.
- Whip the cream: In a separate bowl, beat the heavy cream with an electric mixer until stiff peaks form.
- Combine mixtures: Gradually fold the whipped cream into the cooled custard mixture until well combined. Be gentle to avoid deflating the whipped cream.
Assembling the Charlotte:
- Layer the filling: Pour the creamy filling into the prepared ladyfinger shell, spreading it evenly.
- Chill and set: Refrigerate the charlotte for at least 4 hours, or preferably overnight, to allow the flavors to meld and the ladyfingers to soften.
The Grand Finale: Presentation!
- Unmold: Carefully run a thin knife around the edge of the charlotte to loosen it from the sides of the pan. Release the sides of the springform pan and transfer the charlotte to a serving plate.
- Decorate: Arrange fresh berries, mint leaves, or chocolate shavings on top of the charlotte for a touch of elegance.
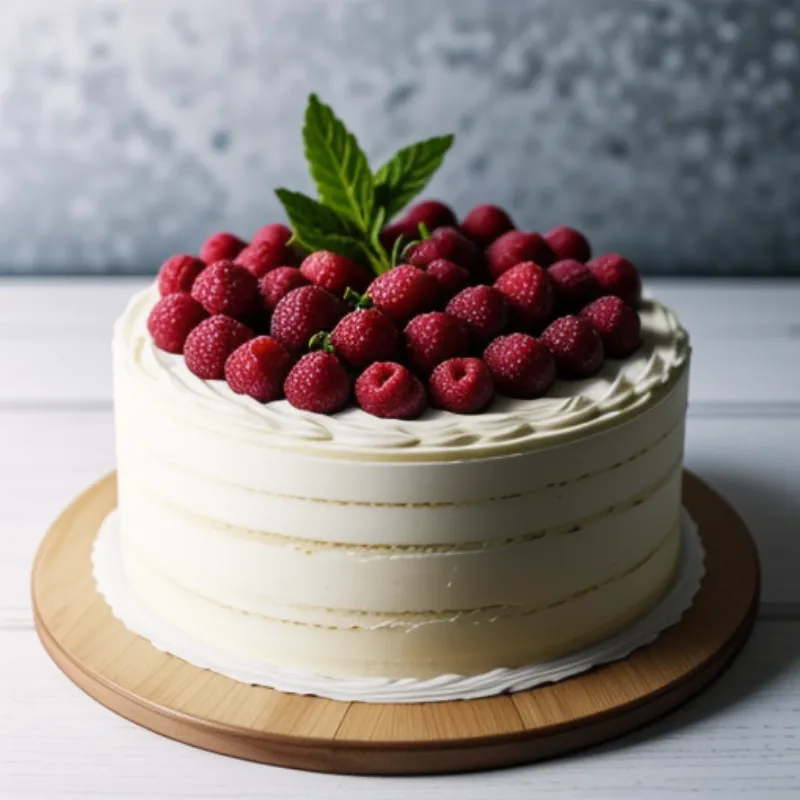
 Classic Charlotte Cake
Tips and Tricks from the Pros
- Ladyfinger variations: If you can’t find traditional ladyfingers, you can substitute them with sponge cake, pound cake, or even graham crackers. Adjust the assembly accordingly to accommodate the chosen alternative.
- Infuse your flavors: Experiment with different flavor profiles by adding a teaspoon of your favorite liqueur, a pinch of spices, or a citrus zest to the filling.
- Prevent soggy ladyfingers: For a crispier ladyfinger shell, lightly toast them in a preheated oven for a few minutes before dipping them in the melted butter.
- Troubleshooting a runny filling: If your filling seems too runny, you can add a tablespoon of softened gelatin while heating the milk mixture to help it set properly.
FAQs About Making Charlotte
Q: Can I make charlotte ahead of time?
A: Absolutely! In fact, charlotte tastes even better the next day, as the flavors have more time to meld. You can make it up to 2 days in advance and store it covered in the refrigerator.
Q: What can I do if I don’t have a springform pan?
A: You can use a deep pie dish or a round baking dish as an alternative. Just be sure to adjust the number of ladyfingers used to fit the size of your chosen dish.
Q: Can I use frozen berries for the filling?
A: Yes, you can use frozen berries. Just make sure to thaw them completely and drain any excess liquid before adding them to the filling.
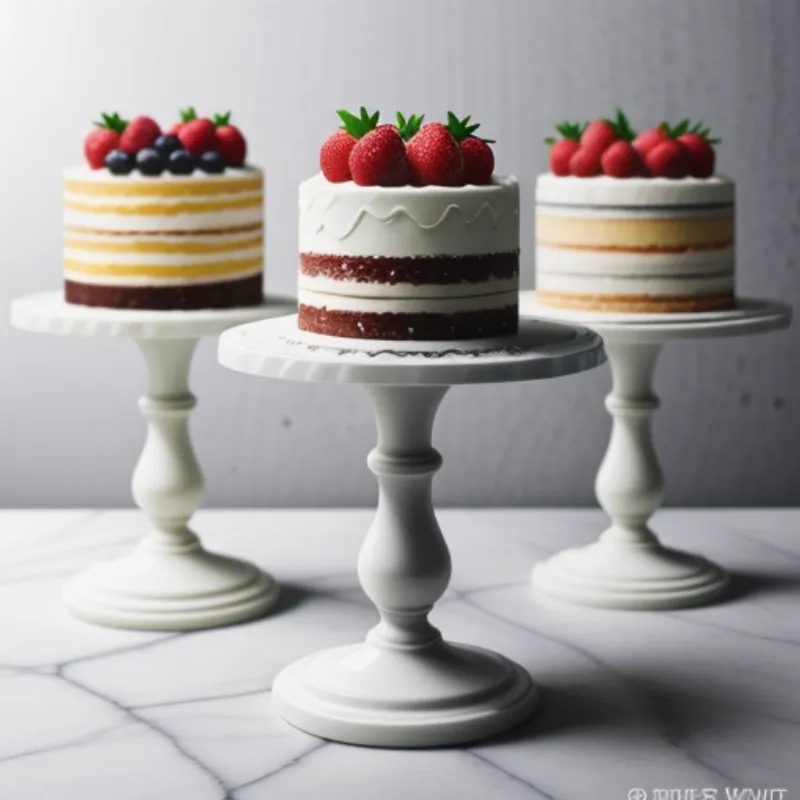
 Charlotte Cake Variations
A Final Word from Our Kitchen to Yours
Making charlotte might seem daunting at first, but with a little patience and attention to detail, you’ll be rewarded with a dessert that is as impressive as it is delicious.
Remember, baking is a journey, not a destination. Don’t be afraid to experiment, add your personal touch, and most importantly, have fun in the kitchen!
Happy baking!
