Chenna poda, also known as “burnt cheese,” is a delectable dessert hailing from the eastern Indian state of Odisha. Don’t be fooled by the name though – this dessert is anything but burnt! It’s a rich, caramelized delicacy made with fresh chhena (a type of Indian cottage cheese), semolina, sugar, and nuts. Imagine a cheesecake-caramel pudding hybrid with a subtle sweetness and a hint of earthiness from the jaggery. Intrigued yet? Let’s embark on a culinary journey to make this unique Indian dessert right in your own kitchen.
Ingredients You’ll Need
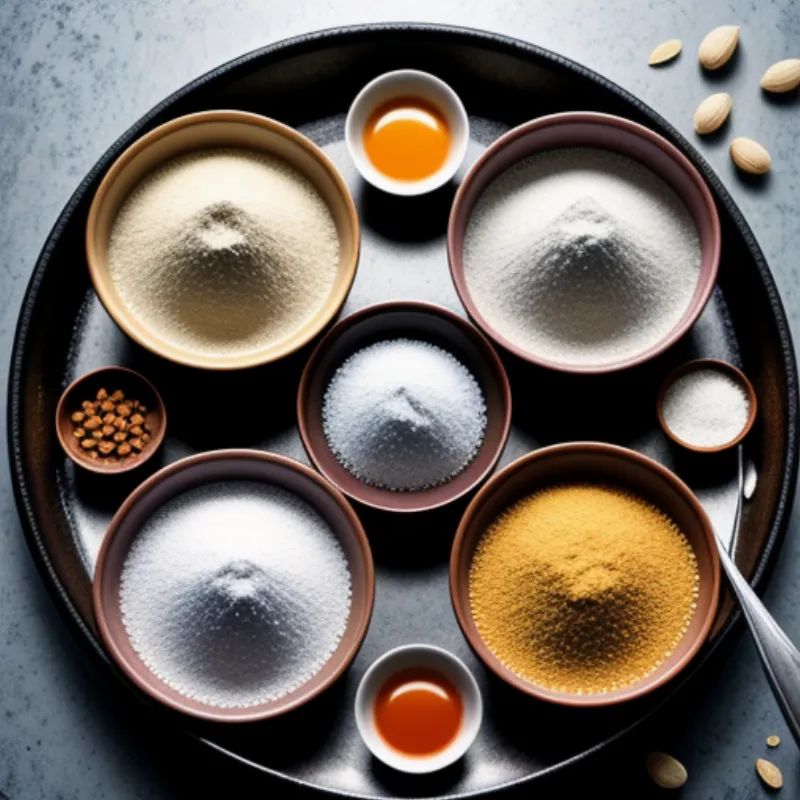
For this delightful journey, we need a few key ingredients. Most of them are probably already in your pantry!
- For the Chenna:
- 1 liter full-fat milk
- 1/4 cup lemon juice or white vinegar
- For the Poda:
- 250 grams chhena (freshly made or store-bought)
- 1/2 cup semolina (sooji/rava)
- 1/2 cup powdered sugar (adjust to taste)
- 1/4 cup jaggery (grated)
- 1/4 cup milk
- 2 tablespoons ghee (clarified butter) + more for greasing
- 1/4 teaspoon cardamom powder
- 1/4 cup mixed nuts (cashews, almonds, pistachios, chopped)
Chef’s Tip: If you can’t find jaggery, you can substitute it with brown sugar, but the authentic flavor of chenna poda comes from the jaggery.
Tools of the Trade
- Heavy-bottomed pan
- Muslin cloth or cheesecloth
- Mixing bowl
- Baking dish (8×8 inch)
- Steamer (or a large pot and a steaming rack)
Step-by-Step Guide to Chenna Poda Perfection
-
Making the Chhena:
- In a heavy-bottomed pan, bring the milk to a boil.
- Once boiling, reduce the heat and slowly add the lemon juice/vinegar while stirring continuously.
- The milk will start to curdle, separating the chenna from the whey. Continue stirring until the separation is complete.
- Line a colander with the muslin cloth and strain the curdled milk. Wash the chenna under running water to remove any sourness from the lemon/vinegar.
- Gather the edges of the cloth and hang the chenna for about 30-45 minutes to drain excess water. It should have a crumbly yet moist texture.
-
Preparing the Poda Batter:
- In a mixing bowl, crumble the chenna until smooth.
- Add the semolina, powdered sugar, grated jaggery, cardamom powder, and melted ghee to the chenna. Mix well.
- Gradually add the milk, a little at a time, and mix until you achieve a smooth and slightly thick batter.
-
Baking the Chenna Poda:
- Preheat your oven to 350°F (180°C).
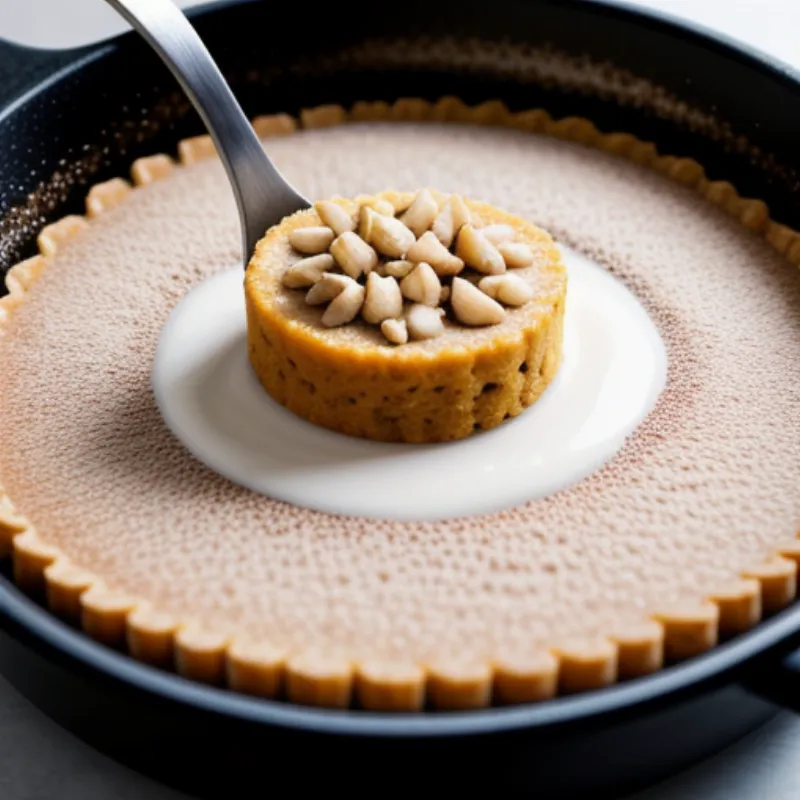
- Grease a baking dish with ghee and pour in the chenna poda batter. Sprinkle the chopped nuts evenly on top.
- Place the dish in the preheated oven and bake for 45-50 minutes, or until the top is golden brown and a toothpick inserted in the center comes out clean.
- Once baked, take the dish out of the oven and let it cool completely before cutting and serving.
Pro Tip: For a more authentic “burnt” flavor, you can broil the chenna poda for the last 5 minutes of baking. Keep a close eye on it to avoid over-browning.
Serving and Savoring Your Chenna Poda
Chenna poda is best served warm or at room temperature. Cut it into squares or diamonds and enjoy it plain or with a dollop of fresh cream or a scoop of vanilla ice cream.
FAQs About Making Chenna Poda
Q: Can I make chenna poda without an oven?
A: Absolutely! You can steam the chenna poda for about 1-1.5 hours or until cooked through.
Q: How do I know if my chenna poda is cooked?
A: The top will be golden brown, the edges will start to leave the sides of the pan, and a toothpick inserted in the center will come out clean.
Q: How long can I store chenna poda?
A: You can store chenna poda in an airtight container in the refrigerator for up to 2-3 days.
Expert Opinion
“Chenna poda is a beautiful example of how simple ingredients can come together to create something truly extraordinary,” says renowned Indian pastry chef, Aditi Handa. “The combination of textures and the interplay of sweet and earthy flavors make it a dessert that’s sure to impress.”
 Chenna Poda Ingredients
 Chenna Poda Baking
Making chenna poda is easier than you think. So why not give it a try? It’s a fun and rewarding dessert that’s perfect for any occasion. Be sure to share your experience and photos with us in the comments below. We love hearing from our readers! Don’t forget to explore our website for more exciting Indian dessert recipes.
