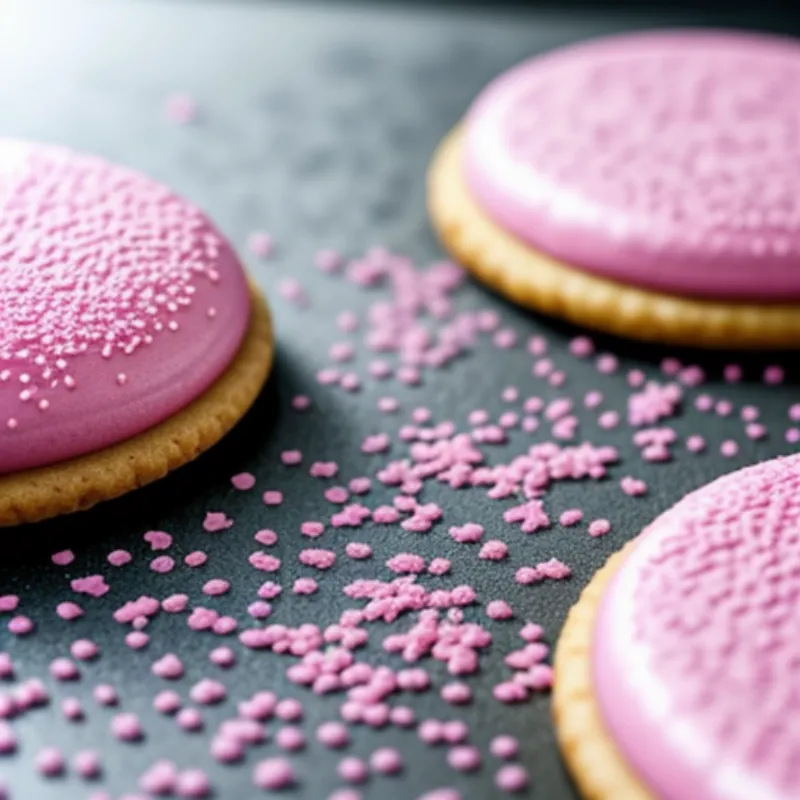
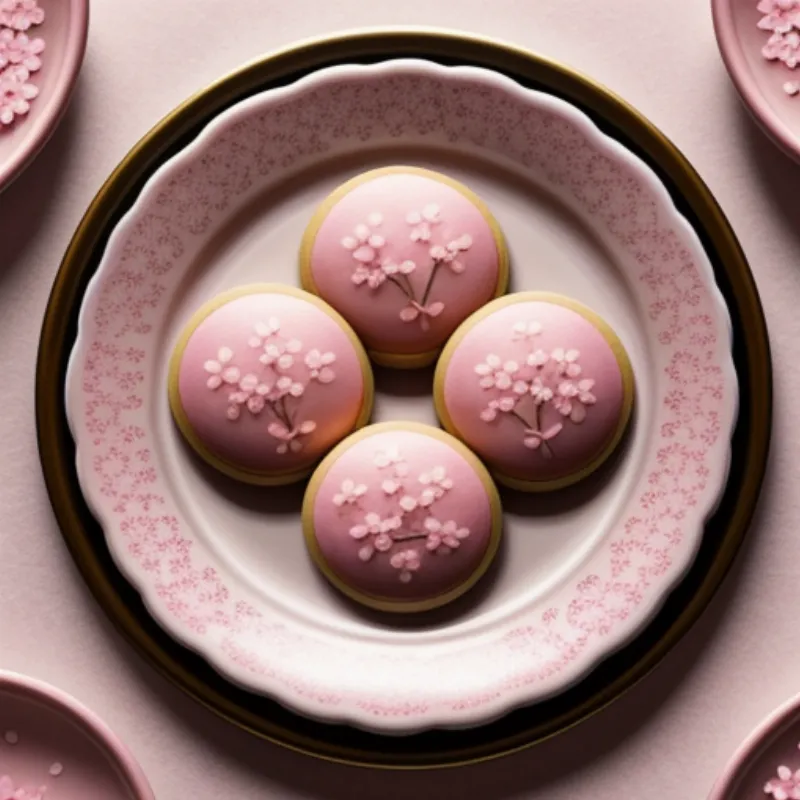
Cherry blossom cookies, also known as sakura cookies, are a delightful treat that captures the essence of spring. These beautiful cookies are not only pleasing to the eye but also offer a subtly sweet and floral flavor that will tantalize your taste buds.
Whether you’re a seasoned baker or just starting out, this step-by-step guide will equip you with everything you need to know to make your own batch of stunning cherry blossom cookies. Get ready to impress your loved ones with these delicate and delicious treats!
Ingredients You’ll Need
Here’s what you’ll need to gather to make these delightful cherry blossom cookies:
For the Cookies:
- 1 cup (2 sticks) unsalted butter, softened
- ¾ cup granulated sugar
- 1 teaspoon vanilla extract
- 1 large egg yolk
- 2 ¼ cups all-purpose flour
- ¼ teaspoon salt
- Pink food coloring (gel or liquid)
For the Decoration:
- ½ cup powdered sugar
- 1-2 tablespoons milk
- Sprinkles (optional)
Essential Tools
Before we begin, make sure you have the following tools on hand:
- Mixing bowls
- Electric mixer
- Measuring cups and spoons
- Baking sheets
- Parchment paper
- Cherry blossom cookie cutter (or any flower-shaped cutter)
- Piping bag
- Small round piping tip
Step-by-Step Baking Instructions
Now, let’s get baking!
-
Prepare Your Dough: In a large bowl, cream together the softened butter and granulated sugar until light and fluffy. Beat in the vanilla extract and egg yolk until well combined.
-
Add Dry Ingredients: In a separate bowl, whisk together the flour and salt. Gradually add the dry ingredients to the wet ingredients, mixing until just combined. Avoid overmixing.
-
Divide and Color: Divide the dough into two equal portions. Leave one portion white. In the other portion, add a few drops of pink food coloring and mix until you achieve your desired shade of pink.
-
Chill the Dough: Shape each portion of dough into a disc, wrap it in plastic wrap, and refrigerate for at least 1 hour. This will make the dough firmer and easier to work with.
-
Roll and Cut: Preheat your oven to 350°F (175°C). Lightly flour a clean surface and roll out one portion of dough to about ¼ inch thickness. Using your cherry blossom cookie cutter, cut out shapes and place them on a baking sheet lined with parchment paper.
-
Create the Blossom Design: Take small portions of the pink dough and roll them into thin ropes. Arrange the pink ropes on top of the white cookie cutouts to create the cherry blossom design. You can get creative with this step!
-
Bake to Perfection: Bake the cookies for 8-10 minutes, or until the edges are lightly golden brown. Allow the cookies to cool completely on the baking sheet before frosting.
-
Frost and Decorate: While the cookies cool, prepare the frosting by whisking together the powdered sugar and milk until smooth. Add more milk if needed to reach your desired consistency. Transfer the frosting to a piping bag fitted with a small round tip. Once the cookies are cool, outline and fill the cherry blossom designs with frosting. Add sprinkles if desired.
 Cherry Blossom Cookies on a Cooling Rack
Tips and Tricks for Baking Success
Here are some additional tips to ensure your cherry blossom cookies turn out perfect:
- Don’t overmix the dough: Overmixing can lead to tough cookies.
- Use high-quality food coloring: For vibrant colors, opt for gel or paste food coloring.
- Get creative with decorations: Experiment with different frosting colors, sprinkles, and piping techniques.
- If your dough becomes too soft, simply pop it back in the fridge for a few minutes to firm up.
- For a crispier cookie, bake for a minute or two longer.
FAQs About Cherry Blossom Cookies
Q: Can I use a different type of cookie cutter?
A: Absolutely! Feel free to use any flower-shaped cookie cutter you have on hand.
Q: Can I freeze the cookie dough?
A: Yes, you can freeze the dough for up to 3 months. Thaw overnight in the refrigerator before rolling and baking.
Q: How do I store the cookies?
A: Store the cookies in an airtight container at room temperature for up to 3 days.
 Decorated Cherry Blossom Cookies
Enjoy Your Delicious Creations!
Congratulations! You’ve successfully baked a batch of beautiful and delicious cherry blossom cookies.
Share your culinary masterpieces with your loved ones and savor the delightful flavors of spring. Don’t forget to experiment with different flavor combinations and decorations to make these cookies your own.
If you enjoyed this recipe, be sure to check out our other delicious and easy-to-follow recipes on Family Cuisine. We have a variety of desserts and treats that are perfect for any occasion. Happy baking!
