Cherry sorbet is a delightful and refreshing dessert, perfect for cooling down on a hot summer day. This icy treat is bursting with the sweet and tart flavor of fresh cherries, and the best part? It’s incredibly easy to make at home! No ice cream maker needed!
If you’re looking for a light and fruity dessert that’s a delicious alternative to ice cream, look no further. Let’s dive into the simple steps of making homemade cherry sorbet.
Gathering Your Ingredients
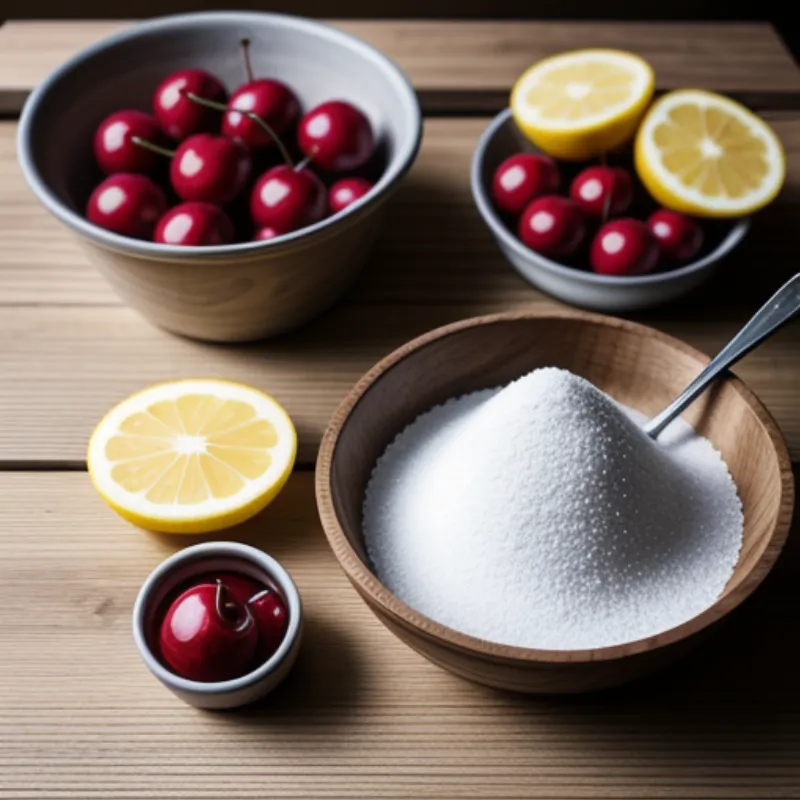
Here’s what you’ll need to make this delightful cherry sorbet:
- Fresh Cherries: 1 pound (about 3 cups pitted) – I recommend using a sweet cherry variety like Bing or Rainier for the best flavor.
- Sugar: 1 cup – You can adjust the sugar level to your liking, depending on the sweetness of your cherries.
- Water: 1/2 cup
- Lemon Juice: 2 tablespoons – The lemon juice balances the sweetness and enhances the cherry flavor.
Optional Add-ins:
- 1/4 teaspoon almond extract
- 2 tablespoons of Kirsch (cherry liqueur) – for a more pronounced cherry flavor (omit if serving to children).
Tools of the Trade
- Large saucepan
- Fine-mesh sieve
- Blender or food processor
- Airtight container for freezing
 Ingredients for cherry sorbet
Let’s Make Cherry Sorbet!
-
Prep the Cherries: Wash and pit the cherries. “I remember helping my grandmother pit cherries for her famous cherry pie when I was a child,” says Chef Emily Carter, a pastry chef known for her innovative fruit-based desserts. “It’s a task that takes a little time but is well worth the effort!”
-
Make the Cherry Syrup: Combine the sugar and water in your saucepan. Bring the mixture to a simmer over medium heat, stirring occasionally until the sugar dissolves. Add the pitted cherries and lemon juice to the saucepan. Continue to simmer for about 5 minutes, or until the cherries are softened.
-
Blend It Up: Carefully transfer the cherry mixture to a blender or food processor. Blend until smooth, adding a touch more water if needed to reach your desired consistency. If you’re using the optional almond extract or Kirsch, add it now.
-
Chill Out: Pour the pureed mixture through a fine-mesh sieve into a bowl, pressing down on the solids to extract as much flavor as possible. This step ensures a silky smooth texture for your sorbet. Cover the bowl and refrigerate for at least 4 hours, or preferably overnight.
-
The Freeze: Pour the chilled cherry mixture into a freezer-safe container. Cover and freeze for at least 3-4 hours, or until firm.
-
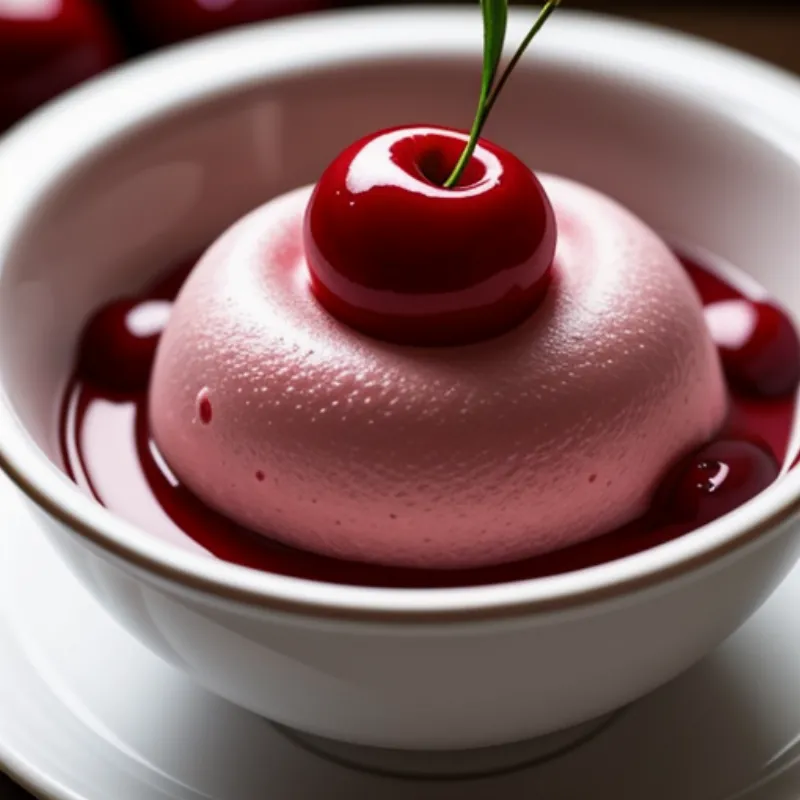
Serve and Enjoy: Before serving, let the sorbet sit at room temperature for about 10-15 minutes to soften slightly. Scoop into bowls and enjoy your refreshing homemade cherry sorbet!
 Bowl of homemade cherry sorbet
Tips and Tricks for Sorbet Success:
- Sweetness Adjustment: Taste your cherry mixture before freezing and adjust the sugar level according to your preference and the sweetness of your cherries.
- Texture Control: For a smoother texture, pass the pureed mixture through a fine-mesh sieve twice.
- Storage: Store any leftover sorbet in an airtight container in the freezer for up to 2 weeks.
FAQs about Cherry Sorbet
Can I use frozen cherries?
Yes, you can use frozen cherries. Make sure to thaw them completely and drain any excess liquid before proceeding with the recipe.
Can I make sorbet without a blender?
While a blender helps achieve the smoothest consistency, you can make sorbet without one. After cooking the cherries, mash them thoroughly with a potato masher or fork and then strain the mixture through a fine-mesh sieve before freezing.
How do I know when the sorbet is ready to serve?
The sorbet should be firm but not frozen solid. It should be scoopable with a spoon.
A Taste of Summer
Making cherry sorbet at home is easier than you might think. With a few simple ingredients and a little bit of time, you can have a refreshing and flavorful dessert that’s perfect for any occasion. Enjoy the taste of summer with every spoonful of this homemade treat! If you love this recipe, be sure to check out our other frozen delights, like our guide on how to make root beer floats! Don’t forget to share your sorbet-making adventures with us in the comments below.
