Chile con queso, which literally translates to “chili with cheese” in Spanish, is more than just a simple dip; it’s a celebration of flavors and textures that embodies the heart of Tex-Mex cuisine. Imagine dipping a warm tortilla chip into a creamy, cheesy sauce, infused with the subtle heat of green chilies and the earthy aroma of cumin. That’s Chile con Queso – your ultimate comfort food companion for game nights, potlucks, or simply a cozy night in. In this guide, we’ll unlock the secrets to making an authentic, homemade Chile con Queso that will have everyone asking for your recipe!
Unveiling the Delicious History of Chile con Queso
While its exact origins are debatable, Chile con Queso holds a special place in the history of Texas and northern Mexico. Some believe it originated in the 1900s in San Antonio, Texas, where it was served as a simple, yet satisfying snack. Others trace it back even further to the 16th century, inspired by a similar dish made with melted cheese and peppers in northern Mexico.
Regardless of its origin story, one thing is for sure – Chile con Queso has evolved over the years, with each region and family adding their own unique twist to the recipe. Today, we’ll be focusing on a classic, no-frills version that truly lets the flavors of the ingredients shine.
Ingredients for Your Homemade Chile con Queso
Main Ingredients:
- 1 pound White American Cheese, cubed (can substitute with Monterey Jack or a blend for a sharper flavor)
- 1 (10 ounce) can Diced Tomatoes and Green Chilies, undrained
- 1/2 cup Milk (whole milk or evaporated milk recommended)
Flavor Enhancers:
- 1 tablespoon Vegetable Oil
- 1/4 cup Onion, finely chopped
- 2 cloves Garlic, minced
- 1/2 teaspoon Ground Cumin
- 1/4 teaspoon Salt (or to taste)
- 1/4 teaspoon Black Pepper (or to taste)
- Pinch of Cayenne Pepper (optional, for extra heat)
Optional Garnishes:
- Fresh Cilantro, chopped
- Diced Tomatoes
- Sliced Jalapeños
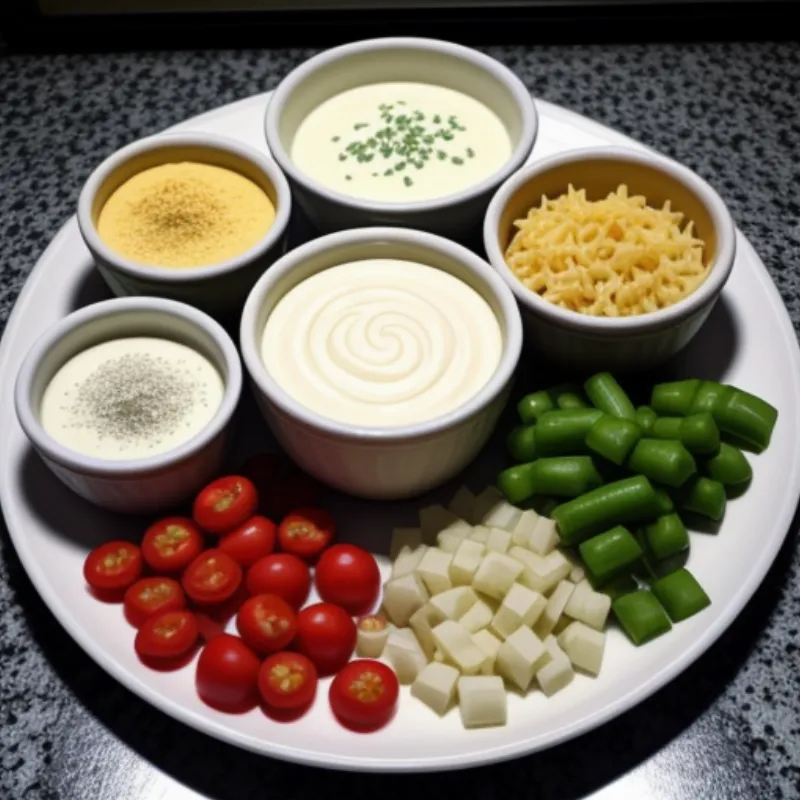
 Chile con Queso Ingredients
Tools You’ll Need:
- Large Saucepan
- Whisk or Wooden Spoon
- Serving Bowl
Let’s Get Cooking! Your Step-by-Step Guide:
- Sauté the Aromatics: Heat the vegetable oil in a large saucepan over medium heat. Add the chopped onion and cook for 3-4 minutes, until softened. Then, stir in the minced garlic and cook for another minute, until fragrant. This step builds the foundation of flavor for our queso.
- Bloom the Spices: Add the ground cumin, salt, black pepper, and cayenne pepper (if using) to the saucepan. Cook for about 30 seconds, stirring constantly, to release their aromas. This process, known as “blooming,” intensifies the flavors of the spices.
- Incorporate the Tomatoes and Chilies: Pour the can of diced tomatoes and green chilies, undrained, into the saucepan. Stir well to combine with the onion and spice mixture.
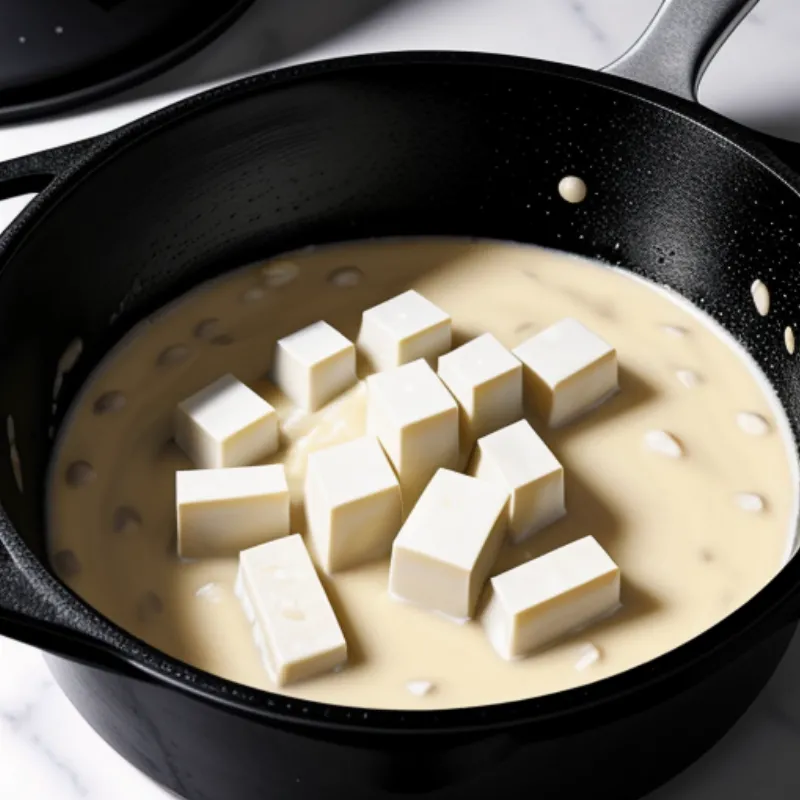
- Melt in the Cheese: Reduce the heat to low. Gradually add the cubed cheese to the saucepan, stirring constantly with a whisk or wooden spoon, until the cheese is completely melted and the sauce is smooth.
- Pro Tip from Chef Ana Lopez: “For a creamier queso, use a blend of cheeses, like Monterey Jack and Cheddar, along with the American cheese. The different melting points will create a richer texture.”
- Achieve the Perfect Consistency: Slowly whisk in the milk, a little at a time, until the desired consistency is reached.
- Troubleshooting Your Queso: “If your queso becomes too thick, you can thin it out with a tablespoon or two of additional milk. Conversely, if it seems too thin, continue cooking over low heat, stirring often, until it thickens to your liking.” – Chef Miguel Ramirez
 Melting Cheese for Chile con Queso
Time to Serve Your Delicious Chile con Queso!
Transfer your creamy, cheesy creation to a serving bowl. Garnish with chopped fresh cilantro, diced tomatoes, or sliced jalapeños for an extra pop of flavor and color.
Pairing Perfection: Enjoy Your Chile con Queso with…
- Tortilla Chips: The classic choice! Opt for sturdy, salted chips that can hold up to the creamy dip.
- Vegetables: For a lighter option, serve with fresh-cut vegetables like carrots, celery, and bell peppers.
- Tacos and Burritos: Drizzle a generous amount over your favorite tacos or burritos for an extra layer of cheesy goodness.
Storing Your Leftover Chile con Queso:
- Refrigerator: Allow the queso to cool completely, then transfer it to an airtight container and refrigerate for up to 3 days.
- Reheating: Reheat gently on the stovetop over low heat, stirring frequently, or in the microwave in 30-second intervals until warmed through. You may need to add a splash of milk to loosen the consistency after reheating.
Conclusion: Enjoy the Flavors of Homemade Chile con Queso
Making your own Chile con Queso is easier than you might think! With a few simple ingredients and these easy-to-follow steps, you can create a flavorful and satisfying dip that will impress your family and friends. So gather your ingredients, put on your apron, and get ready to experience the joy of homemade Tex-Mex cuisine!
 Chile con Queso with Garnishes
We’d love to hear about your Chile con Queso adventures! Share your experiences, tips, and variations in the comments below. Happy cooking!
