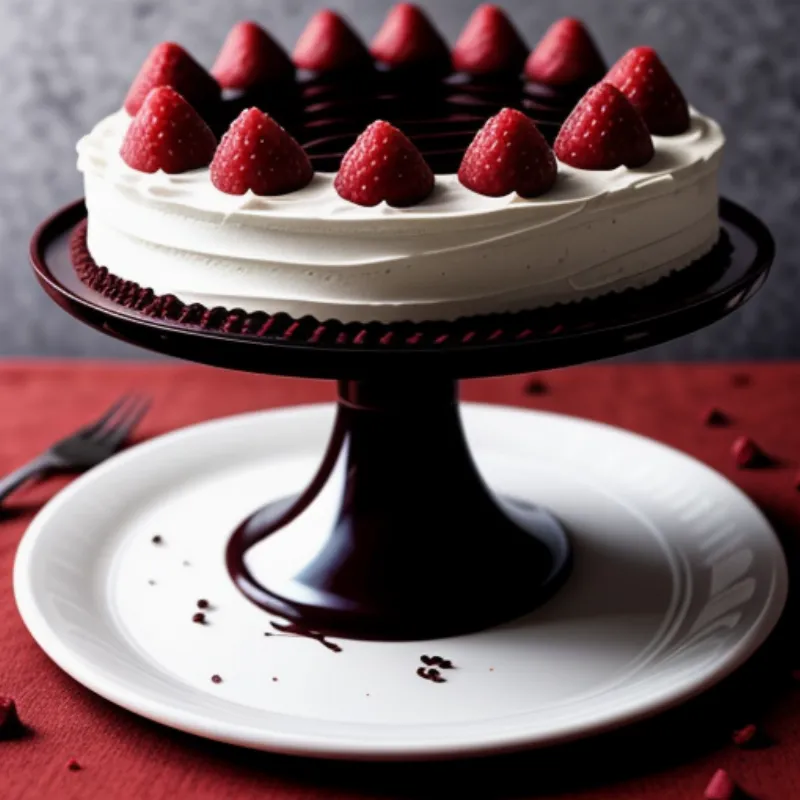
Few desserts evoke such warm childhood memories as a classic Chocolate Ripple Cake. This beloved Australian treat, with its layers of crisp biscuits soaked in creamy coffee filling and decadent chocolate frosting, is surprisingly easy to make. Whether you’re looking for a nostalgic dessert to share with loved ones or a simple yet impressive treat for a special occasion, this recipe has you covered.
Unveiling the Layers of Flavor
The beauty of Chocolate Ripple Cake lies in its simplicity and harmonious blend of textures and flavors. The coffee-soaked biscuits soften and become cake-like, contrasting beautifully with the rich chocolate icing. Each bite is a delightful symphony of crunch, creaminess, and chocolatey goodness.
Ingredients You’ll Need:
For the Biscuit Base:
- 250g (9oz) chocolate ripple biscuits (approximately 1 packet)
- 1/2 cup strong black coffee, cooled
For the Coffee Cream Filling:
- 60g (2oz) unsalted butter, softened
- 1 1/2 cups icing sugar, sifted
- 1 tablespoon instant coffee powder
- 2 tablespoons milk
For the Chocolate Icing:
- 1 cup icing sugar, sifted
- 2 tablespoons cocoa powder, sifted
- 50g (1.8oz) unsalted butter, softened
- 2 tablespoons milk
Tools of the Trade:
- Rectangular baking dish (approximately 20cm x 30cm or 8in x 12in)
- Electric mixer (handheld or stand mixer)
- Spatulas (one for mixing, one for icing)
- Two medium-sized bowls
Crafting Your Chocolate Ripple Cake: Step-by-Step
1. Preparing the Coffee Soak:
In a shallow dish, combine the cooled strong black coffee with 1 tablespoon of water. This mixture will be used to quickly dip the biscuits.
2. Creating the Coffee Cream:
In a mixing bowl, beat the softened butter until light and fluffy. Gradually add the sifted icing sugar and continue beating until well combined. Add the instant coffee powder and milk, and mix until you achieve a smooth and creamy consistency.
3. Assembling the Biscuit Layers:
Working quickly, dip each biscuit into the coffee mixture for a few seconds, ensuring both sides are lightly coated. Don’t over-soak the biscuits. Arrange the soaked biscuits in a single layer in your prepared baking dish. Repeat until you’ve used half the biscuits.
4. Spreading the Coffee Cream:
Evenly spread half of the coffee cream mixture over the biscuit layer. Repeat the dipping and layering process with the remaining biscuits and coffee cream.
5. Preparing the Chocolate Icing:
In a clean mixing bowl, combine the sifted icing sugar and cocoa powder. Add the softened butter and milk, and beat until smooth and glossy.
6. The Grand Finale: Icing and Chilling:
Pour the chocolate icing over the top layer of coffee cream, using a spatula to spread it evenly. Place the cake in the refrigerator to chill for at least 2 hours, or preferably overnight, allowing the biscuits to soften and the flavors to meld.
 Chocolate Ripple Cake Layers
Tips and Tricks from My Kitchen to Yours:
- Biscuit Choice: While traditional chocolate ripple biscuits are ideal, feel free to experiment with other chocolate-flavored biscuits.
- Coffee Strength: Adjust the coffee strength to your liking. For a more intense coffee flavor, use espresso instead of black coffee.
- Sweetness Control: If you prefer a less sweet cake, reduce the amount of icing sugar in both the coffee cream and chocolate icing.
- Get Creative with Toppings: Once chilled, sprinkle your cake with cocoa powder, chocolate shavings, or chopped nuts for added texture and visual appeal.
 Decorated Chocolate Ripple Cake
Frequently Asked Questions:
Can I make Chocolate Ripple Cake ahead of time?
Absolutely! In fact, it’s best to make this cake ahead of time to allow the biscuits to soften thoroughly. It can be stored in an airtight container in the refrigerator for up to 3 days.
Can I freeze Chocolate Ripple Cake?
While freezing is possible, it can sometimes affect the texture of the biscuits, making them slightly soggy. If you do choose to freeze it, wrap it well in plastic wrap and foil before freezing. Thaw in the refrigerator overnight before serving.
A Slice of Nostalgia:
Chocolate Ripple Cake holds a special place in the hearts (and stomachs!) of many. Its effortless elegance and nostalgic charm make it perfect for any occasion. Now that you’re equipped with this foolproof recipe, why not recreate this classic dessert and share a slice of happiness with your loved ones?
Let me know in the comments below if you try this recipe and how your Chocolate Ripple Cake turns out! Don’t forget to check out other delightful dessert recipes on our website. Happy baking!
