There’s something incredibly satisfying about biting into a perfectly crafted chocolate sandwich cookie. Maybe it’s the contrast between the crisp, buttery cookies and the smooth, rich filling, or perhaps it’s the memories these treats evoke, from childhood bake-offs to cozy afternoons spent with loved ones. Regardless, these little bites of heaven have a way of putting a smile on everyone’s face.
This guide will walk you through each step to create your own batch of homemade chocolate sandwich cookies. No more store-bought packages – get ready to impress everyone with your baking prowess!
The Ingredients: Simple Yet Divine
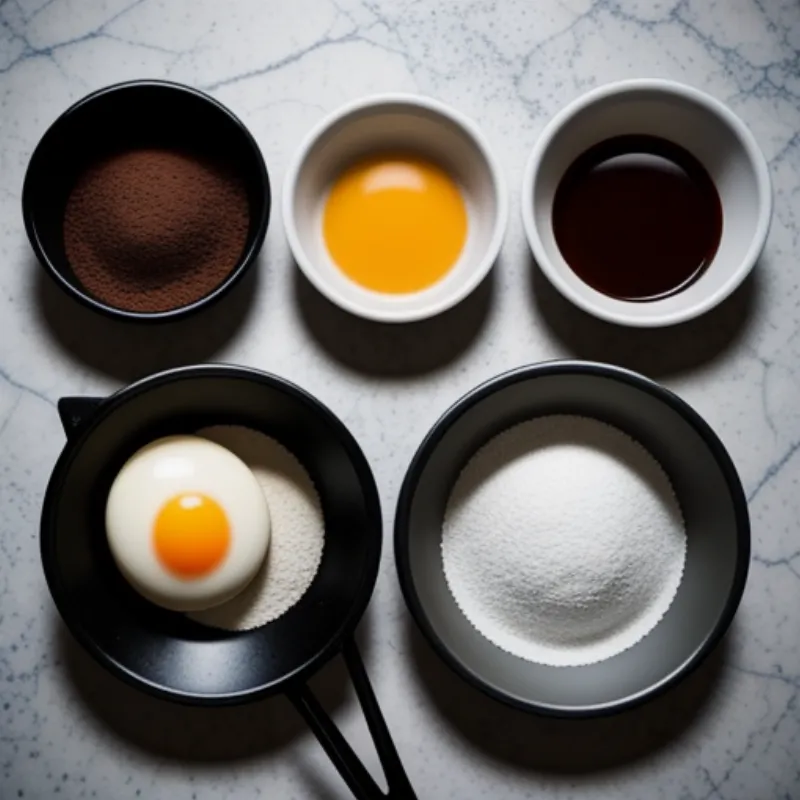
Our chocolate sandwich cookie recipe utilizes pantry staples to create magic:
For the Cookies:
- 1 cup (2 sticks) unsalted butter, softened
- ¾ cup granulated sugar
- ¾ cup packed light brown sugar
- 2 large eggs
- 1 teaspoon pure vanilla extract
- 2 ¼ cups all-purpose flour
- ¾ cup unsweetened cocoa powder
- 1 teaspoon baking soda
- ½ teaspoon salt
For the Filling:
- 1 cup (2 sticks) unsalted butter, softened
- 3 cups powdered sugar
- ½ cup unsweetened cocoa powder
- 1 teaspoon pure vanilla extract
- ⅓ cup milk
- Pinch of salt
Don’t be afraid to experiment! Try substituting dark cocoa powder for a richer flavor, or add a dash of espresso powder to enhance the chocolatey notes.
Tools of the Trade
Baking is a science, but you don’t need a lab to whip up these cookies. Here’s what you’ll need:
- 2 mixing bowls
- Electric mixer
- Measuring cups and spoons
- Rubber spatula
- Baking sheets
- Parchment paper
- Wire rack
Let’s Get Baking: Step-by-Step Guide
-
Creaming for Success: In a mixing bowl, cream together the softened butter and sugars until light and fluffy. This creates air pockets for tender cookies.
-
Incorporate the Wet Ingredients: Beat in the eggs one at a time, followed by the vanilla extract. Make sure each ingredient is fully incorporated before adding the next.
-
Dry Ingredients Unite: In a separate bowl, whisk together the flour, cocoa powder, baking soda, and salt. Gradually add this dry mixture to the wet ingredients, mixing until just combined. Don’t overmix – it can lead to tough cookies.
-
Chill Out: Cover the cookie dough and refrigerate for at least 2 hours, or even overnight. This allows the gluten to relax, resulting in cookies that hold their shape better.
-
Ready to Bake: Preheat your oven to 375°F (190°C). Line baking sheets with parchment paper for easy cleanup.
-
Shaping Up: Using a cookie scoop or a tablespoon, drop rounded spoonfuls of dough onto the prepared baking sheets, leaving some space between each cookie.
-
Bake to Perfection: Bake for 8-10 minutes, or until the edges are set and the tops are just slightly cracked. Let the cookies cool on the baking sheets for a few minutes before transferring them to a wire rack to cool completely.
The Creamy Center: Frosting Time!
While the cookies cool, let’s prepare the star of the show – the creamy chocolate filling:
-
Creamy Dreamy: In a mixing bowl, beat the softened butter until smooth and creamy.
-
Sweeten the Deal: Gradually add the powdered sugar, beating well after each addition. This will create a light and fluffy frosting.
-
Chocolate Infusion: Add the cocoa powder, vanilla extract, milk, and salt. Beat until smooth and well combined. If the frosting seems too thick, add a tablespoon of milk at a time until you reach your desired consistency.
Assembling the Masterpieces
Once the cookies are completely cool, it’s time to bring everything together:
-
Frosting Fun: Spread a generous amount of frosting onto the bottom of one cookie.
-
Sandwich Time: Top with another cookie, creating a sandwich. Gently press down to distribute the filling evenly.
-
Repeat: Continue frosting and assembling the remaining cookies.
Tips and Tricks
-
Room Temperature is Key: Make sure your butter and eggs are at room temperature before starting. This ensures that everything blends together smoothly.
-
Don’t Overbake: Keep a close eye on the cookies while they’re in the oven. Overbaking can result in dry and crumbly cookies.
-
Frosting Consistency: The frosting should be spreadable but not too runny. You want it to hold its shape between the cookies.
-
Get Creative: Once you’ve mastered the classic recipe, don’t hesitate to get creative! Add sprinkles to the frosting, dip the cookies in melted chocolate, or sandwich a layer of caramel or marshmallow fluff along with the chocolate frosting.
Presentation is Everything
Elevate your chocolate sandwich cookies from simple to sensational with these presentation tips:
- Classic Charm: Arrange the cookies on a platter or in a cookie jar.
- Rustic Elegance: Serve the cookies in a basket lined with a tea towel.
- Gift-Worthy Delight: Package the cookies in cellophane bags tied with ribbon for a thoughtful homemade gift.
 Chocolate Sandwich Cookies Ingredients
 Baking Chocolate Sandwich Cookies
These chocolate sandwich cookies are not just a treat but an experience – a delicious reminder of the joy homemade goodies bring. So gather your ingredients, put on your apron, and embark on a baking adventure that will tantalize your taste buds and warm your heart. Remember, the best part of baking is sharing your creations with loved ones. Happy baking!
