Croustade. The word itself sounds elegant, doesn’t it? It conjures images of delicate, golden-brown pastry, its crispy shell yielding to a symphony of savory or sweet fillings. And while it might sound like something you’d order in a fancy French bistro, making croustade at home is surprisingly achievable, even for beginner bakers.
This versatile pastry can be shaped into cups, bowls, or even tart-like forms, offering endless possibilities for culinary creativity. Whether you’re craving a sophisticated appetizer filled with creamy mushrooms and herbs, a comforting dessert brimming with juicy berries, or a savory main course featuring roasted vegetables and cheese, croustade provides the perfect edible vessel.
Join me as we demystify the art of croustade-making together. I promise, by the end of this guide, you’ll be ready to impress your family and friends with your newfound pastry prowess!
Gathering Your Croustade Ingredients
The beauty of croustade lies not just in its versatility but also in its simplicity. You likely have most of the ingredients in your pantry already! Here’s what you’ll need:
For the pastry:
- 1 1/4 cups (150g) all-purpose flour
- 1/2 teaspoon salt
- 1/2 cup (1 stick or 113g) unsalted butter, chilled and cut into small cubes
- 1/4 cup ice water, plus more if needed
Optional additions:
- 1 large egg yolk, for brushing (this will give your croustades a beautiful golden sheen)
- Coarse sea salt or sugar, for sprinkling (depending on whether you’re making a savory or sweet croustade)
Essential Tools for Croustade Success
Before we embark on our croustade adventure, let’s gather our trusty tools:
- Mixing bowls: You’ll need one large bowl for whisking the dry ingredients and another for combining the butter and flour.
- Pastry blender or two forks: These are your tools for incorporating the butter into the flour, creating that desirable flaky texture.
- Rolling pin: For rolling out the dough to your desired thickness.
- Sharp knife or pastry cutter: To cut the dough into your desired shapes for the croustades.
- Baking sheet: For baking the croustades to crispy perfection.
- Parchment paper: To prevent the croustades from sticking to the baking sheet.
Crafting Your Croustades: A Step-by-Step Guide
Now that we have our ingredients and tools prepped, let’s dive into the heart of croustade-making:
1. Creating the Dough:
- In a large bowl, whisk together the flour and salt.
- Add the chilled butter cubes to the flour mixture. Using a pastry blender or two forks, work the butter into the flour until the mixture resembles coarse crumbs.
- Drizzle the ice water, one tablespoon at a time, into the flour mixture, mixing gently with a fork until the dough just comes together. Be careful not to overwork the dough.
- Shape the dough into a disc, wrap it tightly in plastic wrap, and refrigerate for at least 30 minutes (or up to 2 days).
2. Shaping the Croustades:
- Preheat your oven to 400°F (200°C). Line a baking sheet with parchment paper.
- On a lightly floured surface, roll out the chilled dough to about 1/8-inch thickness.
- Using a sharp knife or pastry cutter, cut the dough into your desired shapes. For individual croustades, you can use a cookie cutter or cut squares or circles. For larger croustades, cut rectangles or squares.
- Gently press the dough shapes into a muffin tin, ramekins, or over overturned small bowls to create the croustade shells.
- If desired, brush the edges of the dough with the egg yolk and sprinkle with coarse sea salt or sugar.
3. Baking to Crispy Perfection:
- Bake the croustades for 12-15 minutes, or until they are golden brown and crispy. If the edges start to brown too quickly, you can cover them loosely with aluminum foil.
- Once baked, let the croustades cool completely on a wire rack before filling.
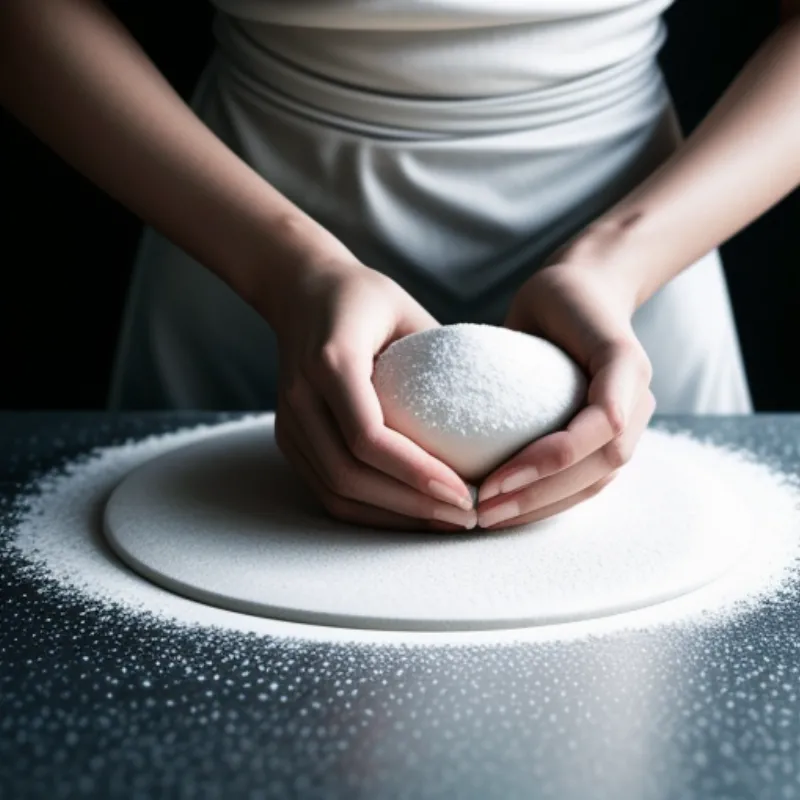
 Croustade dough
Tips and Tricks for Croustade Triumph
Here are a few insider tips to ensure your croustades turn out flawlessly:
- Chill Out: Keeping the butter cold is crucial for achieving a flaky texture. If the butter starts to soften at any point, pop the dough back in the fridge for a few minutes.
- Don’t Overwork: Handle the dough as little as possible to prevent gluten development, which can make the croustades tough.
- Get Creative with Shapes: Experiment with different shapes and sizes for your croustades. Use cookie cutters for fun shapes or create a large croustade for a stunning centerpiece.
- Blind Baking for Soggy Fillings: If you’re using a particularly wet filling, consider blind baking the croustade shells for a few minutes before adding the filling. This will prevent them from becoming soggy.
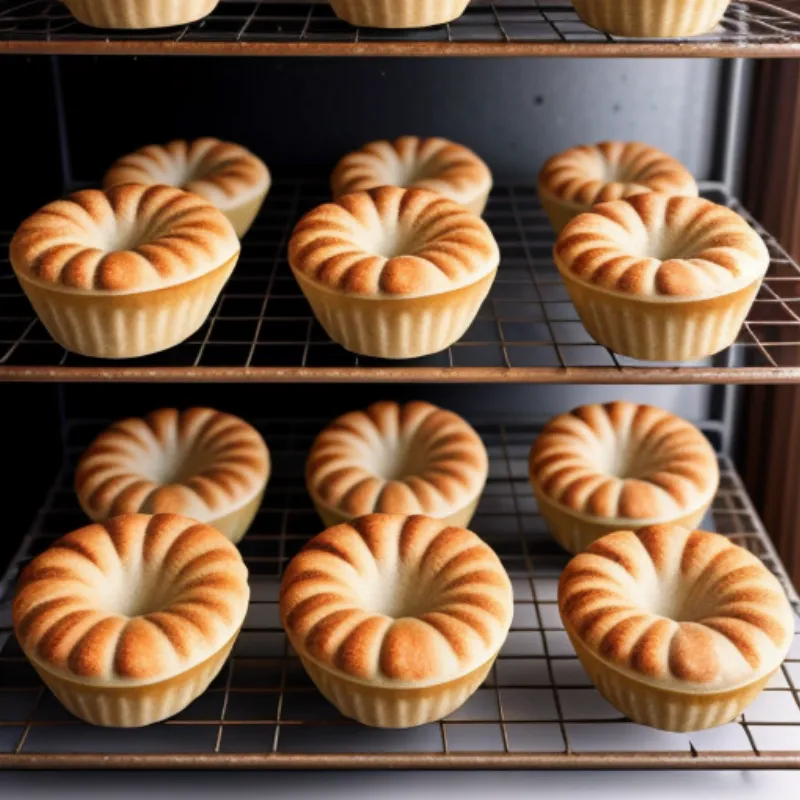
 Baked Croustades
Croustade FAQs: Answering Your Burning Questions
Q: Can I make the croustade dough ahead of time?
A: Absolutely! The dough can be made up to 2 days in advance and stored in the refrigerator. Just let it come to room temperature slightly before rolling it out.
Q: My croustades turned out a bit tough. What did I do wrong?
A: Overworking the dough is the most likely culprit for tough croustades. Remember to handle the dough as little as possible and avoid over-mixing.
Q: Can I freeze baked croustades?
A: You bet! Let the baked croustades cool completely, then store them in an airtight container or freezer bag for up to 2 months. Reheat them in a preheated 350°F (175°C) oven for 5-7 minutes, or until warmed through.
Conclusion: Embrace Your Inner Pastry Chef
There you have it – a comprehensive guide to conquering the art of croustade-making. Remember, baking is a journey of exploration and creativity. Don’t be afraid to experiment with different fillings, shapes, and flavors. And most importantly, have fun!
We’d love to hear about your croustade creations! Share your culinary masterpieces with us in the comments below.
