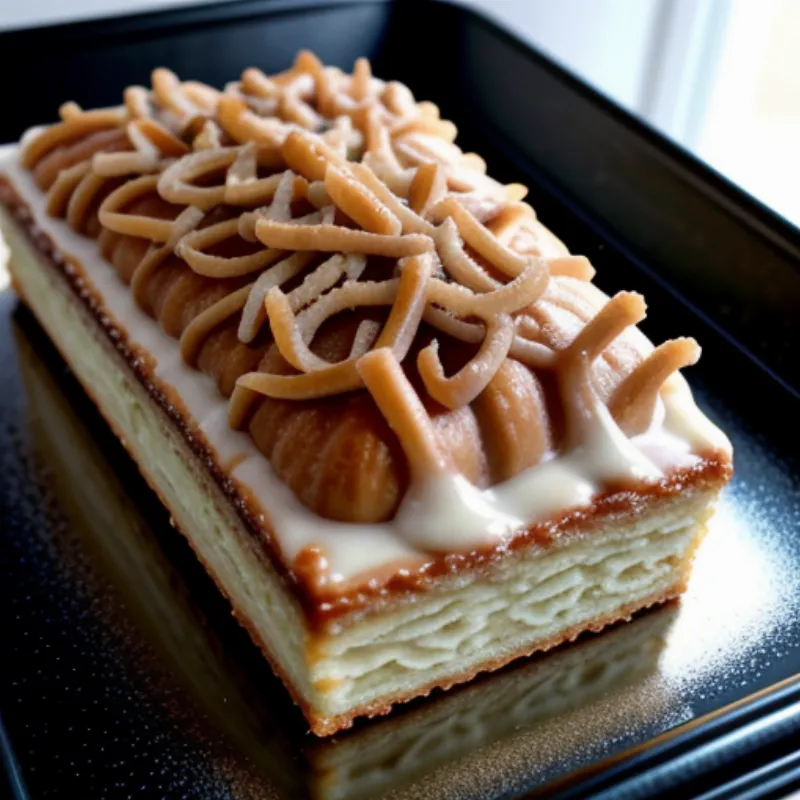
Danish Dream Cake, or Drømmekage as it’s known in Denmark, is a delectable treat that’s sure to satisfy your sweet cravings. This heavenly dessert boasts a soft, buttery cake base topped with a crunchy, caramelized coconut topping that’s utterly irresistible. It’s the perfect blend of textures and flavors, making it a beloved classic in Danish households and beyond.
Whether you’re an experienced baker or just starting your baking journey, this recipe will guide you through each step to create your own delicious Danish Dream Cake. So, put on your apron, and let’s get baking!
Ingredients You’ll Need
Here’s what you need to gather to create this masterpiece:
For the Cake:
- 1 cup (2 sticks) unsalted butter, softened
- 1 3/4 cups granulated sugar
- 3 large eggs
- 2 teaspoons pure vanilla extract
- 2 1/2 cups all-purpose flour
- 1 teaspoon baking powder
- 1/2 teaspoon salt
- 1 cup milk
For the Coconut Topping:
- 1 cup packed light brown sugar
- 1/2 cup unsalted butter
- 1/4 cup milk
- 1 teaspoon pure vanilla extract
- 1 1/2 cups shredded sweetened coconut
Baking Tools You’ll Need
- 9×13 inch baking pan
- Mixing bowls
- Electric mixer
- Measuring cups and spoons
- Rubber spatula
- Whisk
- Parchment paper (optional)
Step-by-Step Guide to Baking Perfection
-
Preheat and Prepare: Preheat your oven to 350°F (175°C). Grease and flour a 9×13 inch baking pan. For easier cleanup, you can line the pan with parchment paper.
-
Cream Together Butter and Sugar: In a large mixing bowl, cream together the softened butter and granulated sugar until light and fluffy. This usually takes about 2-3 minutes with an electric mixer.
-
Incorporate Eggs and Vanilla: Beat in the eggs one at a time, followed by the vanilla extract. Make sure each ingredient is fully incorporated before adding the next.
-
Combine Dry Ingredients: In a separate bowl, whisk together the flour, baking powder, and salt.
-
Gradually Add Dry Ingredients to Wet Ingredients: Slowly add the dry ingredients to the wet ingredients, alternating with the milk. Begin and end with the dry ingredients. Mix until just combined, being careful not to overmix.
-
Prepare the Coconut Topping: While the cake bakes, prepare the coconut topping. In a saucepan, combine the brown sugar, butter, and milk. Bring to a boil over medium heat, stirring constantly. Once boiling, remove from heat and stir in the vanilla extract and shredded coconut.
-
Assemble the Cake: Pour the cake batter into the prepared baking pan and spread evenly. Drop spoonfuls of the coconut topping over the cake batter. Using a knife or toothpick, gently swirl the topping into the batter, creating a marbled effect.
-
Bake to Perfection: Bake for 30-35 minutes, or until a wooden skewer inserted into the center comes out clean.
-
Cool and Serve: Allow the cake to cool in the pan for at least 15 minutes before serving. It’s delicious warm or at room temperature.
Tips and Tricks for Baking Success
- Room Temperature Ingredients: Using room temperature ingredients, especially the butter and eggs, ensures they incorporate evenly into the batter, resulting in a smoother texture.
- Don’t Overmix: Overmixing the batter can develop gluten, leading to a tough cake. Mix until just combined.
- Coconut Topping Consistency: The coconut topping should be thick but pourable. If it seems too thick, add a tablespoon of milk at a time until desired consistency is reached.
- Storage: Store any leftover cake in an airtight container at room temperature for up to 3 days.
FAQs About Danish Dream Cake
Q: Can I use unsweetened coconut for the topping?
A: While sweetened coconut is traditional, you can use unsweetened coconut if you prefer a less sweet topping. You might want to add a couple of tablespoons of granulated sugar to the topping mixture to compensate for the lack of sweetness.
Q: Can I freeze Danish Dream Cake?
A: Absolutely! This cake freezes beautifully. Wrap the cooled cake tightly in plastic wrap and then in aluminum foil. Freeze for up to 2 months. Thaw overnight in the refrigerator before serving.
 Danish Dream Cake
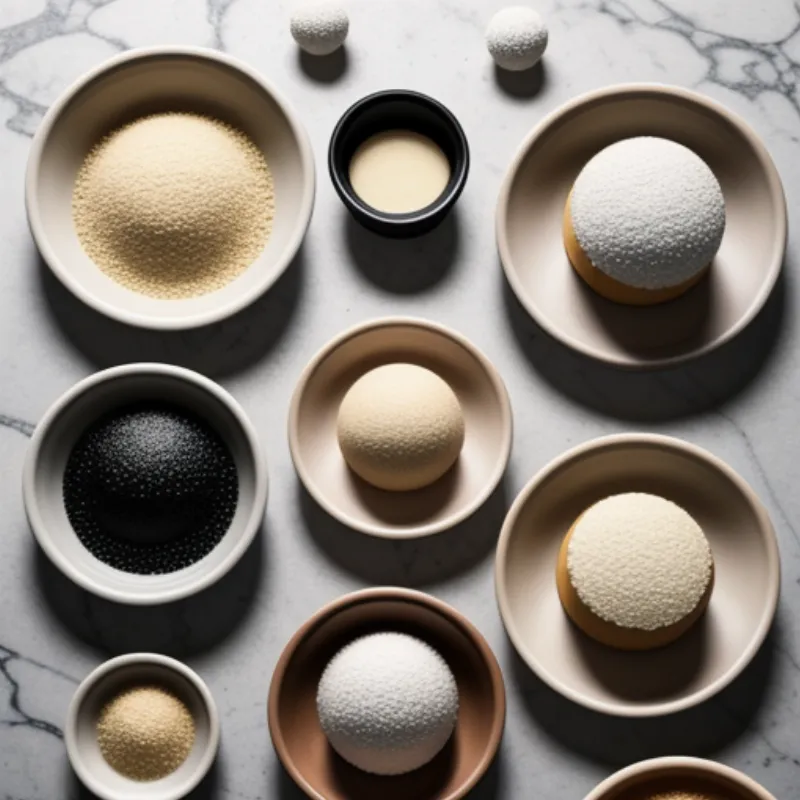
 Ingredients for Danish Dream Cake
This recipe is a surefire way to impress your family and friends. It’s a delicious testament to the beauty of simple baking, where everyday ingredients transform into a truly special treat. So go ahead and bake a taste of Denmark in your own kitchen. You won’t regret it!
Don’t forget to share your baking experience with us in the comments below! And if you’re looking for more delightful cake recipes, check out our Drommekage recipe, a simple variation of this classic. Happy baking!
