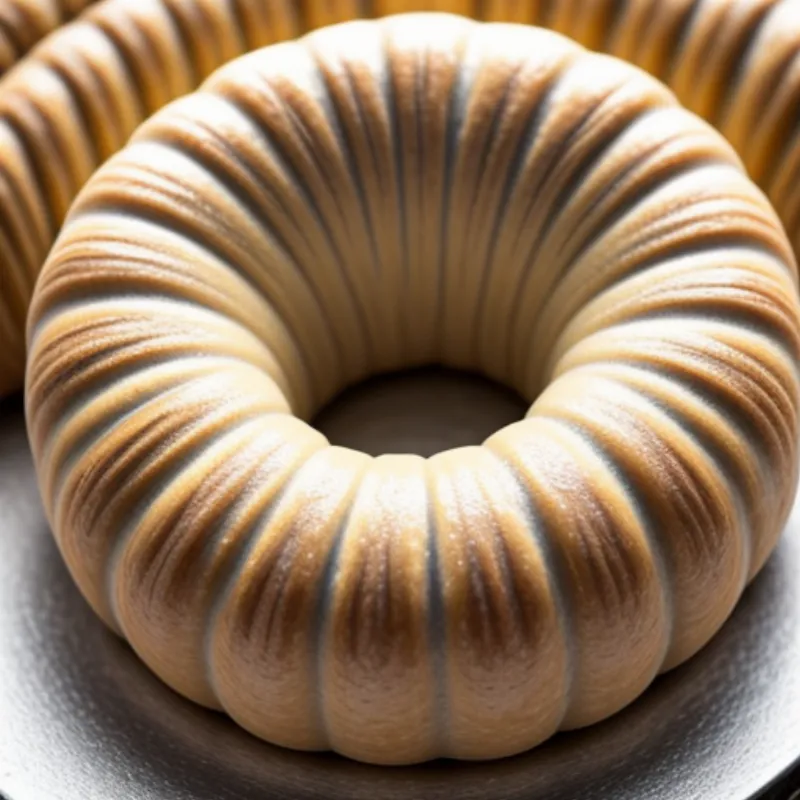
The mere mention of Danish pastry evokes images of flaky, golden-brown layers enveloping sweet and savory fillings. This beloved pastry, with roots tracing back to Denmark, has become a breakfast staple across the globe. If you’ve ever found yourself mesmerized by the intricate layers of a Danish pastry, wondering how such a masterpiece is made, you’re in the right place! This guide will demystify the process and empower you to create your very own bakery-worthy Danish pastries at home.
What Makes Danish Pastry so Special?
Danish pastry, often simply called a “Danish,” is a type of viennoiserie similar to puff pastry. The magic lies in the lamination process, where thin layers of butter are folded into the dough. As the Danish bakes, the butter melts, creating steam and those coveted airy pockets that make it so irresistible.
Ingredients for the Perfect Danish Pastry
For the Dough:
- 4 cups (500g) all-purpose flour, plus extra for dusting
- 1/4 cup (50g) granulated sugar
- 1 teaspoon (4g) active dry yeast
- 1 teaspoon (6g) salt
- 1 large egg, plus 1 egg yolk, at room temperature
- 1 cup (240ml) whole milk, lukewarm
For the Butter Block:
- 1 1/2 cups (3 sticks) unsalted butter (340g), cold
For the Filling (Choose Your Favorite):
- Sweet: Fruit preserves, lemon curd, almond paste, cinnamon sugar
- Savory: Cream cheese, spinach and feta, ham and cheese
Tools You’ll Need
- Stand Mixer (recommended) or large bowl
- Plastic wrap
- Rolling pin
- Sharp knife or pastry cutter
- Pastry brush
- Baking sheet
- Parchment paper
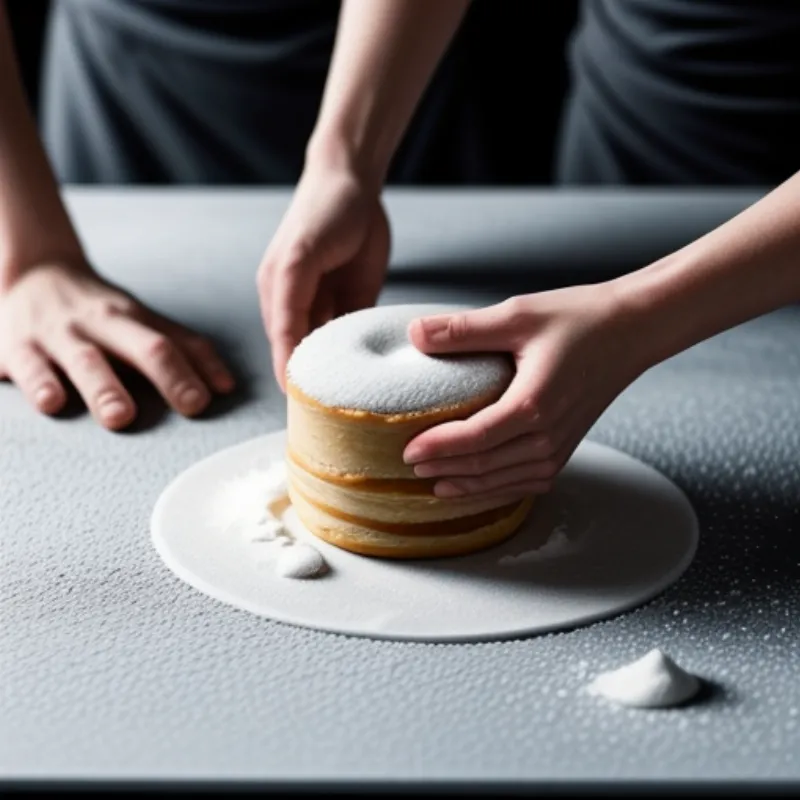
 Danish Pastry Dough Layers
Let’s Get Baking!
1. Make the Dough:
- Combine the dry ingredients: In the bowl of your stand mixer, whisk together flour, sugar, yeast, and salt.
- Add wet ingredients: Add the egg, egg yolk, and milk to the dry ingredients.
- Knead the dough: Using the dough hook attachment, knead on low speed for about 5 minutes until the dough comes together into a smooth ball. If kneading by hand, knead for 8-10 minutes.
- First rise: Place the dough in a lightly greased bowl, cover with plastic wrap, and let rise in a warm place for about 1 hour, or until doubled in size.
2. Prepare the Butter Block:
- Pound the butter: Place the cold butter between two sheets of parchment paper. Use a rolling pin to pound and shape the butter into a roughly 6-inch square.
- Chill: Place the butter block in the refrigerator for at least 30 minutes.
3. Laminate the Dough:
This is where the magic of layers happens!
- Roll out the dough: On a lightly floured surface, roll the dough into a 12-inch square.
- Place the butter block: Place the chilled butter block diagonally in the center of the dough square.
- Enclose the butter: Fold the corners of the dough over the butter block, sealing it completely.
- First fold: Roll out the dough into a rectangle (about 12×24 inches). Fold the dough into thirds, like a letter. This completes the first “turn.”
- Chill and repeat: Wrap the dough in plastic wrap and refrigerate for 30 minutes. Repeat the rolling, folding, and chilling process two more times.
4. Shape and Fill Your Danish:
- Roll and cut: Roll the chilled dough into a large rectangle (about 1/4 inch thick). Cut the dough into squares or rectangles, depending on your desired shape.
- Add the filling: Place a spoonful of your chosen filling in the center of each dough square.
- Get creative with shapes: Fold the corners of the dough over the filling to create various shapes. You can make classic squares, triangles, or even swirls.
 Shaping Danish Pastry
5. Proof and Bake:
- Second rise: Arrange the shaped pastries on a baking sheet lined with parchment paper. Cover loosely with plastic wrap and let rise in a warm place for about 45 minutes to an hour, or until puffy.
- Preheat and egg wash: Preheat your oven to 400°F (200°C). Whisk together the remaining egg yolk with a tablespoon of water to create an egg wash. Gently brush the egg wash over the pastries.
- Bake: Bake for 15-20 minutes, or until golden brown and cooked through.
6. Cool and Enjoy!
Let the pastries cool slightly on a wire rack before serving. Dust with powdered sugar, drizzle with icing, or enjoy them as they are!
Tips and Tricks for Danish Pastry Success
- Keep everything cold: Cold butter is key to achieving those flaky layers. If at any point the butter starts to get too soft, pop the dough in the refrigerator for a few minutes.
- Don’t overwork the dough: Overworking the dough can develop too much gluten, resulting in tough pastries. Be gentle during the kneading and rolling process.
- Get creative with fillings: The possibilities are endless! Try different fruit preserves, homemade custards, or even savory options like cheese and herbs.
- Freezing for later: Danish pastry dough freezes beautifully. Wrap it tightly and freeze for up to 3 months. Thaw overnight in the refrigerator before shaping and baking.
FAQs: Answering Your Danish Pastry Questions
Can I use store-bought puff pastry instead of making my own dough?
While you can use store-bought puff pastry in a pinch, making the dough from scratch will give you the best flavor and texture.
My Danish pastries are a bit flat. What happened?
This could be due to a few reasons. Make sure your butter is cold enough, don’t overwork the dough, and ensure the pastries have enough time to proof before baking.
Can I make Danish pastries ahead of time?
Absolutely! Baked Danish pastries can be stored in an airtight container at room temperature for a day or two. You can also freeze them for longer storage.
Dive into the World of Danish Delights!
Making Danish pastry may seem daunting at first, but with a bit of patience and practice, you can master this baking feat. There’s nothing quite like the satisfaction of biting into a warm, flaky Danish pastry you’ve made from scratch. So, gather your ingredients, roll up your sleeves, and embark on your Danish pastry adventure!
Did you enjoy this recipe? Let us know in the comments below, and be sure to explore our other delicious baking recipes, like our guide on how to make mazarin or the always delightful fastelavnsbolle. Happy baking!
