Darioles. These elegant, individually-portioned desserts might sound intimidating, but don’t let their fancy French name fool you! With this comprehensive guide, you’ll learn How To Make Darioles in your own kitchen and impress your friends and family with your newfound baking prowess.
Imagine serving a beautifully plated dessert, each creamy layer perfectly showcased in its own little mold. That’s the magic of darioles! They’re surprisingly simple to make and offer endless flavor combinations to satisfy every palate.
Unveiling the Secrets to Perfect Darioles
Ingredients You’ll Need:
For the Dariole molds:
- Butter, softened, for greasing
- All-purpose flour, for dusting
For a classic Vanilla Dariole (adjust as needed for your chosen recipe):
- 2 cups (473ml) whole milk
- 1/2 cup (100g) granulated sugar
- 1 vanilla bean, split and seeds scraped (or 1 teaspoon vanilla extract)
- 4 large egg yolks
- 1/4 cup (30g) cornstarch
- Pinch of salt
Tools of the Trade:
- 6 (4-ounce) dariole molds
- Medium saucepan
- Whisk
- Rubber spatula
- Fine-mesh sieve
- Heatproof bowl
- Baking sheet
- Roasting pan (or other large pan for water bath)
Step-by-Step Baking Guide:
-
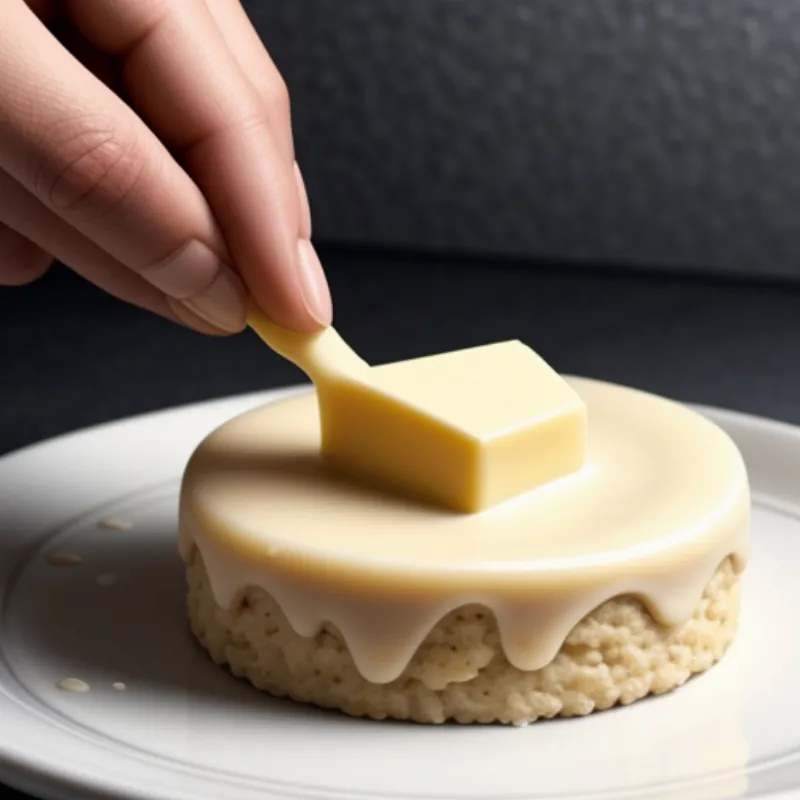
Prepare the Dariole Molds: Preheat your oven to 350°F (175°C). Grease your dariole molds generously with butter, ensuring you reach every nook and cranny. Lightly dust the molds with flour, tapping out any excess. This crucial step prevents sticking and ensures a clean release later.
-
Create the Custard Base: In a medium saucepan, combine milk, sugar, and vanilla bean (if using). Heat over medium, stirring occasionally, until the mixture is just simmering and the sugar dissolves. Remove from heat and let it infuse for 10 minutes for maximum vanilla flavor. For vanilla extract, add it with the milk.
-
Tempering the Egg Yolks: In a separate bowl, whisk together egg yolks, cornstarch, and salt until smooth. Gradually drizzle about 1 cup of the hot milk mixture into the yolk mixture, whisking constantly. This tempering process gently heats the yolks, preventing curdling.
-
Cooking the Custard: Pour the tempered yolk mixture back into the saucepan with the remaining milk. Cook over medium heat, stirring constantly with a rubber spatula, until the custard thickens and boils for 1 minute. The custard should coat the back of a spoon.
-
Straining for Smoothness: Pass the custard through a fine-mesh sieve into a heatproof bowl. This step removes any lumps and ensures a silky-smooth texture. Cover the bowl directly with plastic wrap to prevent a skin from forming.
-
Filling the Molds: Place the prepared dariole molds on a baking sheet. Divide the custard evenly among the molds, filling each about three-quarters full.
-
Water Bath Baking: Place the baking sheet with the darioles in a larger roasting pan. Carefully pour enough hot water into the roasting pan to come halfway up the sides of the dariole molds. This water bath ensures even cooking and prevents cracking.
-
Bake to Perfection: Bake for 30-35 minutes, or until the darioles are set around the edges but slightly jiggly in the center.
-
Cooling and Unmolding: Remove the roasting pan from the oven and carefully lift out the baking sheet with the darioles. Let them cool completely in the molds. Once cooled, run a thin knife around the edges of each dariole to loosen. Gently invert onto serving plates.
 Dariole Mold Preparation
Tips and Tricks from a Seasoned Baker:
- Don’t overbake: Overbaked darioles can become rubbery. Aim for a slightly jiggly center.
- Unmolding ease: For a flawless unmolding experience, ensure your dariole molds are well-greased and floured.
- Creative Flavors: Experiment with different flavors by adding fruit purees, chocolate, liqueurs, or spices to the custard base.
Serving Your Exquisite Darioles:
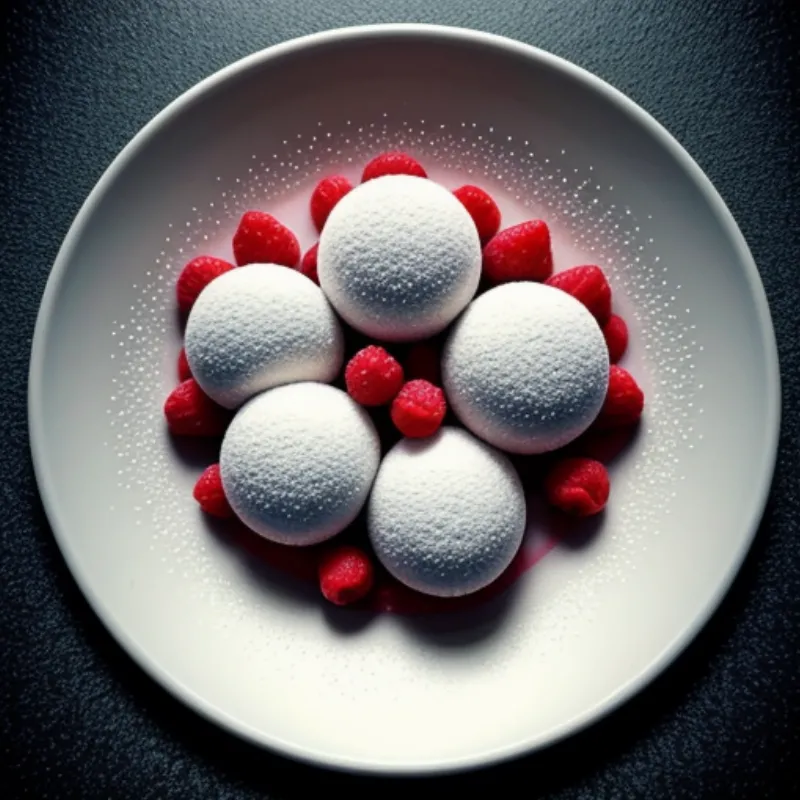
- Elegant Simplicity: Dust the tops with powdered sugar or cocoa powder for an elegant touch.
- Fresh Fruit Delight: Top with fresh berries, sliced fruit, or a dollop of whipped cream for a refreshing contrast.
- Sauce Sensation: Elevate the flavors with a drizzle of fruit coulis, chocolate sauce, or caramel.
 Plated Darioles with Berries
Dariole FAQs: Your Questions Answered!
Q: Can I make darioles ahead of time?
A: Absolutely! You can bake them a day in advance and store them in the refrigerator, covered. Let them come to room temperature before serving.
Q: What can I do if my darioles crack?
A: Cracks usually happen due to overbaking. Try baking them for a shorter time. Don’t worry; a little crack won’t affect the taste!
Conclusion:
Congratulations, you’ve just mastered the art of making darioles! These elegant desserts are sure to impress your guests and leave them wanting more. Now, it’s your turn to get creative in the kitchen. Don’t hesitate to experiment with different flavors and toppings to personalize your darioles. Remember, the most important ingredient is always love!
We’d love to see your culinary masterpieces! Share your dariole creations and baking experiences with us in the comments below. And don’t forget to explore our website for more delicious recipes and baking adventures!
