Devil’s food cake, with its rich chocolate flavor and fudgy texture, holds a special place in many hearts. Now, imagine that same delightful cake transformed into adorable, handheld treats – that’s the magic of Devil Dog Cakes! These little cakes are surprisingly easy to make at home, allowing you to relive childhood memories or create new ones with your own family.
What Makes Devil Dog Cakes So Special?
These treats are more than just mini cakes; they are a nostalgic journey back to simpler times. The contrast of the dark, moist cake with the fluffy, sweet filling is a match made in dessert heaven. What truly elevates them is their versatility. Enjoy them as a quick afternoon pick-me-up with a cold glass of milk, pack them in lunchboxes for a sweet surprise, or serve them at your next gathering for a crowd-pleasing treat.
Ingredients You’ll Need:
For the Devil’s Food Cake:
- 1 3/4 cups all-purpose flour (consider using cake flour for an even softer crumb)
- 1 1/2 cups granulated sugar
- 3/4 cup unsweetened cocoa powder (natural or Dutch-processed both work well)
- 1 teaspoon baking soda
- 1 teaspoon baking powder
- 1/2 teaspoon salt
- 1 cup buttermilk (at room temperature for best results)
- 1/2 cup vegetable oil
- 2 large eggs
- 1 teaspoon pure vanilla extract
- 1 cup freshly brewed hot coffee (this enhances the chocolate flavor)
For the Creamy Filling:
- 1 cup (2 sticks) unsalted butter, softened to room temperature
- 3 cups powdered sugar
- 1/4 cup heavy cream
- 1 teaspoon pure vanilla extract
- Pinch of salt
Equipment You’ll Need:
- Two 9-inch round cake pans
- Parchment paper
- Electric mixer (handheld or stand mixer)
- Several mixing bowls
- Measuring cups and spoons
- Spatulas
- Serrated knife (for splitting the cakes)
- Piping bag and a large round tip (or a Ziploc bag with a corner snipped off)
Let’s Make Some Devil Dog Cakes!
Making the Devil’s Food Cake:
-
Preheat and Prepare: Preheat your oven to 350°F (175°C). Grease and flour your cake pans, then line the bottoms with parchment paper for easy removal later.
-
Combine Dry Ingredients: In a large bowl, whisk together the flour, sugar, cocoa powder, baking soda, baking powder, and salt.
-
Combine Wet Ingredients: In a separate bowl, whisk together the buttermilk, vegetable oil, eggs, and vanilla extract.
-
Combine Wet and Dry: Gradually add the wet ingredients to the dry ingredients, mixing on low speed until just combined. Be careful not to overmix.
-
Add Coffee: Slowly pour in the hot coffee and continue mixing until the batter is smooth.
-
Bake: Divide the batter evenly between the prepared cake pans. Bake for 30-35 minutes, or until a toothpick inserted into the center comes out clean.
-
Cool Completely: Let the cakes cool in the pans for 10 minutes before inverting them onto a wire rack to cool completely.
Making the Creamy Filling:
-
Cream the Butter: In a large bowl, beat the softened butter with an electric mixer until light and fluffy.
-
Add Sugar: Gradually add the powdered sugar, one cup at a time, beating well after each addition.
-
Add Cream and Flavorings: Beat in the heavy cream, vanilla extract, and salt until the filling is smooth and creamy.
Assembling Your Devil Dog Cakes:
-
Level the Cakes: If your cake layers have domed tops, use a serrated knife to carefully level them off.
-
Cut Out the Cakes: Using a round cookie cutter or a sharp knife, cut out circles from the cake layers. You can experiment with different sizes.
-
Fill and Sandwich: Pipe or spread a generous amount of the creamy filling onto the bottom of half of the cake circles. Top with the remaining cake circles to create little sandwiches.
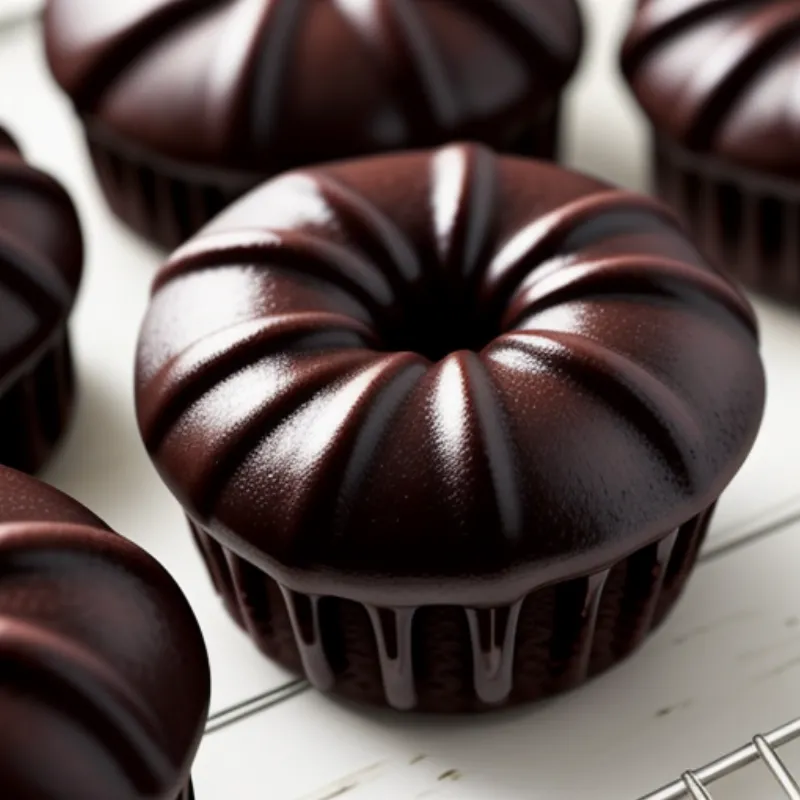
 Devil Dog Cakes Cooling on a Rack
Tips and Tricks for Devilishly Good Results:
- Room Temperature Ingredients: For the best texture, ensure your buttermilk, eggs, and butter are at room temperature before you begin.
- Don’t Overmix: Overmixing the cake batter can lead to tough cakes. Mix only until the ingredients are just combined.
- Cool Completely: Make sure the cakes are completely cool before filling and frosting to prevent the filling from melting.
- Get Creative with Toppings: While classic Devil Dog Cakes are delicious on their own, feel free to get creative with toppings. Drizzle with melted chocolate, sprinkle with chopped nuts, or add a touch of festive sprinkles.
FAQs About Making Devil Dog Cakes:
Can I make Devil Dog Cakes without a piping bag? Absolutely! You can simply use a spoon to spread the filling or fill a Ziploc bag with the filling and snip off a corner to create a makeshift piping bag.
How do I store leftover Devil Dog Cakes? Store them in an airtight container at room temperature for up to 2 days, or in the refrigerator for up to 5 days.
Can I freeze Devil Dog Cakes? Yes, you can freeze the unfrosted cakes for up to 2 months. Thaw them overnight in the refrigerator and then frost as directed.
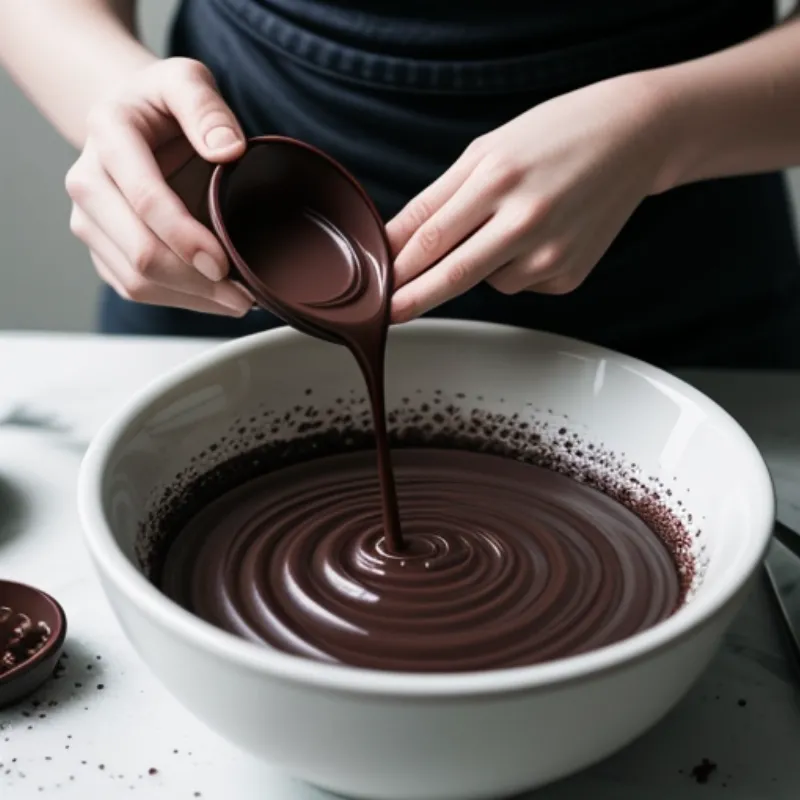
 Mixing Chocolate Cake Batter in a Bowl
Conclusion:
There’s something undeniably satisfying about biting into a perfectly made Devil Dog Cake. It’s a reminder of the simple joys in life, and with this easy recipe, you can recreate that joy right in your own kitchen. So gather your ingredients, put on your apron, and get ready to create some delicious memories!
Don’t forget to share your baking adventures with us! Snap a picture of your Devil Dog Cakes and tag us on social media. Happy baking!
