Dill pickles, those crunchy, tangy treats, are a staple at picnics, barbecues, and deli counters across America. But did you know they’re incredibly easy to make at home?
This guide will walk you through the entire process, from selecting the freshest cucumbers to achieving that perfect crunch. Whether you’re a seasoned pickling pro or a first-timer, get ready to discover the joy of crafting your own batch of delicious dill pickles.
Dill Pickle Ingredients: A Symphony of Flavors
For this recipe, we’ll focus on a classic dill pickle recipe. Feel free to adjust the spices and herbs to your liking later on! Here’s what you need:
- Cucumbers: Choose small to medium-sized pickling cucumbers, about 4 inches long. These have a firmer texture and thinner skin, ideal for pickling. You’ll need about 2 pounds.
- Water: Use filtered water for the best flavor. You’ll need about 4 cups.
- Vinegar: White vinegar creates that signature tangy flavor. Use 2 cups of 5% acidity vinegar.
- Salt: Kosher salt or pickling salt is preferred as it doesn’t contain any additives that might cloud the brine. You’ll need 4 tablespoons.
- Garlic: 2-3 cloves, peeled and slightly crushed.
- Dill: Fresh dill is key for that classic dill pickle flavor! Use 4-5 heads, including both the fronds and stems.
- Spices: Gather 2 teaspoons of mustard seeds, 1 teaspoon of black peppercorns, and 1 teaspoon of coriander seeds for an extra flavor punch.
Equipment: Gathering Your Pickling Arsenal
- Jars: Use glass jars specifically designed for canning. Two 1-quart jars should suffice.
- Lids and Rings: Ensure your lids are new and the rings are in good condition.
- Large Pot: This will be used to heat the brine.
- Non-reactive bowl: Use a glass or ceramic bowl to prepare and submerge the cucumbers.
- Jar lifter: This handy tool makes transferring hot jars safe and easy.
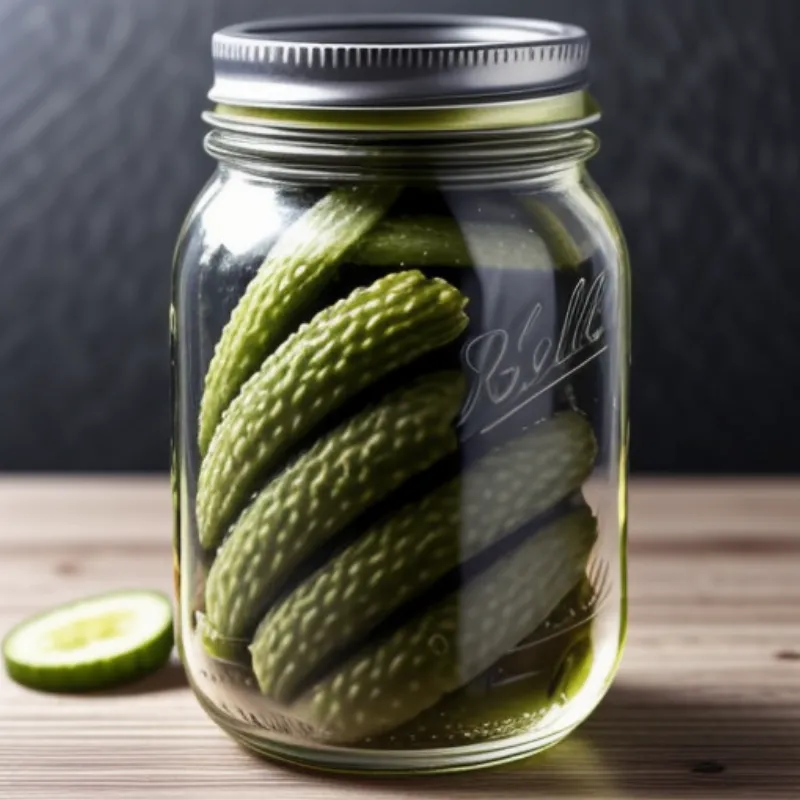
 Dill pickles packed in a mason jar
Step-by-Step Pickling Process: From Cucumber to Crunchy Delight
1. Preparing the Cucumbers
Wash the cucumbers thoroughly and trim off the blossom ends. The blossom end contains enzymes that can make pickles soft, so removing them ensures a crisp result.
Pro Tip: For extra crunch, slice your cucumbers into spears or chips instead of leaving them whole!
2. Creating the Aromatic Brine
Combine water, vinegar, and salt in a large pot. Add garlic, dill, mustard seeds, peppercorns, and coriander seeds. Bring the mixture to a boil, stirring until the salt dissolves. Once boiling, remove from heat and let it cool slightly.
3. Packing the Jars
While the brine cools, pack your sterilized jars with cucumbers, adding garlic cloves and fresh dill sprigs between layers. Pack them tightly, but leave about an inch of space at the top.
4. Pouring the Brine
Carefully pour the hot brine over the cucumbers, leaving about ½ inch of headspace. Remove any air bubbles by gently tapping the jars on the counter. Wipe the rims of the jars clean and seal them tightly with lids and rings.
5. The Pickling Process Begins
Place the sealed jars in a large pot filled with water, ensuring the water level is at least an inch above the jars. Bring the water to a boil and process for about 15 minutes.
6. Cooling and Waiting
Carefully remove the jars from the pot using a jar lifter and let them cool completely at room temperature. You should hear a satisfying “pop” sound as the jars seal.
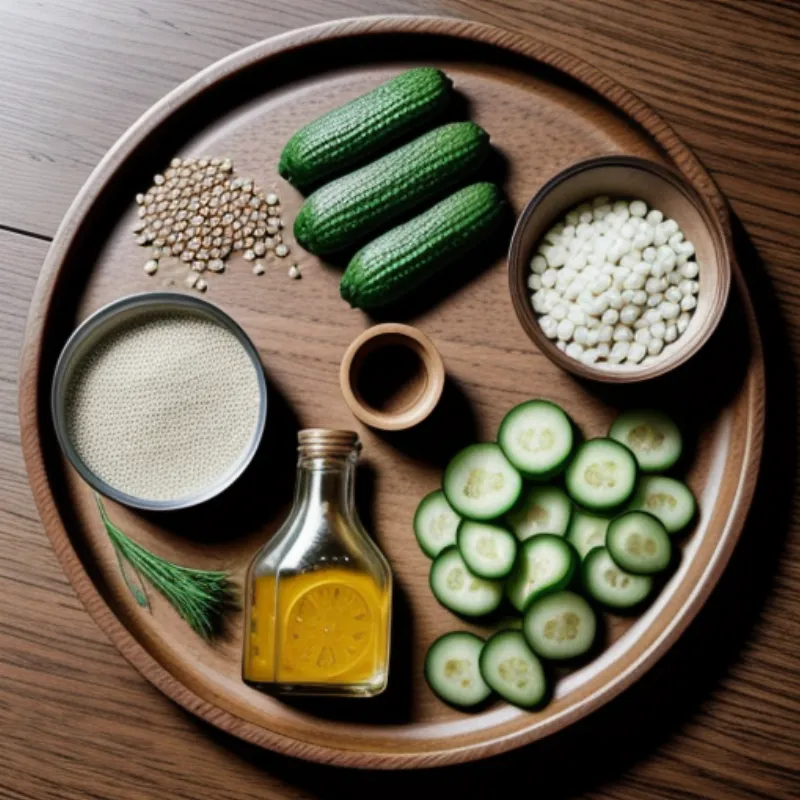
 ingredients for dill pickles on a wooden table
Dill Pickle FAQs
How long do dill pickles last?
Your homemade dill pickles can be stored in a cool, dark place for up to a year. Once opened, store them in the refrigerator.
Can I use different herbs and spices?
Absolutely! Get creative and customize your pickles. Try adding hot peppers for a spicy kick, or experiment with other herbs like tarragon or dill seeds.
My pickles turned out soft! What went wrong?
Several factors could cause soft pickles, including using the wrong type of cucumbers, not removing the blossom ends, or not processing the jars correctly.
Conclusion: Enjoy the Crunchy Rewards of Your Labor!
Congratulations on making your own batch of delicious dill pickles! The combination of crunchy cucumbers, tangy brine, and aromatic dill is a flavor sensation you won’t soon forget. Whether enjoyed as a snack, a side dish, or a topping for your favorite sandwich, these homemade dill pickles are sure to impress.
Share your thoughts, experiences, and photos of your dill pickle creations in the comments below. And for more exciting pickling and fermenting adventures, explore our other recipes on Family Cuisine, like How to Make Pickled Brussels Sprouts. Happy pickling!
