The Dream Cake. It’s not just a dessert; it’s a promise whispered on the wind, a beacon of happiness for anyone with a sweet tooth. Imagine biting into a cloud-like cake, layered with rich, creamy frosting and adorned with your favorite toppings. It’s the kind of dessert that makes you close your eyes and savor every morsel, a true dream come true.
This recipe is my personal ode to joy, a recipe passed down through generations in my family. I’ve added my own twist, of course, incorporating tips and tricks I’ve learned over the years as a baker. Whether you’re a seasoned baker or a novice in the kitchen, this recipe will guide you to create your own masterpiece. So put on your apron, preheat that oven, and let’s get baking!
The Dream Team: Gathering Your Ingredients
Before we embark on this delicious journey, let’s assemble our dream team of ingredients. Remember, quality ingredients equal a quality cake!
For the Cake:
- 2 cups (250g) all-purpose flour, sifted
- 2 cups (400g) granulated sugar
- 1 teaspoon (5g) baking powder
- 1/2 teaspoon (3g) baking soda
- 1/4 teaspoon (1g) salt
- 1 cup (2 sticks) unsalted butter, softened
- 4 large eggs
- 1 cup (240ml) buttermilk
- 1 teaspoon (5ml) vanilla extract
For the Frosting:
- 1 cup (2 sticks) unsalted butter, softened
- 3 cups (360g) powdered sugar, sifted
- 1/4 cup (60ml) heavy cream
- 1 teaspoon (5ml) vanilla extract
- Pinch of salt
Optional Toppings:
- Fresh berries
- Chocolate shavings
- Chopped nuts
- Sprinkles
Tools of the Trade: What You’ll Need
- Two 9-inch round cake pans
- Parchment paper
- Electric mixer
- Mixing bowls
- Measuring cups and spoons
- Rubber spatula
- Serrated knife
- Piping bag and tip (optional)
Baking Your Dream: Step-by-Step Instructions
-
Prepare the Pans: Preheat oven to 350°F (175°C). Grease and flour two 9-inch round cake pans. Line the bottoms with parchment paper for easy removal later.
-
Combine Dry Ingredients: In a large bowl, whisk together flour, sugar, baking powder, baking soda, and salt.
-
Cream Butter and Sugar: In another bowl, cream together softened butter and sugar until light and fluffy using an electric mixer.
-
Add Eggs: Beat in eggs one at a time, mixing well after each addition.
-
Combine Wet Ingredients: In a separate bowl, whisk together buttermilk and vanilla extract.
-
Gradually Combine Wet and Dry Ingredients: Gradually add the dry ingredients to the wet ingredients, alternating with the buttermilk mixture, beginning and ending with the dry ingredients. Mix until just combined. Do not overmix.
-
Pour Batter into Pans: Divide batter evenly between the prepared cake pans.
-
Bake: Bake for 30-35 minutes, or until a toothpick inserted into the center comes out clean.
-
Cool Cakes: Let cakes cool in pans for 10 minutes before inverting them onto a wire rack to cool completely.
The Frosting Finale: Creating the Perfect Finish
While the cakes cool, let’s whip up the dreamy frosting!
-
Cream Butter: In a large bowl, cream softened butter until smooth using an electric mixer.
-
Gradually Add Powdered Sugar: Gradually add sifted powdered sugar, one cup at a time, beating well after each addition.
-
Incorporate Heavy Cream and Vanilla: Add heavy cream and vanilla extract. Beat on high speed until light and fluffy.
-
Frost the Cake: Once the cakes are completely cool, frost the bottom layer with a generous amount of frosting. Top with the second cake layer and frost the entire cake.
-
Decorate: Get creative and decorate as you please! Use fresh berries, chocolate shavings, chopped nuts, sprinkles, or any other toppings your heart desires.
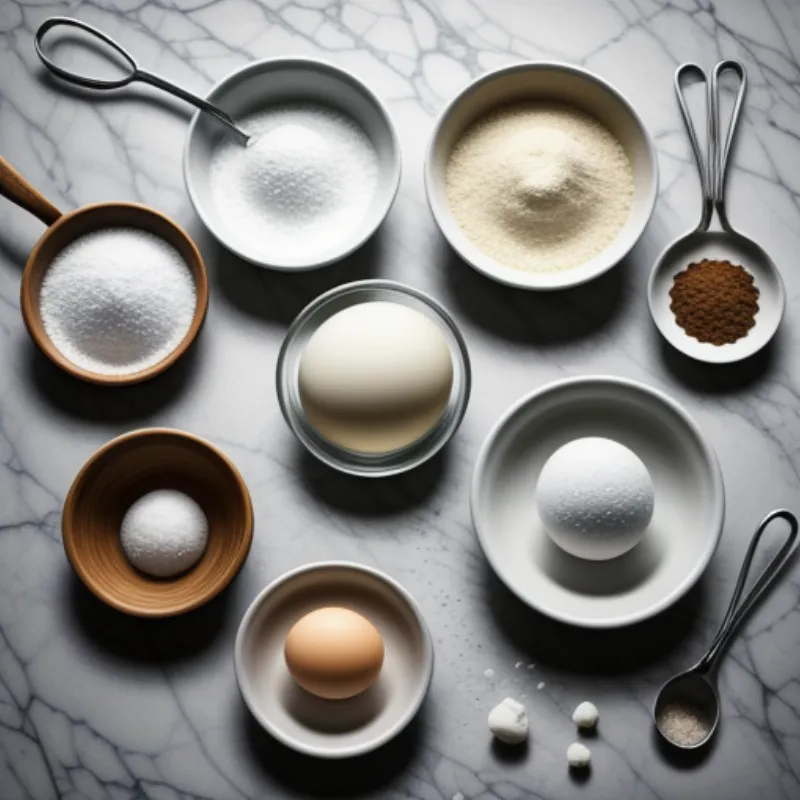
 Ingredients for Dream Cake
Tips and Tricks for a Dreamy Outcome:
-
Room Temperature Ingredients: Ensure all ingredients are at room temperature before starting. This helps create a smooth and well-combined batter.
-
Don’t Overmix: Overmixing the batter can result in a tough cake. Mix until just combined.
-
Cool Cakes Completely: Allow the cakes to cool completely before frosting to prevent the frosting from melting.
-
Get Creative with Frosting: Experiment with different frosting flavors like chocolate, cream cheese, or even fruit-infused frostings!
FAQs: Your Dream Cake Questions Answered
Q: Can I use a different type of milk instead of buttermilk?
A: Absolutely! If you don’t have buttermilk on hand, you can make your own by adding 1 tablespoon of lemon juice or white vinegar to 1 cup of milk. Let it sit for 5 minutes before using.
Q: Can I freeze Dream Cake?
A: Yes, you can freeze the unfrosted cake layers for up to 2 months. Wrap them tightly in plastic wrap and then again in aluminum foil. Thaw overnight in the refrigerator before frosting.
Q: What are some other topping ideas for Dream Cake?
A: The possibilities are endless! You can use chopped candies, shredded coconut, fruit compote, or even a drizzle of salted caramel.
 Frosting a Dream Cake
Dream Cake: A Slice of Happiness
There you have it! Your very own Dream Cake, ready to be sliced, served, and devoured. It’s a recipe that’s sure to impress your friends and family, but most importantly, it’s a testament to the power of simple ingredients and a little bit of love.
Want to explore more delightful dessert recipes? Check out our guide on how to make an impressive wedding cake or try your hand at a classic icebox cake.
Happy baking, and don’t forget to share your dreamy creations with us in the comments below!
