Estonian kringel – the name alone evokes a sense of warmth and tradition. This beautiful bread, with its intricate swirls and golden crust, is a staple in Estonian cuisine. Whether you’re a seasoned baker or just starting out, this step-by-step guide will empower you to create your own delicious kringel at home. Be prepared for the heavenly aroma that will fill your kitchen as it bakes!
What is Estonian Kringel?
Imagine a cross between a bread and a pastry, with a hint of sweetness and a captivating aroma of cinnamon – that’s Estonian kringel for you. This braided bread, often formed into a ring, is a symbol of celebration and togetherness in Estonian culture. Its flavor is as rich as its history, offering a delightful balance of sweet and savory that will leave you wanting more.
Ingredients for Estonian Kringel:
For the Dough:
- 4 cups all-purpose flour, plus extra for dusting
- 1 packet (2 1/4 teaspoons) active dry yeast
- 1 cup warm milk (around 105°F)
- 1/2 cup granulated sugar
- 1/2 teaspoon salt
- 2 large eggs, at room temperature
- 1/2 cup unsalted butter, melted and cooled
For the Filling:
- 1 cup packed light brown sugar
- 2 teaspoons ground cinnamon
- 1/2 cup unsalted butter, softened
For the Egg Wash:
- 1 large egg yolk
- 1 tablespoon milk
Equipment:
- Large mixing bowl
- Plastic wrap
- Rolling pin
- Pastry brush
- Baking sheet
- Parchment paper
Baking the Perfect Estonian Kringel: A Step-by-Step Guide
-
Activate the Yeast: In the warm milk, dissolve the sugar and sprinkle the yeast over the top. Let it stand for about 5-10 minutes until foamy. This indicates that the yeast is active and ready to work its magic.
-
Combine the Dough: In a large mixing bowl, whisk together the flour and salt. Create a well in the center and add the yeast mixture, eggs, and melted butter. Gradually incorporate the dry ingredients into the wet ingredients using a wooden spoon or your hands until a soft dough forms.
-
Knead the Dough: Turn the dough out onto a lightly floured surface and knead for about 8-10 minutes, or until it becomes smooth and elastic. If the dough feels too sticky, add a tablespoon of flour at a time until it’s manageable.
-
First Rise: Place the kneaded dough in a lightly greased bowl, turning it to coat all sides. Cover the bowl with plastic wrap and let the dough rise in a warm place for about 1-1.5 hours, or until doubled in size.
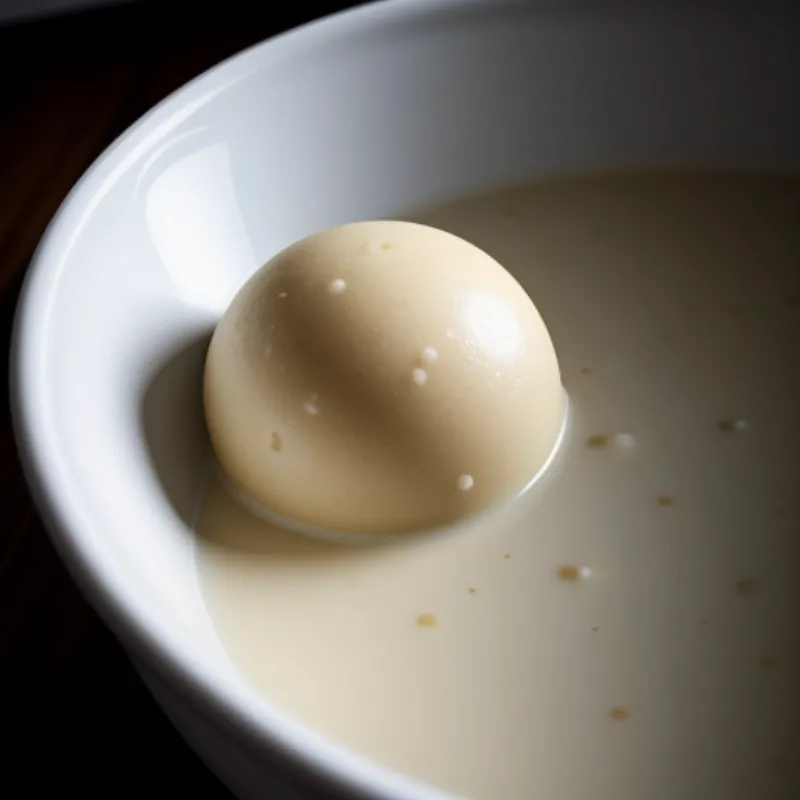
 Estonian Kringel Dough
-
Prepare the Filling: While the dough is rising, prepare the cinnamon filling. In a medium bowl, combine the softened butter, brown sugar, and cinnamon until well blended and crumbly.
-
Shape the Kringel: Punch down the risen dough to release the air. On a lightly floured surface, roll out the dough into a large rectangle, about 18×12 inches. Spread the cinnamon filling evenly over the dough, leaving a small border along the edges.
-
Roll and Cut: Starting from one of the longer sides, tightly roll the dough into a log. Pinch the seam to seal it well. Using a sharp knife, cut the log lengthwise into two long strands.
-
Braid the Kringel: Carefully lift one strand and place it over the other to form a braid. Pinch the ends together to seal the braid. Gently transfer the braided dough onto a baking sheet lined with parchment paper, shaping it into a ring.
 Braiding Estonian Kringel
-
Second Rise: Cover the kringel loosely with plastic wrap and let it rise for another 30-45 minutes, or until puffy.
-
Preheat and Bake: While the kringel is undergoing its second rise, preheat your oven to 350°F.
-
Egg Wash: In a small bowl, whisk together the egg yolk and milk to create the egg wash. Gently brush the egg wash over the risen kringel, ensuring all the crevices are coated.
-
Baking Time: Bake the kringel for about 25-30 minutes, or until it turns a beautiful golden brown. To check for doneness, insert a toothpick into the center – it should come out clean.
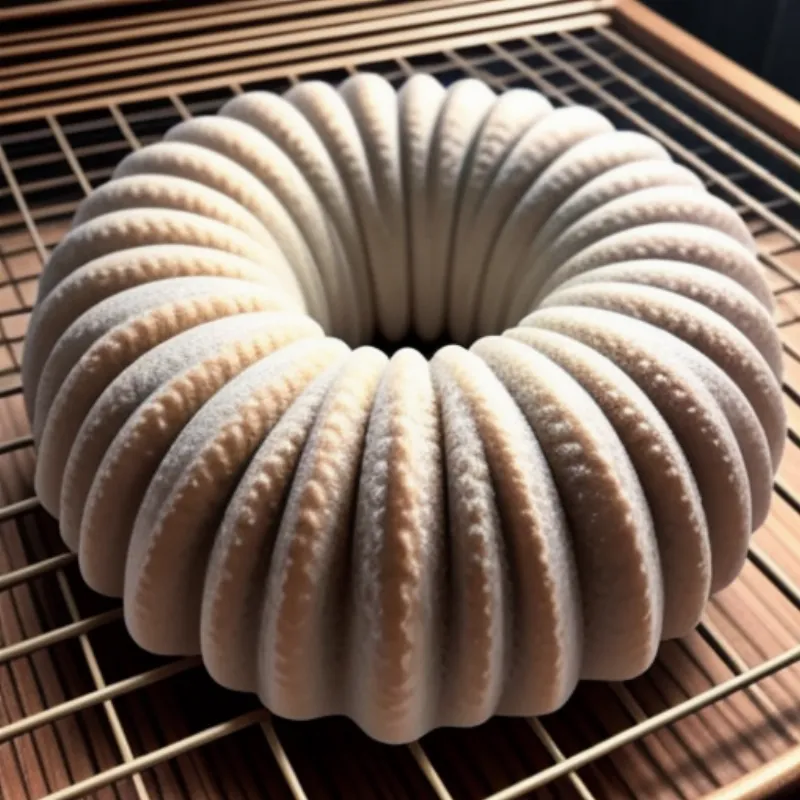
 Baked Estonian Kringel
- Cooling and Serving: Once baked, let the kringel cool slightly on the baking sheet before transferring it to a wire rack to cool completely.
Tips for Baking the Perfect Kringel:
- Yeast Activity: Ensuring your yeast is active is crucial for a well-risen kringel. If the yeast mixture doesn’t foam after 10 minutes, it might be old and needs to be replaced.
- Dough Consistency: The dough should be soft and slightly tacky but not overly sticky. Adjust the flour quantity while kneading to achieve the right consistency.
- Even Filling: Spread the cinnamon filling evenly to ensure every bite has a delightful burst of flavor.
- Braiding: Don’t worry if your braid isn’t perfect – the rustic charm of a handmade kringel adds to its appeal.
- Storage: Store any leftover kringel in an airtight container at room temperature for up to 2 days. You can also freeze it for longer storage.
FAQs about Making Estonian Kringel:
Can I use instant yeast instead of active dry yeast?
Yes, you can use instant yeast. Since instant yeast doesn’t require proofing, you can add it directly to the dry ingredients.
Can I make the dough ahead of time?
Absolutely! You can refrigerate the dough after the first rise for up to 24 hours. Let it come to room temperature before proceeding with the recipe.
What can I serve with Estonian Kringel?
Estonian kringel is delicious on its own, but you can also enjoy it with a cup of coffee or tea. It’s also delightful with a dollop of whipped cream or a side of fresh berries.
Estonian kringel is more than just a bread – it’s an experience. It’s a testament to the joy of baking and the delight of sharing delicious food with loved ones. So gather your ingredients, put on your apron, and embark on this culinary adventure. You’ll be amazed by what you can create! Don’t forget to share your baking triumphs with us in the comments below!
