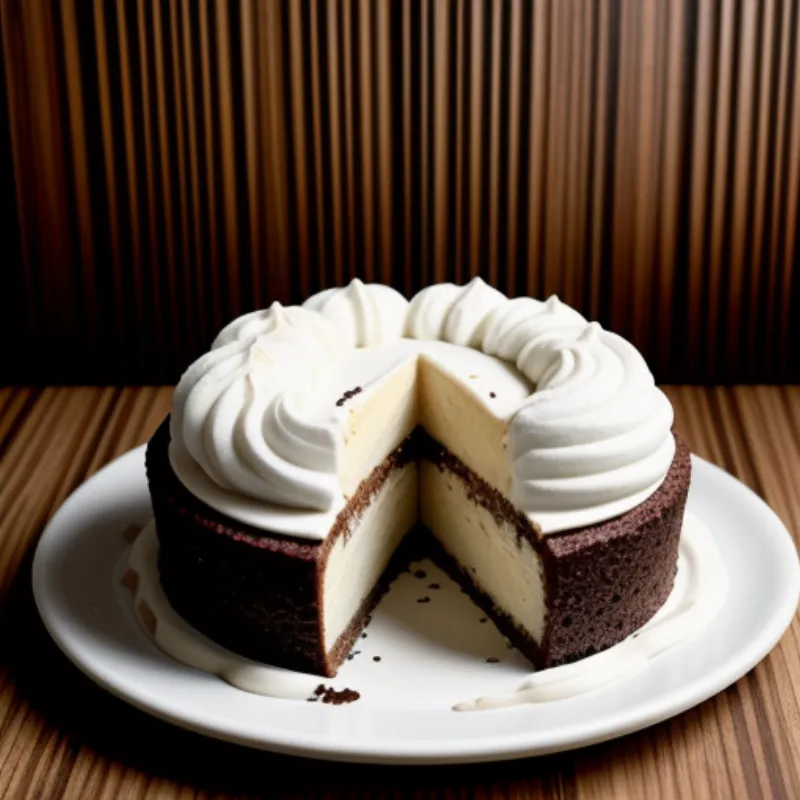
Hello, fellow dessert lovers! Today, we’re going to journey into the realm of frozen treats with a recipe that’s guaranteed to impress: Frozen Banoffee Pie. This delightful dessert, hailing from the UK, combines a crunchy biscuit base, creamy caramel, ripe bananas, and a mountain of whipped cream – all chilled to perfection. It’s the kind of dessert that disappears quickly at any gathering, so be warned!
This recipe is surprisingly simple, even if you’re a baking newbie. So, roll up your sleeves, tie those aprons, and let’s get started on creating this frozen masterpiece together!
Ingredients You’ll Need:
For the Crust:
- 1 1/2 cups (150g) digestive biscuits
- 5 tablespoons (70g) unsalted butter, melted
For the Caramel Filling:
- 1 can (14 oz) sweetened condensed milk (Don’t worry about opening it yet, we’ll get to that!)
- 1/2 cup (100g) granulated sugar
- 1/4 cup (60ml) heavy cream
- 1/4 teaspoon salt
- 1 teaspoon vanilla extract
For the Banana Layer:
- 3-4 ripe bananas, sliced
For the Whipped Cream Topping:
- 1 1/2 cups (360ml) heavy whipping cream
- 1/4 cup (30g) powdered sugar
- 1 teaspoon vanilla extract
For Decoration (Optional):
- Chocolate shavings
- Cocoa powder for dusting
Let’s Gather Our Tools:
- 9-inch springform pan
- Food processor or zip-top bag and rolling pin
- Medium saucepan
- Whisk
- Electric mixer
- Spatula
- Parchment paper or plastic wrap
Step-by-Step Guide to Frozen Banoffee Pie Bliss:
1. Creating the Biscuit Base:
- Pulse it up! In a food processor, blitz those digestive biscuits until they resemble fine breadcrumbs. Don’t have a food processor? No problem! Place the biscuits in a zip-top bag and crush them with a rolling pin until finely ground.
- Butter it up! Pour in the melted butter and pulse (or mix) until the mixture resembles wet sand.
- Press and chill! Press this buttery biscuit mixture into the bottom of your springform pan. Make sure it’s even and compact. Pop it in the freezer for at least 30 minutes to firm up.
2. The Magic of No-Cook Caramel:
- The Dulce de Leche Secret! Remember that unopened can of sweetened condensed milk? Here’s where the magic happens! Remove the label from the can and completely submerge it in a large pot of water. Make sure the water level is at least 2 inches above the can.
- Simmer and Transform! Bring the water to a boil, then reduce to a gentle simmer. Cook for 3-4 hours, making sure the can is always covered with water. (Top tip: use a kettle to keep hot water handy for topping up!). This slow cooking process turns the condensed milk into a luscious, golden caramel known as dulce de leche.
- Cool Down Time! Once cooked, carefully remove the can from the water bath (use tongs! It’s hot!). Allow it to cool completely before opening – we don’t want any hot caramel surprises!
3. Building the Frozen Layers:
- Dulce de Leche Delight! Once the dulce de leche is cool, open the can and pour the thick, caramelized goodness over your chilled biscuit base. Spread it evenly.
- Going Bananas! Arrange your sliced bananas over the caramel layer. Feel free to get creative with the arrangement!
- Whip it Good! In a mixing bowl, use an electric mixer to whip the heavy cream, powdered sugar, and vanilla extract until stiff peaks form.
- Creamy Dreamy Topping! Pile the whipped cream generously over the banana layer. You can spread it evenly or create decorative swirls – go wild!
4. Freeze and Serve:
- Chill Out Time! Carefully cover your banoffee pie masterpiece with plastic wrap or parchment paper and place it in the freezer for at least 4-6 hours, or preferably overnight. This allows all the flavors to meld and the pie to firm up beautifully.
- Grand Finale! When ready to serve, remove the pie from the freezer and let it sit at room temperature for about 10-15 minutes before slicing. This makes it easier to cut and gives it the perfect texture.
5. Presentation Perfection:
- Chocolate Indulgence! For an extra touch of elegance, sprinkle some chocolate shavings on top of the pie just before serving.
- Dust it Up! Lightly dust the pie with cocoa powder for a subtle, artistic touch.
Tips and Tricks from a Pro:
- “For a richer caramel flavor, you can simmer the unopened can of condensed milk for an additional hour. Just make sure to keep an eye on the water level!” – Chef Emily Carter
- “Out of digestive biscuits? Graham crackers or even Biscoff cookies make excellent substitutes for the crust!”
- “Don’t like bananas? You can swap them out for strawberries or raspberries for a fruity twist!”
 Frozen Banoffee Pie
FAQs – Your Banoffee Pie Questions Answered:
Q: Can I make the caramel from scratch instead of using the dulce de leche method?
A: Absolutely! While the dulce de leche method is super convenient, you can certainly make your own caramel sauce. Just be prepared for a slightly longer cooking process.
Q: How long can I store frozen banoffee pie?
A: For the best flavor and texture, enjoy your frozen banoffee pie within 2-3 days.
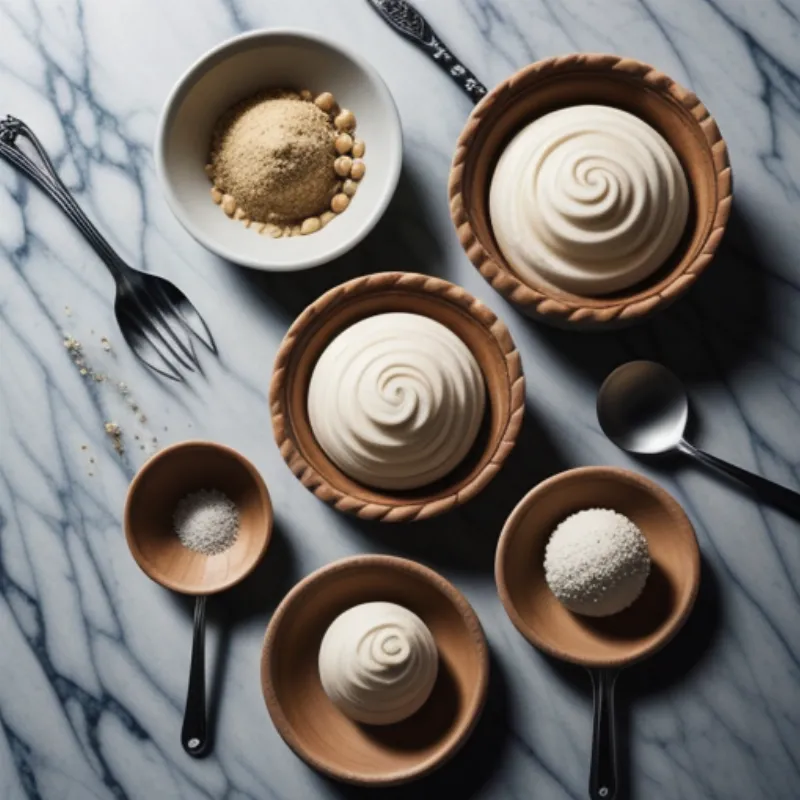
 Banoffee Pie Ingredients
A Final Word:
There you have it – a slice of frozen heaven, ready to tantalize your taste buds. The beauty of this recipe lies in its simplicity and versatility. So go ahead, experiment with different toppings, add your personal touch, and most importantly, have fun! Don’t forget to share your culinary masterpieces with us in the comments below – we’d love to see your frozen banoffee pie creations!
