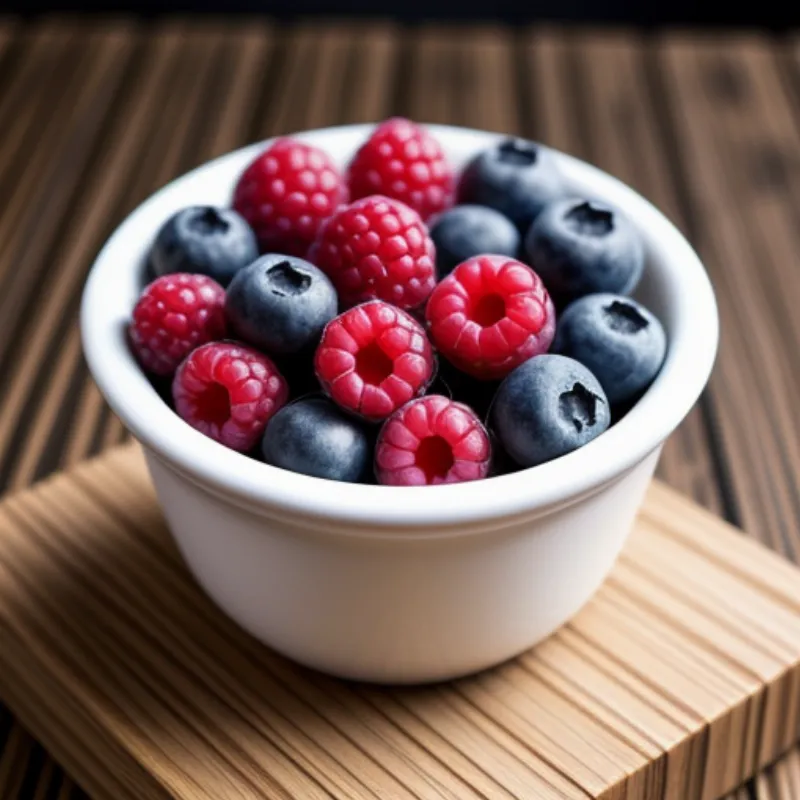
Frozen yogurt-covered berries are a delightful combination of tart, creamy, and refreshing flavors, making them a perfect healthy treat. These bite-sized snacks are incredibly easy to make and can be customized with your favorite yogurt flavors and seasonal fruits. Imagine the smile on your family’s faces when they bite into these cool and delicious treats.
This recipe is incredibly versatile; you can use any type of berry you like: strawberries, raspberries, blueberries, blackberries, or even a mix for a colorful snack. Let’s get started!
Gathering Your Ingredients and Tools
Here’s what you’ll need to create these delightful frozen yogurt-covered berries:
Ingredients
- 1 pint (2 cups) plain yogurt (Greek yogurt works best for a tangier flavor and creamier texture)
- 1/4 cup honey (or maple syrup for a vegan alternative)
- 1 teaspoon vanilla extract
- 1/4 teaspoon salt
- 2 cups fresh berries (strawberries, raspberries, blueberries, blackberries, or a mix)
Tools
- Parchment paper
- Baking sheet
- Medium mixing bowl
- Whisk
- Rubber spatula
Step-by-Step Guide to Frozen Yogurt Bliss
Follow these simple instructions to make your own frozen yogurt-covered berries:
- Prepare the Berries: Rinse the berries thoroughly under cold water and pat them dry with a clean kitchen towel. It’s crucial to ensure the berries are completely dry, so the yogurt adheres well.
- Mix the Yogurt Coating: In a medium mixing bowl, whisk together the yogurt, honey (or maple syrup), vanilla extract, and salt until smooth and well combined.
- Dip and Coat: Dip each berry into the yogurt mixture, ensuring it’s fully coated. Use a spoon to help coat the berries evenly.
- Arrange and Freeze: Line a baking sheet with parchment paper. Carefully place the yogurt-coated berries onto the prepared baking sheet, making sure they’re not touching.
- Freeze: Place the baking sheet in the freezer for at least 2-3 hours, or until the yogurt coating is solid.
 Frozen Yogurt Covered Berries
Tips for Frozen Yogurt Perfection
- For a smoother texture: Strain the yogurt through a cheesecloth-lined strainer for 30 minutes before mixing to remove excess liquid. This will result in a thicker, creamier coating.
- Get creative with flavors: Add a swirl of fruit preserves or a pinch of cinnamon to the yogurt mixture before dipping. You can also use different flavored yogurts!
- Prevent sticking: If your berries are too soft and prone to sticking, try freezing them for 15-20 minutes before dipping them in the yogurt mixture.
Expert Tip: “When choosing berries for this recipe, opt for smaller sizes for easier dipping and a more enjoyable bite-sized treat,” suggests renowned pastry chef, Emily Carter. “Frozen berries also work well, just ensure they are thawed and patted dry before dipping.”
Serving and Storing Your Frozen Delights
Once your frozen yogurt-covered berries are firm, you can transfer them to an airtight container or freezer bag for storage. They can be enjoyed straight from the freezer and will last for up to 2 months.
 Storing Frozen Yogurt Covered Berries
Frequently Asked Questions
Can I use a sugar substitute instead of honey?
Yes, you can use stevia or agave as a substitute for honey. However, keep in mind that the sweetness level may vary, so adjust accordingly to your taste.
How can I prevent the yogurt from being too icy?
Using full-fat Greek yogurt helps to create a creamier texture. Additionally, avoid over-freezing the berries.
Can I add toppings to my frozen yogurt-covered berries?
Absolutely! Once the yogurt coating is semi-frozen, you can roll the berries in chopped nuts, shredded coconut, or sprinkles for an extra crunch and flavor.
A Healthy and Delicious Treat
Frozen yogurt-covered berries are a delightful and healthy treat you can easily make at home. They’re a fantastic way to satisfy your sweet cravings while incorporating a nutritious dose of fruits and probiotics. So gather your favorite berries and give this recipe a try. You’ll be amazed by the burst of flavors and the joy these simple treats bring to your taste buds! Don’t forget to share your creations with us in the comments below, and happy freezing!
