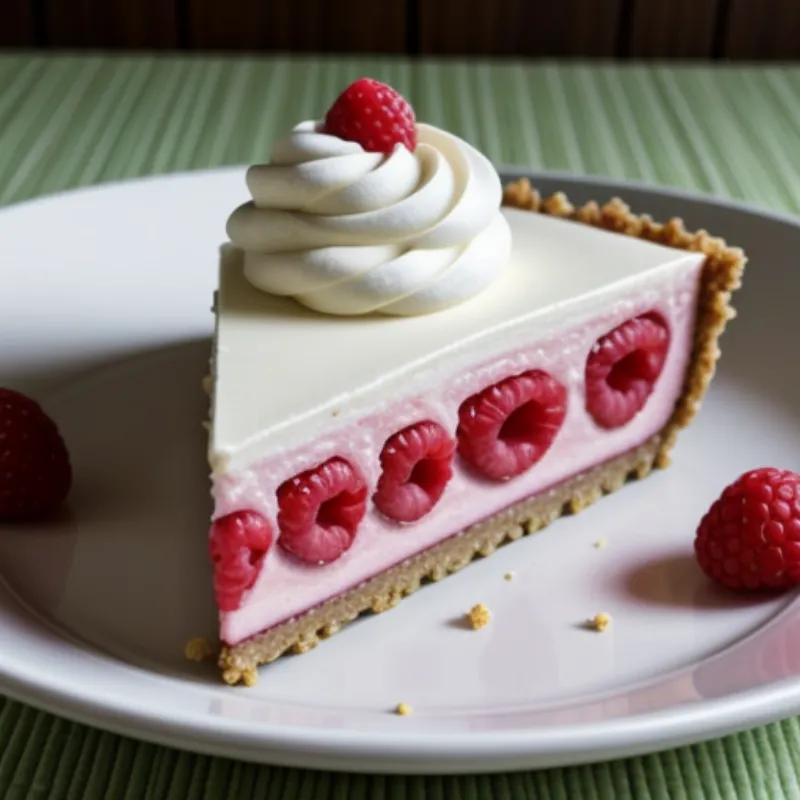
Frozen yogurt pie is a delightful dessert that perfectly balances creamy, tangy, and sweet flavors. It’s a lighter alternative to traditional ice cream pie, making it an ideal treat for any occasion, from casual family gatherings to special celebrations. And the best part? It’s incredibly easy to make at home!
Whether you’re a seasoned baker or just starting your culinary adventure, this step-by-step guide will empower you to create a frozen yogurt pie that will impress your family and friends. Get ready to discover the joy of making this refreshingly delicious dessert!
Gather Your Ingredients
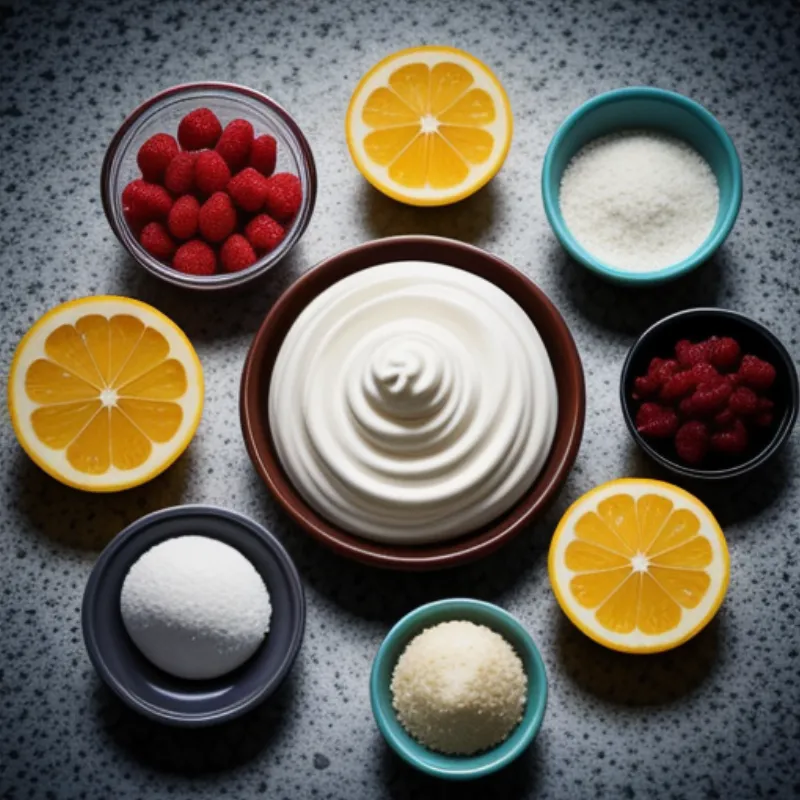
Let’s start by gathering all the delicious components of our frozen yogurt pie. The beauty of this recipe lies in its simplicity and flexibility, allowing you to customize it to your liking.
For the Crust:
- 1 ½ cups graham cracker crumbs (You can also use digestive biscuits or vanilla wafers for a different flavor profile.)
- 5 tablespoons unsalted butter, melted
- 2 tablespoons granulated sugar
For the Frozen Yogurt Filling:
- 2 cups plain Greek yogurt (I recommend using full-fat yogurt for the creamiest texture.)
- ¾ cup powdered sugar (You can adjust the sweetness to your preference.)
- 1 teaspoon pure vanilla extract
- Pinch of salt
- Optional: 1-2 tablespoons of your favorite fruit preserves or jam for a delightful swirl (Strawberry, raspberry, and blueberry are classic choices.)
Tools of the Trade
Before we dive into the fun part, make sure you have these essential tools on hand:
- Food processor (or a zip-top bag and a rolling pin for crushing the graham crackers)
- 9-inch pie plate
- Mixing bowls
- Rubber spatula
- Measuring cups and spoons
- Parchment paper or plastic wrap
Let’s Make Frozen Yogurt Pie!
Step 1: Creating the Crunchy Crust
- Pulse the graham crackers: In your food processor, pulse the graham crackers until they are finely ground. If you don’t have a food processor, place the crackers in a zip-top bag and crush them into fine crumbs using a rolling pin.
- Combine with butter and sugar: In a mixing bowl, combine the graham cracker crumbs, melted butter, and granulated sugar. Mix well until the crumbs are evenly moistened.
- Press into the pie plate: Transfer the mixture into your pie plate. Using the back of a spoon or your fingers, press the crumbs firmly and evenly into the bottom and up the sides of the plate to form the crust.
- Pre-bake for a crispy crust: Place the pie plate in a preheated oven at 350°F (175°C) for about 8-10 minutes, or until the crust is lightly golden brown. This step ensures a sturdy and flavorful base for your frozen yogurt filling.
- Cool completely: Once baked, remove the crust from the oven and set it aside to cool completely.
Step 2: Whipping Up the Frozen Yogurt Filling
- Combine yogurt, sugar, and vanilla: In a large bowl, whisk together the Greek yogurt, powdered sugar, vanilla extract, and salt until smooth and well combined.
- Taste and adjust: This is your chance to customize the sweetness! Take a spoonful of the mixture and give it a taste. Add more powdered sugar if you prefer a sweeter filling.
- Optional: Swirl in some fruity goodness: For an extra burst of flavor and visual appeal, gently swirl 1-2 tablespoons of your chosen fruit preserves or jam into the yogurt mixture. Be careful not to overmix, as you want to retain those beautiful swirls.
Step 3: Assembling and Freezing the Pie
- Pour filling into the crust: Pour the prepared frozen yogurt filling into the cooled graham cracker crust, spreading it evenly.
- Smooth the top: Gently smooth the surface of the filling with a spatula.
- Freeze until solid: Cover the pie plate tightly with parchment paper or plastic wrap and place it in the freezer for at least 4-6 hours, or until the filling is completely frozen.
Step 4: Serving and Enjoying!
- Thaw slightly before serving: Remove the frozen yogurt pie from the freezer about 15-20 minutes before you’re ready to serve. This will make it easier to slice and enjoy.
- Slice and savor: Cut the pie into slices and serve it as is, or get creative with your toppings! Fresh fruit, chocolate shavings, a dollop of whipped cream, or a drizzle of honey are all delicious options.
 Frozen Yogurt Pie
Tips and Tricks for Frozen Yogurt Pie Perfection
- Crust alternatives: Feel free to experiment with different types of crusts. Crushed Oreo cookies, gingersnaps, or even a gluten-free graham cracker crust would work beautifully!
- Sweetness adjustment: The sweetness of the filling can be tailored to your liking. If you prefer a tangier flavor, reduce the amount of powdered sugar slightly.
- Fruit variations: Don’t be afraid to get creative with your fruit additions! Fresh berries, sliced peaches, or a tropical mango swirl would all be delicious additions.
- Storage: Store any leftover frozen yogurt pie in the freezer, tightly wrapped, for up to 2 weeks.
 Frozen Yogurt Pie Ingredients
FAQs About Frozen Yogurt Pie
Q: Can I use regular yogurt instead of Greek yogurt?
A: While you can use regular yogurt, keep in mind that it has a higher water content than Greek yogurt. This might result in a slightly icier texture. If you opt for regular yogurt, you can strain it through a cheesecloth-lined sieve for about 30 minutes to remove some of the excess moisture.
Q: Can I make frozen yogurt pie without an ice cream maker?
A: Absolutely! This recipe doesn’t require an ice cream maker. The freezing process takes care of solidifying the yogurt filling beautifully.
Q: How can I prevent the crust from becoming soggy?
A: Pre-baking the crust helps create a barrier that prevents the frozen yogurt filling from soaking into it, ensuring a perfectly crisp crust.
A Refreshing Treat Awaits!
Congratulations! You’re now equipped with the knowledge and confidence to make your very own frozen yogurt pie. This refreshing and customizable dessert is sure to become a family favorite.
For more delightful frozen treat recipes, be sure to check out our guides on How to Make Fruit Popsicles and How to Make Ice Cream Without an Ice Cream Maker. Happy freezing!
