Nothing beats the summer heat like a delicious, icy-cold fruit popsicle. These homemade treats are not only refreshing but also incredibly easy to make. Whether you’re a seasoned chef or a kitchen novice, this guide will walk you through the process step-by-step, ensuring you create the perfect popsicles to delight your family and friends.
Making fruit popsicles is an age-old tradition, with variations found across the globe. From the icy treats sold on the bustling streets of Mexico to the fruit-infused ice pops enjoyed in tropical regions, popsicles are a universal symbol of summer joy.
Gather Your Ingredients and Equipment
Before we dive into the fun part, let’s gather everything we need. The beauty of homemade popsicles lies in their simplicity and adaptability. Here’s a basic recipe, but feel free to experiment with your favorite fruits and flavors:
Ingredients:
- 1 cup of sliced fresh fruit (strawberries, blueberries, raspberries, mangoes, kiwi, etc.)
- 1/2 cup of juice (orange juice, apple juice, pineapple juice, or any juice that complements your chosen fruit)
- 1 tablespoon of honey or maple syrup (optional, adjust to your sweetness preference)
Pro Tip from Chef Anna: “For a smoother texture, blend a portion of your chosen fruit with the juice before adding the remaining fruit pieces. This creates a vibrant base while still maintaining those delightful fruit chunks.”
Tools:
- Popsicle mold
- Popsicle sticks
- Measuring cups and spoons
- A blender or food processor (optional)
Let’s Make Some Popsicles!
Now comes the exciting part – transforming these simple ingredients into frozen delights. Follow these easy steps:
-
Prepare Your Fruit: Wash and chop your chosen fruit into small, bite-sized pieces. If using berries, leave them whole or halve them depending on their size.
-
Blend (Optional): If you prefer a smoother texture, combine a portion of your fruit with the juice in a blender or food processor until smooth. Then, stir in the remaining fruit chunks.
-
Sweeten the Deal (Optional): Add honey or maple syrup to your desired sweetness. Remember, the natural sweetness of the fruit will also contribute to the flavor.
-
Fill the Molds: Pour the fruit mixture into your popsicle molds, leaving a little space at the top for expansion as the mixture freezes.
-
Insert Popsicle Sticks: Gently press a popsicle stick into each mold. Ensure it stands upright and centered.
-
Freeze and Enjoy: Place the molds in the freezer for at least 4-6 hours, or until the popsicles are completely frozen.
Chef Anna’s Quick Tip: “Having trouble removing the popsicles from the mold? Simply run the mold under warm water for a few seconds. This will loosen the popsicles, making them easy to slide out.”
Tips for Popsicle Perfection
- Get Creative with Flavors: Don’t be afraid to experiment! Mix and match fruits, try different juice combinations, or add a touch of yogurt for a creamy twist.
- Layer Up for Visual Appeal: Create beautiful layers by partially freezing each layer before adding the next. This works especially well with contrasting colors and flavors.
- Storage: Once frozen, store your popsicles in an airtight container or freezer bag to prevent freezer burn. They’ll last for several weeks in the freezer.
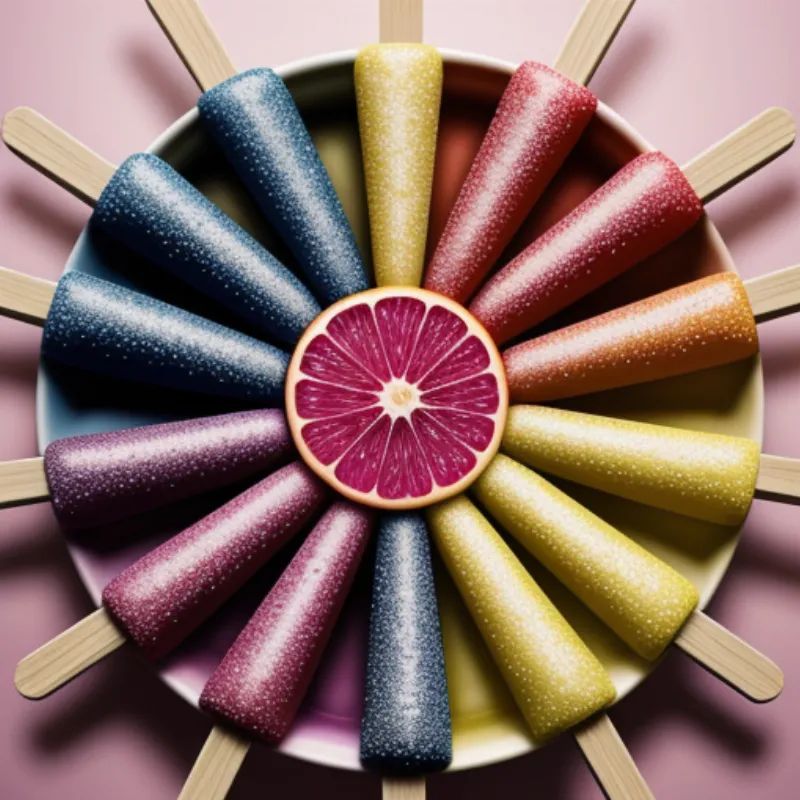
 Assortment of Colorful Fruit Popsicles
FAQs About Making Fruit Popsicles
Q: Can I use frozen fruit?
A: Absolutely! Frozen fruit works just as well as fresh fruit. You might need to slightly thaw the fruit before blending or adjust the blending time for a smoother consistency.
Q: My popsicles turned out icy. What went wrong?
A: Icy popsicles usually result from using too much water or juice. Make sure your fruit-to-liquid ratio is balanced.
Q: Can I make popsicles without added sugar?
A: Yes, you can! The natural sweetness of the fruit is usually enough. If you prefer a sweeter popsicle, choose fruits with a higher natural sugar content like mangoes or bananas.
Enjoy Your Homemade Treats!
Congratulations! You’ve just created a batch of delicious and healthy fruit popsicles. Whether you’re cooling down on a hot day or looking for a fun and nutritious treat for the kids, these popsicles are the perfect solution.
 Kids Smiling and Enjoying Fruit Popsicles
We’d love to hear about your popsicle-making adventures! Share your creations and flavor combinations in the comments below. And if you’re looking for more refreshing frozen treats, check out our recipes for How to Make Frozen Yogurt Popsicles or How to Make Creamsicles. Happy freezing!
