The Gâteau Opéra. Even saying its name evokes a sense of grandeur, doesn’t it? This elegant French dessert, with its perfectly aligned layers of coffee, chocolate, and almond sponge cake, is a true showstopper. While it might seem daunting to make, I promise you, with a little patience and this step-by-step guide, you’ll be slicing into your very own masterpiece in no time.
My own journey with the Gâteau Opéra began with a trip to Paris. Strolling along the charming streets, I stumbled upon a quaint patisserie, its windows showcasing an array of exquisite pastries. But it was the Gâteau Opéra, with its sleek layers and gleaming glaze, that stole my heart (and my stomach!). I knew I had to recreate this symphony of flavors at home.
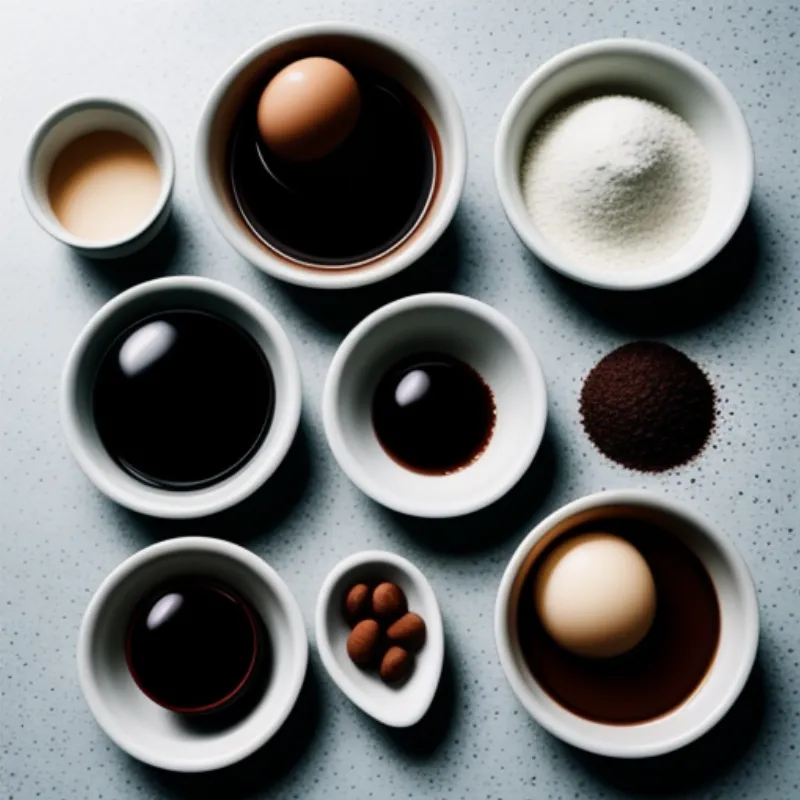
 Gateau Opera Ingredients
Gathering Your Ingredients
Before we embark on this delicious adventure, let’s gather our ingredients. Remember, baking is like chemistry – precise measurements are key!
For the Joconde Sponge:
- 100g almond flour
- 100g powdered sugar
- 3 large eggs, at room temperature
- 25g all-purpose flour
- 25g unsalted butter, melted and cooled
- 3 egg whites, at room temperature
- 50g granulated sugar
For the Coffee Syrup:
- 100ml strong brewed coffee
- 50g granulated sugar
For the Chocolate Ganache:
- 150ml heavy cream
- 150g dark chocolate, chopped
For the Coffee Buttercream:
- 100g unsalted butter, softened
- 200g powdered sugar
- 50ml strong brewed coffee, cooled
- 1 teaspoon vanilla extract
Tools of the Trade
- Two 8-inch square baking pans
- Parchment paper
- Stand mixer or hand mixer
- Rubber spatula
- Serrated knife
- Offset spatula
The Art of Assembly: Crafting Your Gâteau Opéra
Now comes the fun part – bringing all the elements together!
Making the Joconde Sponge:
- Preheat your oven to 350°F (180°C). Line your baking pans with parchment paper, leaving an overhang on two sides for easy removal.
- In a food processor, pulse together the almond flour and powdered sugar until well combined.
- In the bowl of your stand mixer, whisk the eggs on high speed for about 5 minutes, until pale and doubled in volume. Gradually add the granulated sugar and whisk until the mixture forms stiff peaks.
- Gently fold the dry ingredients into the egg mixture, followed by the melted butter.
- In a separate bowl, beat the egg whites until stiff peaks form. Gradually add the remaining granulated sugar and beat until glossy.
- Gently fold the egg whites into the batter in two additions.
- Divide the batter evenly between the prepared pans and spread into an even layer.
- Bake for 10-12 minutes, or until the cakes are golden brown and spring back to the touch.
- Let the cakes cool completely in the pans before inverting them onto a wire rack.
Creating the Coffee Syrup:
- In a small saucepan, combine the coffee and sugar. Bring to a simmer over medium heat, stirring constantly until the sugar is dissolved.
- Remove from heat and let cool completely.
Whipping Up the Chocolate Ganache:
- Place the chopped chocolate in a heatproof bowl.
- Heat the heavy cream in a saucepan over medium heat until it just begins to simmer. Pour the hot cream over the chocolate and let it sit for a minute to melt.
- Gently whisk until smooth and glossy. Set aside to cool slightly.
The Coffee Buttercream:
- In the bowl of your stand mixer, beat the softened butter on medium speed until light and fluffy.
- Gradually add the powdered sugar, beating until well combined.
- Pour in the cooled coffee and vanilla extract, and beat on high speed for 2-3 minutes, until the buttercream is light and airy.
Building the Masterpiece: Layer by Layer
- Once the cakes are completely cool, use a serrated knife to trim the edges for clean, even layers. Cut each cake horizontally into two even layers.
- Place one layer of Joconde sponge in the base of an 8-inch square cake pan. Brush generously with coffee syrup.
- Spread a thin layer of coffee buttercream over the soaked sponge.
- Top with a layer of chocolate ganache, spreading evenly.
- Repeat steps 2-4 with the remaining layers, finishing with a layer of Joconde sponge.
- Wrap the cake tightly with plastic wrap and refrigerate for at least 4 hours, or preferably overnight.
The Grand Finale: Glazing and Serving
- Once the cake is chilled and firm, prepare the glaze.
- Carefully remove the cake from the pan and place it on a wire rack set over a baking sheet.
- Pour the glaze over the top of the cake, using an offset spatula to spread it evenly and create a smooth, glossy finish.
- Let the glaze set for a few minutes before carefully transferring the cake to a serving platter.
 Slicing Gateau Opera
Tips From My Kitchen to Yours
- Room Temperature is Key: Ensure your eggs and butter are at room temperature for optimal results in the Joconde sponge.
- Don’t Over-bake: Keep a close eye on your cakes while baking – over-baking will result in a dry sponge.
- Syrup Savvy: Brushing the sponge layers with coffee syrup adds moisture and enhances the coffee flavor.
- Chill Out: Refrigerating the cake between layers and before glazing ensures that it holds its shape and the layers are well-defined.
FAQs: Your Gâteau Opéra Queries Answered
Can I make this cake ahead of time?
Absolutely! In fact, it’s best to make the Gâteau Opéra a day or two in advance to allow the flavors to meld and the layers to set properly.
Can I use a different type of frosting?
While the traditional recipe calls for coffee buttercream, feel free to get creative with your fillings! Chocolate buttercream, hazelnut cream, or even a fruit-infused mousse would work beautifully.
My glaze is too thick! What should I do?
If your glaze seems too thick, you can add a teaspoon of hot water at a time, stirring constantly, until it reaches the desired consistency.
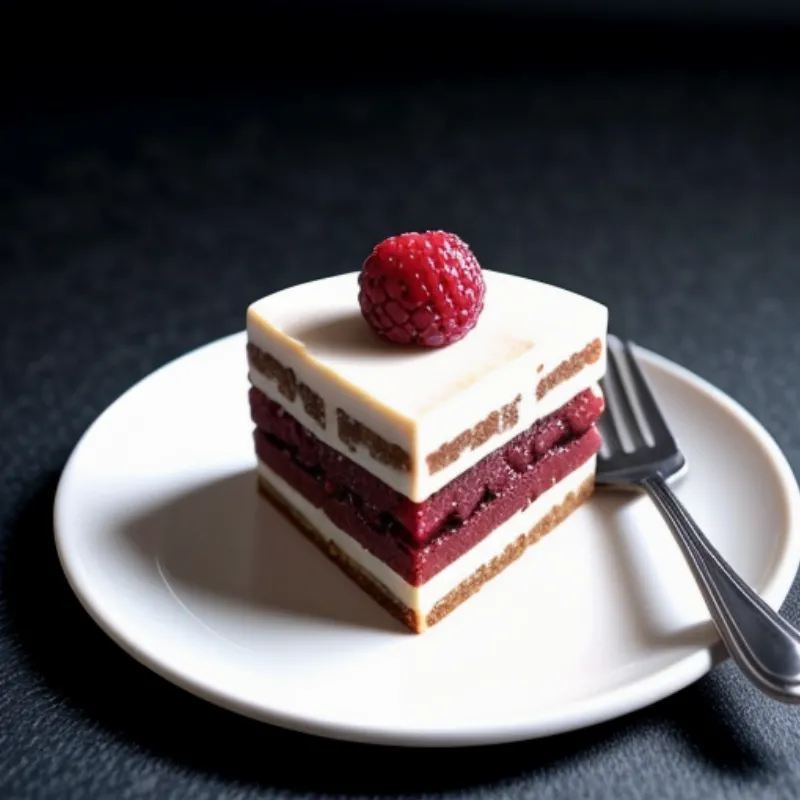
 Plated Gateau Opera
A Taste of Paris in Every Bite
There you have it – your very own Gâteau Opéra, ready to impress your friends and family. This cake is a testament to the fact that with a bit of effort, we can all create culinary magic in our own kitchens. So go ahead, put on your baker’s hat, and let’s get baking! Don’t forget to share your culinary triumphs with us in the comments below. We’d love to see your creations! Happy baking!
