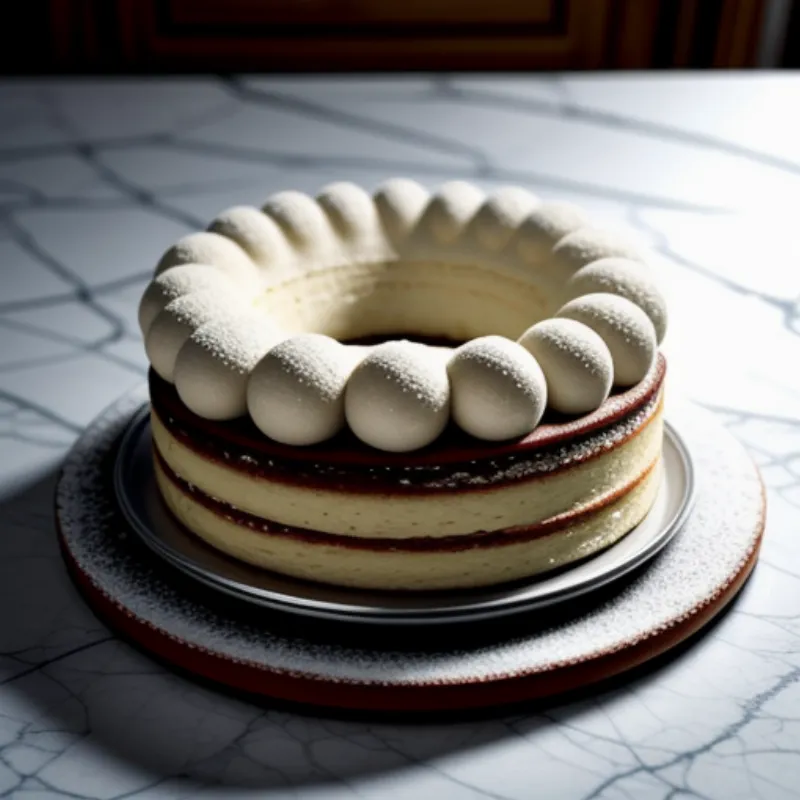
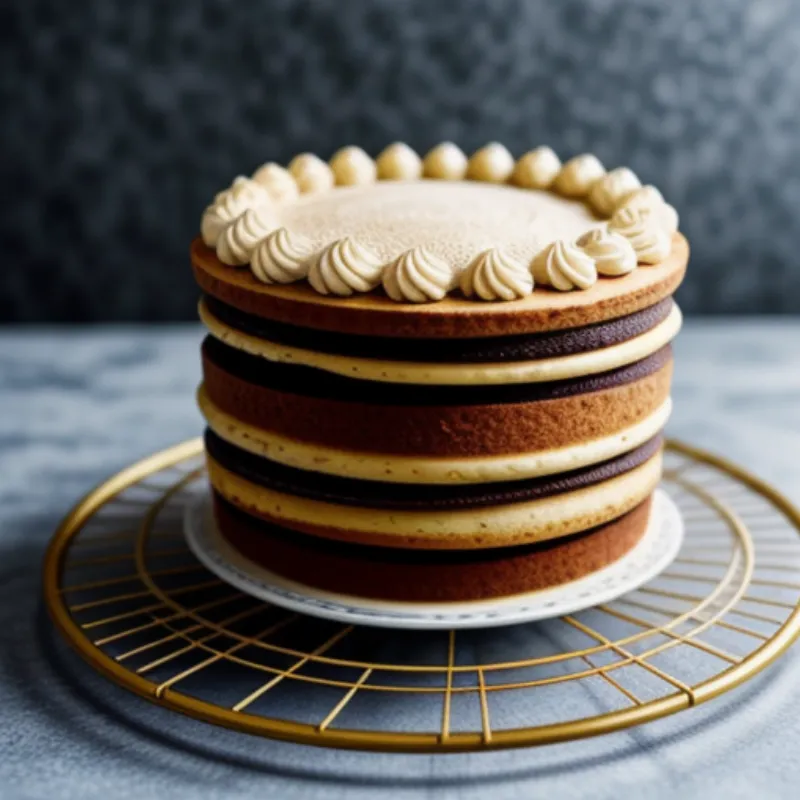
The Genoese cake: a timeless classic. Its light, airy texture and delicate flavor make it the perfect base for countless dessert creations. Imagine layers of this fluffy dream cake, sandwiched with fresh fruit and whipped cream, or transformed into a show-stopping celebration cake. Intrigued? You’re in the right place!
This guide will equip you with all the knowledge and confidence you need to make your own Genoese cake from scratch. Let’s turn this baking dream into a delicious reality!
The Essentials: What You’ll Need
Before we embark on this baking adventure, gather your ingredients and tools. Don’t worry, we’re keeping things simple and straightforward!
Ingredients:
- 6 large eggs, at room temperature (this is crucial for achieving that airy texture!)
- ¾ cup (90g) granulated sugar
- 1 teaspoon pure vanilla extract (for a hint of warmth)
- ¾ cup (90g) all-purpose flour, sifted (sifting aerates the flour, contributing to the cake’s lightness)
- Pinch of salt (enhances the flavors)
Optional but recommended:
- 1 tablespoon unsalted butter, melted and cooled (for added richness and tenderness)
Tools:
- 9-inch round cake pan (choose one with 2-inch sides for optimal results)
- Parchment paper (our trusty friend for preventing sticking!)
- Stand mixer or hand mixer (to achieve that airy, light batter)
- Two mixing bowls (one for the dry ingredients, one for the wet)
- Rubber spatula (for gentle folding and scraping)
- Toothpick or cake tester (to check for doneness)
- Wire rack (for cooling the cake evenly)
Let’s Get Baking! Step-by-Step Guide
Now that you have all your ingredients and tools ready, let’s dive into the baking process!
Step 1: Preparing the Stage
- Preheat your oven to 350°F (175°C). Every oven is different, so double-check the temperature to ensure even baking.
- Grease and flour the cake pan. Line the bottom with parchment paper. This creates a non-stick surface for easy cake removal.
Step 2: Whisking to Fluffy Perfection
- In your stand mixer bowl (or a large bowl if using a hand mixer), whisk the eggs, sugar, and vanilla extract on high speed for about 5-7 minutes. The mixture should be pale yellow, noticeably thickened, and form ribbons when you lift the whisk. This is where the magic happens – we’re creating air bubbles for that light and airy texture!
Step 3: Gently Incorporating the Dry Ingredients
- In a separate bowl, whisk together the sifted flour and salt.
- Gradually add the dry ingredients to the egg mixture, about ¼ cup at a time, gently folding with the rubber spatula until just combined. Avoid overmixing, which can make the cake dense.
Pro Tip: For an extra touch of richness and tenderness, gently fold in the melted and cooled butter at this stage.
Step 4: Baking Time!
- Pour the batter into the prepared cake pan and spread it evenly.
- Bake for 25-30 minutes, or until the cake is golden brown and a toothpick inserted into the center comes out clean.
Step 5: Cooling & Unmolding
- Let the cake cool in the pan for 10 minutes. This allows the cake to settle and prevents it from breaking when unmolded.
- Carefully invert the cake onto a wire rack to cool completely.
 Genoise cake in pan
Tips for Genoese Cake Success
- Room Temperature Eggs: I can’t stress this enough! Room temperature eggs create a more stable emulsion with the sugar, leading to better volume and texture.
- Don’t Overmix: Once you add the flour, mix gently until just combined. Overmixing will develop gluten, resulting in a denser cake.
- Don’t Open the Oven Door Prematurely: Resist the temptation to open the oven door during the first 20 minutes of baking. Sudden temperature changes can cause the cake to collapse.
FAQs: Genoese Cake Edition
Q: Can I make a Genoese cake without a stand mixer?
A: Absolutely! A hand mixer will work just fine. Just make sure to whisk the eggs and sugar for a longer time, about 8-10 minutes, to achieve the desired lightness.
Q: My Genoese cake sunk in the middle. What went wrong?
A: This could be due to underbaking or opening the oven door too early, causing the cake to collapse. Make sure to test for doneness with a toothpick and follow the baking time guidelines.
Q: Can I use cake flour instead of all-purpose flour?
A: While you can use cake flour, keep in mind that it will result in an even more delicate and tender cake. You may need to reduce the baking time slightly.
 Cooled Genoise cake on rack
Unleash Your Creativity!
Congratulations! You’ve baked a beautiful Genoese cake. Now it’s time to get creative! This versatile cake serves as a blank canvas for countless dessert possibilities.
Slice it in half and fill it with your favorite buttercream frosting, fresh fruit, and a dollop of whipped cream. Or, brush it with a simple syrup and layer it with pastry cream and berries for a lighter treat. You can even use it to make a classic tiramisu!
Whatever you choose, enjoy the process and savor every bite of your homemade Genoese cake. Happy baking!
Don’t forget to share your baking triumphs with us! We’d love to see your creations. Share your pictures and experiences in the comments below. And for more delicious recipes and baking adventures, be sure to explore [internal_links] on our website!
