Gravy. Just the word itself evokes a sense of warmth, comfort, and pure deliciousness. Whether it’s blanketing a plate of mashed potatoes, drizzled over a roast chicken, or adding that extra “oomph” to a Thanksgiving turkey, gravy has a special place on our dinner tables. But what exactly is gravy, and more importantly, how do you make it?
This guide will equip you with all the knowledge you need to confidently whip up a batch of mouthwatering gravy. No more relying on store-bought jars – we’re about to unlock the secrets of homemade gravy that will have everyone asking for seconds (and maybe even thirds!).
Understanding Gravy: A Sauce with History
Before we delve into the how-to, let’s take a quick trip back in time. Gravy, in its various forms, has been a culinary staple for centuries. From ancient sauces thickened with bread to medieval meat juices, the concept of using pan drippings to create a flavorful sauce has been enjoyed across cultures.
The word “gravy” itself is believed to have originated from the French word “gravé,” referring to the juices that drip from roasting meat.
The Keys to Perfect Gravy: Ingredients and Tools
The beauty of gravy lies in its simplicity. With just a handful of basic ingredients, you can create a sauce that elevates your meal from ordinary to extraordinary.
Ingredients You’ll Need:
- Pan Drippings: This is the heart of your gravy, providing a foundation of rich flavor. You’ll need about ¼ cup.
- Fat: Use the fat from your pan drippings or add 2 tablespoons of butter or oil.
- Flour: All-purpose flour works best for thickening the gravy. Start with 2 tablespoons.
- Liquid: You can use stock (chicken, beef, or vegetable) or even water. Aim for 2 cups.
- Seasoning: Salt and pepper are essential, but feel free to experiment with other herbs and spices like thyme, rosemary, or garlic powder.
Pro Tip from Chef Emily Carter: “For a richer flavor, try using a combination of stock and milk or cream as your liquid.”
Essential Tools:
- Whisk: Crucial for a lump-free gravy.
- Saucepan: Choose a size that comfortably holds your gravy.
- Measuring Cups and Spoons: For accurate measurements.
- Strainer (optional): To remove any lumps from the drippings.
Let’s Make Gravy! A Step-by-Step Guide
Now that you have your ingredients and tools ready, let’s get cooking!
- Prepare the Pan Drippings: If your pan drippings have a lot of fat, use a spoon to skim off the excess. You can save this fat for later use.
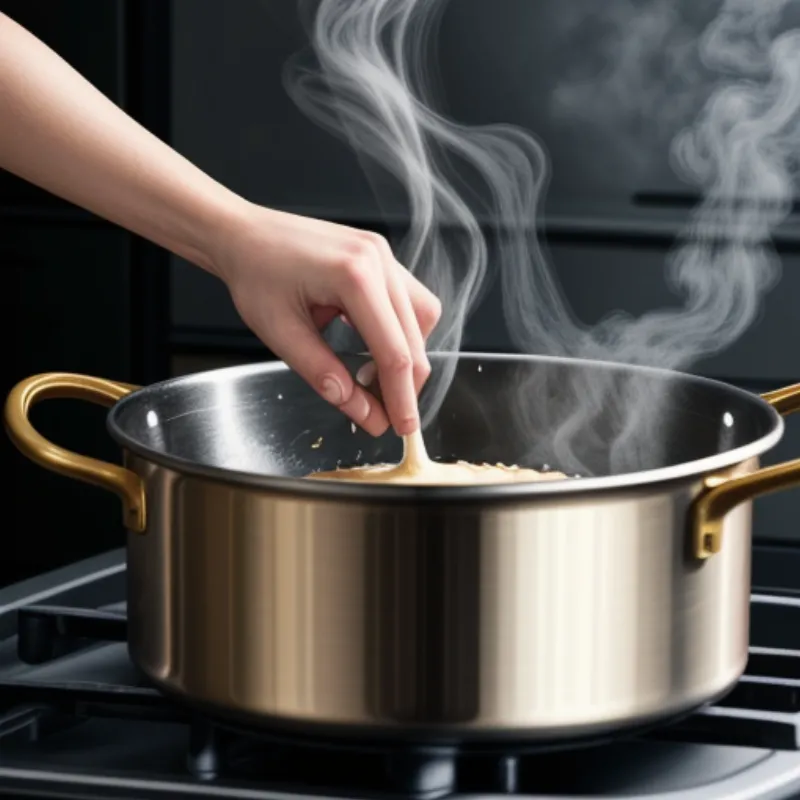
- Make the Roux: Place your saucepan over medium heat and melt the fat. Gradually whisk in the flour until it forms a smooth paste. This mixture is called a roux, and it’s the base for thickening your gravy.
- Cook the Roux: Cook the roux for 1-2 minutes, stirring constantly, until it turns a light golden brown. This step is essential for getting rid of that raw flour taste.
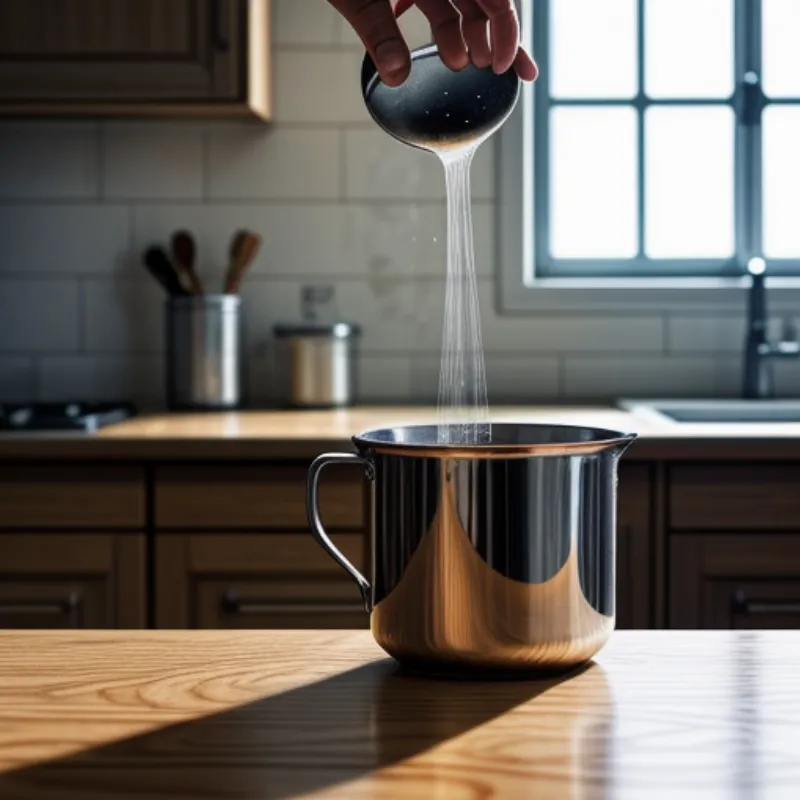
- Whisk in the Liquid: Slowly pour in your chosen liquid while whisking continuously. This ensures the roux incorporates smoothly without forming lumps.
- Simmer and Thicken: Bring the gravy to a gentle simmer and cook for 5-7 minutes, or until it reaches your desired consistency. Remember, gravy will thicken as it cools.
- Season to Perfection: Stir in salt and pepper to taste. This is also the time to add any additional herbs or spices.
FAQs about Gravy
- Help! My gravy is lumpy. What can I do? Don’t worry; it happens to the best of us. Try whisking vigorously or straining the gravy through a fine-mesh sieve.
- Can I make gravy ahead of time? Absolutely! Gravy can be made a day or two in advance and stored in an airtight container in the refrigerator. Reheat it gently on the stovetop, adding a little extra liquid if needed.
Serving and Enjoying Your Homemade Gravy
Congratulations! You’ve just made a batch of delicious, homemade gravy. Now comes the best part – enjoying it.
Gravy Pairing Ideas:
- Classic Comfort Food: Smother mashed potatoes, roast chicken, turkey, or meatloaf.
- Southern Charm: Drizzle over biscuits and fried chicken.
- Creative Twists: Use it as a sauce for pasta, rice dishes, or even vegetables.
Chef Emily Carter’s Serving Suggestion: “For an extra touch of flavor, sprinkle chopped fresh herbs like parsley or chives over your gravy just before serving.”
Beyond the Basics: Exploring Different Types of Gravy
Once you’ve mastered the basic gravy recipe, the possibilities are endless! You can try:
- Onion Gravy: Rich and savory, perfect for roast beef. (Learn how to make it here: [link to onion gravy recipe])
- Sawmill Gravy: A Southern classic made with sausage. (Learn how to make it here: [link to sawmill gravy recipe])
- Giblet Gravy: A Thanksgiving staple made with turkey giblets. (Learn how to make it here: [link to giblet gravy recipe])
Conclusion:
Making gravy is easier than you think, and the results are infinitely more rewarding than anything you can find in a jar. So go ahead, embrace the joy of homemade gravy, and elevate your next meal to new heights of deliciousness. Don’t forget to share your gravy-making triumphs (and even mishaps!) with us in the comments below.
 Making a Roux for Gravy
 Pouring Liquid into Gravy Roux
