Few things scream summertime like the irresistible aroma of freshly grilled oysters. The smoky char, the briny sweetness of the oyster, and the burst of flavor from simple yet perfect toppings – it’s a culinary experience that tantalizes the senses. And the best part? Grilling oysters at home is easier than you think! This step-by-step guide will have you shucking and grilling like a pro in no time.
What Makes Grilled Oysters So Special?
Grilled oysters are a true celebration of fresh, seasonal ingredients. They’re incredibly versatile and can be dressed up or down depending on your preference. Whether you’re a seasoned grill master or a curious beginner, there’s something magical about the simplicity and pure deliciousness of grilling oysters.
Gathering Your Ingredients and Tools
Before you fire up the grill, let’s make sure you have everything you need:
Ingredients:
- Oysters: Start with 2 dozen fresh oysters. Choose oysters that are tightly closed or close when tapped. Look for varieties like Pacific, Atlantic, or Kumamoto oysters, each offering unique flavor profiles.
- Butter: You’ll need about 1 cup of unsalted butter, softened. This will be the base for your flavorful compound butter.
- Garlic: 4 cloves of garlic, minced, will add a savory depth to your butter.
- Fresh Herbs: A mix of fresh parsley, chives, and thyme, finely chopped, will bring brightness and aroma to your dish.
- Lemon: 1 lemon, cut into wedges, for serving.
- Salt and Pepper: To taste.
Tools:
- Grill: A gas or charcoal grill will work perfectly.
- Oyster Knife: A sturdy oyster knife is essential for shucking.
- Grill Brush: For cleaning your grill grates.
- Heavy-duty gloves: Protect your hands while shucking.
- Small bowl for discarding oyster shells: This will make cleanup a breeze.
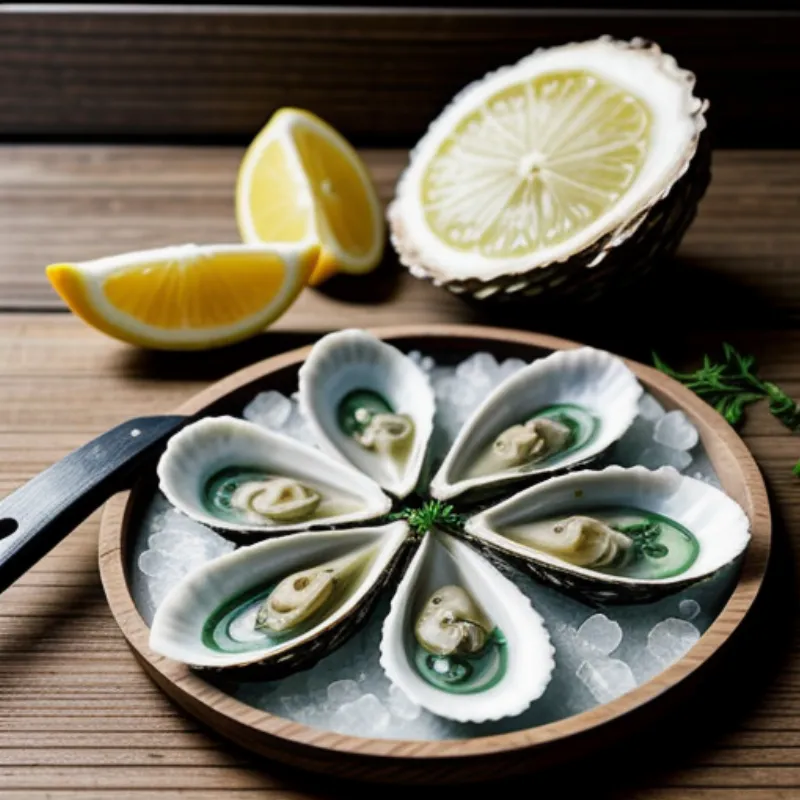
 Grilled Oysters Ingredients
The Art of Shucking Oysters
Shucking oysters can seem intimidating at first, but with practice, it becomes second nature. Here’s a quick rundown:
-
Scrub the Oysters: Rinse the oysters under cold water, using a stiff brush to remove any dirt or debris.
-
Protect Your Hands: Always wear a cut-resistant glove on the hand holding the oyster.
-
Locate the Hinge: Hold the oyster firmly in your gloved hand, with the cupped side down and the hinge facing you.
-
Insert the Knife: Wedge the tip of the oyster knife into the hinge of the oyster.
-
Twist and Pop: Twist the knife with gentle pressure until you feel the oyster pop open.
-
Separate the Shell: Slide the knife along the top shell to detach the muscle.
-
Remove the Top Shell: Discard the top shell and loosen the oyster from the bottom shell.
Safety Tip: Always exercise caution when shucking oysters. A sharp knife and a slippery oyster can lead to accidents. If you’re uncomfortable shucking your own oysters, most seafood markets will gladly do it for you.
Crafting the Perfect Compound Butter
While you can never go wrong with a simple squeeze of lemon, a flavorful compound butter takes grilled oysters to the next level.
-
Combine Butter and Garlic: In a bowl, combine the softened butter, minced garlic, and your chopped herbs.
-
Season Generously: Season the butter mixture with salt and pepper to taste.
-
Mix Well: Mix until all the ingredients are evenly distributed.
Firing Up the Grill and Grilling Your Oysters
-
Preheat Your Grill: Preheat your grill to medium-high heat. If using charcoal, aim for a bed of glowing coals with light ash.
-
Clean the Grates: Use a grill brush to clean any residue from the grates.
-
Arrange the Oysters: Place the oysters, cupped side down, directly on the hot grill grates.
-
Add the Butter: Top each oyster with a generous spoonful of your compound butter.
-
Grill to Perfection: Close the grill lid and cook for about 5-7 minutes, or until the edges of the oysters begin to curl and the butter is melted and bubbly.
Pro Tip: For extra smoky flavor, add a few soaked wood chips (hickory, applewood, or mesquite) to your charcoal or in a smoker box on your gas grill.
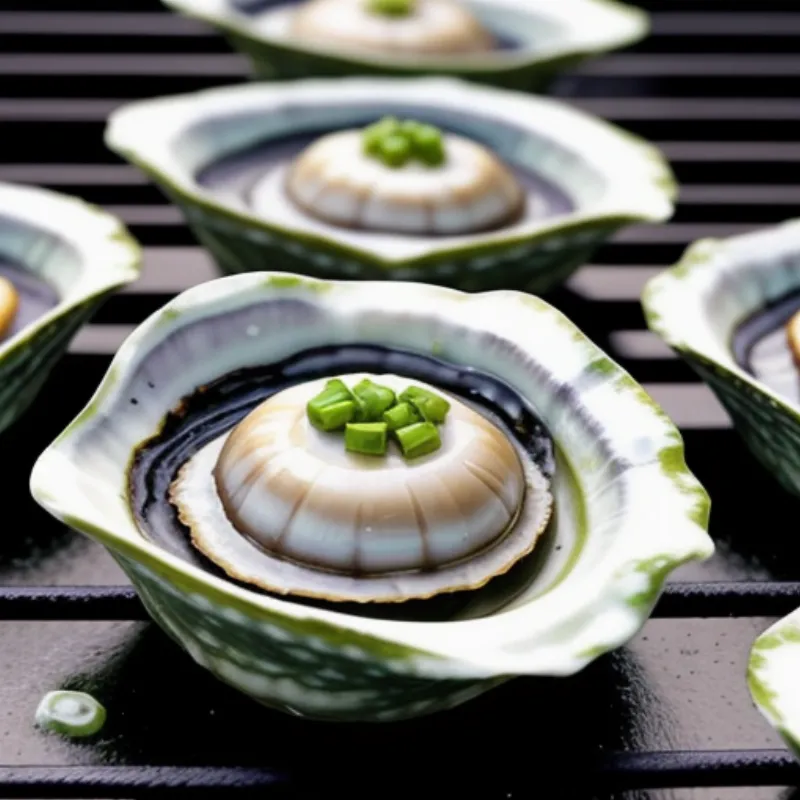
 Grilled Oysters on Grill
Serving and Savoring Your Masterpiece
-
Plate with Care: Using tongs, carefully transfer the grilled oysters to a serving platter.
-
Garnish with Lemon: Add a pop of color and freshness by garnishing with lemon wedges.
-
Enjoy Immediately: Grilled oysters are best enjoyed immediately while they’re hot and juicy.
Pairing Suggestions: Grilled oysters pair beautifully with a crisp Sauvignon Blanc, a dry rosé, or an ice-cold beer.
Mastering the Art of Grilled Oysters
-
Don’t Overcook: Overcooked oysters will be rubbery. Watch for the edges to curl and the liquid to bubble, which is a good indication that they’re done.
-
Get Creative with Toppings: Experiment with different compound butters by adding ingredients like Parmesan cheese, chili flakes, or even a splash of your favorite hot sauce.
-
Make it a Party: Grilling oysters is a fun and interactive dining experience. Invite friends and family over and let everyone grill their own!
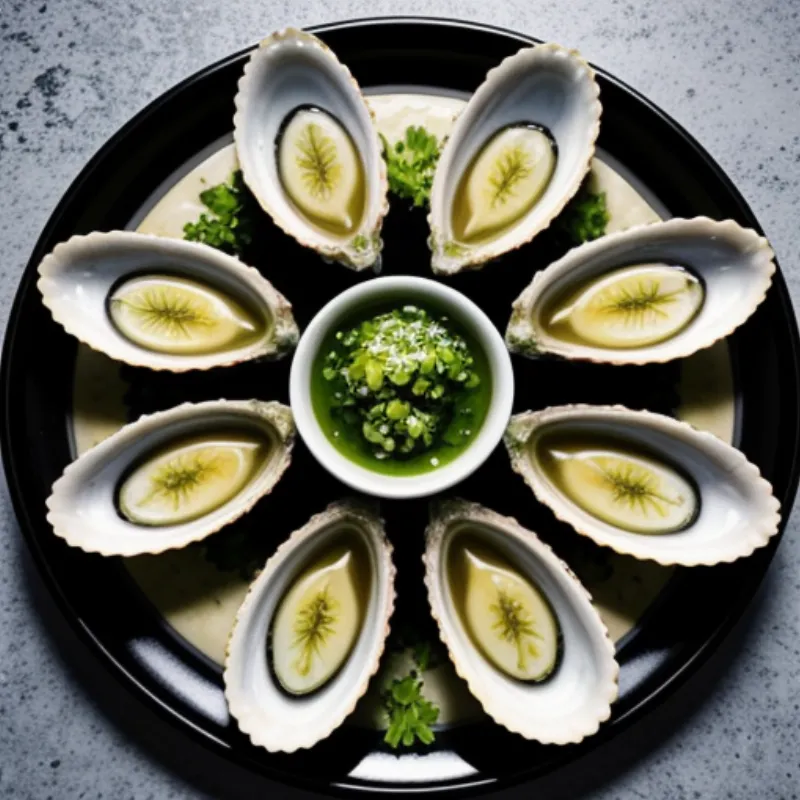
 Grilled Oysters Plating
Conclusion
Grilling oysters is an adventure in flavor and a celebration of simple, fresh ingredients. With a little practice and this guide by your side, you’ll be impressing your friends and family with your oyster grilling skills in no time. So fire up the grill, grab some fresh oysters, and get ready to savor the taste of summer!
