There’s something magical about cooking over an open flame. Maybe it’s the primal instinct, the mesmerizing dance of the fire, or just the incredible flavors that come from grilling. Whatever it is, it makes everything taste better, and pizza is no exception!
Grilled pizza is a revelation. It’s a fun, interactive way to cook (and eat!) that turns a simple meal into a culinary adventure. The smoky char from the grill combined with the crispy crust and gooey toppings is simply irresistible. Trust me, once you go grilled, you’ll never go back!
Gathering Your Ingredients: A Symphony of Freshness
For this symphony of flavors, you’ll need:
For the Dough:
- 1 ½ cups warm water (105-115°F)
- 1 teaspoon sugar
- 1 packet (2 ¼ teaspoons) active dry yeast
- 1 teaspoon salt
- 2 tablespoons olive oil, plus extra for greasing
- 4 cups all-purpose flour, plus extra for dusting
For the Sauce:
- 1 (14 ounce) can crushed tomatoes
- 2 cloves garlic, minced
- 1 tablespoon olive oil
- 1 teaspoon dried oregano
- ½ teaspoon salt
- ¼ teaspoon black pepper
Toppings:
- 8 ounces fresh mozzarella cheese, sliced
- Your favorite pizza toppings (sliced vegetables, cooked meats, etc.)
Pro Tip: “Always use fresh, high-quality ingredients for the best flavor,” advises Chef Marco Rossi of Trattoria Toscana in Tuscany. “The quality of your ingredients will shine through in the final product.”
Tools of the Trade: Your Pizza-Making Arsenal
- Large mixing bowl
- Plastic wrap
- Rolling pin or your hands!
- Grill brush
- Grill spatula or tongs
- Basting brush
Let’s Get Grilling: A Step-by-Step Guide
1. Creating the Foundation: The Dough
- In the mixing bowl, dissolve sugar and yeast in warm water. Let stand for 5 minutes until foamy.
- Stir in salt, olive oil, and 2 cups of flour. Gradually add the remaining flour, kneading until a smooth, elastic dough forms.
- Place the dough in a greased bowl, turning to coat all sides. Cover with plastic wrap and let rise in a warm place for 1 hour, or until doubled in size.
Pro Tip: “Don’t overwork the dough!” warns Chef Marco. “Knead it just until it’s smooth and elastic, but avoid kneading it too much, or it will become tough.”
2. Infusing Flavor: The Sauce
- While the dough rises, heat olive oil in a saucepan over medium heat.
- Add garlic and cook for 1 minute, until fragrant.
- Stir in crushed tomatoes, oregano, salt, and pepper. Bring to a simmer and cook for 10 minutes, stirring occasionally.
Pro Tip: For a smoother sauce, blend it with an immersion blender or in a regular blender after simmering.
3. Firing Up the Grill: The Main Event
- Preheat your grill to medium heat (around 400°F). Clean the grates thoroughly with a grill brush.
- Divide the dough into two balls. On a lightly floured surface, roll or stretch each ball into a 12-inch circle.
Pro Tip: If the dough springs back, let it rest for a few minutes before stretching further.
4. The Grand Assembly: Building Your Pizza
- Brush one side of each dough circle with olive oil. Carefully transfer one dough circle, oiled-side down, onto the hot grill.
- Grill for 2-3 minutes, or until lightly charred and grill marks appear.
- Flip the crust over and immediately spread with a thin layer of sauce, leaving a ½-inch border. Top with mozzarella cheese and your desired toppings.
- Close the grill lid and cook for 5-7 minutes, or until the cheese is melted and bubbly and the bottom crust is golden brown and crispy.
Pro Tip: “For perfectly melted cheese and evenly cooked toppings, keep the grill lid closed as much as possible,” recommends Chef Marco.
5. Presenting Your Masterpiece: Serving and Enjoying!
Carefully remove the pizza from the grill using a spatula or tongs. Let it cool slightly before slicing and serving.
Pro Tip: Elevate your presentation by serving your grilled pizza on a wooden cutting board with fresh basil leaves scattered on top.
Mastering the Art: Tips and Tricks
- For a crispier crust, pre-bake the dough on the grill for 1-2 minutes per side before adding toppings.
- Don’t overload your pizza with toppings! Too many toppings will make it difficult to cook evenly and may result in a soggy crust.
- Get creative with your toppings! Grilled vegetables, such as bell peppers, onions, and zucchini, add a delicious smoky flavor.
Frequently Asked Questions: All Your Pizza Queries Answered
Q: Can I use store-bought pizza dough?
A: Absolutely! Using store-bought dough is a great time-saver.
Q: What kind of grill is best for making pizza?
A: Gas grills, charcoal grills, and even portable grills can all be used to make delicious grilled pizza!
Q: Can I grill pizza on a pizza stone?
A: Yes! Using a pizza stone helps to distribute heat evenly and creates a crispier crust.
The Final Word: A Culinary Adventure Awaits
 Grilled Pizza
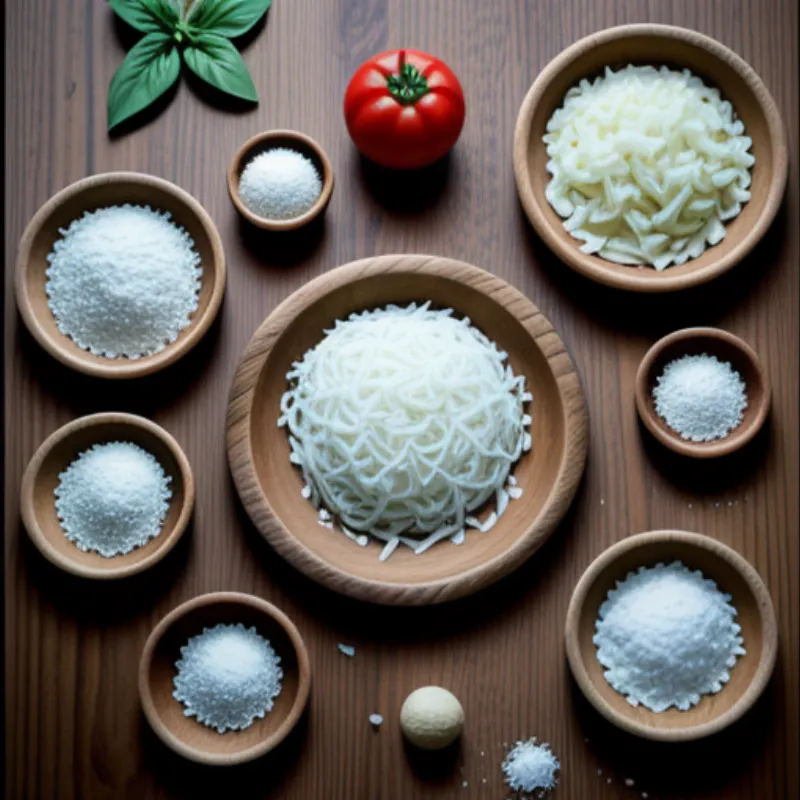
 Grilled Pizza Ingredients
Grilling pizza is an experience that engages all your senses – the sizzle of the dough on the grill, the tantalizing aroma of melting cheese and smoky toppings, and the explosion of flavors in every bite. So gather your ingredients, fire up the grill, and get ready to enjoy a taste of pizza paradise!
