Harissa, a vibrant and aromatic chili paste, is a staple in North African cuisine, adding a fiery kick and depth of flavor to countless dishes. Imagine a symphony of smoky, spicy, and subtly sweet notes dancing on your palate – that’s the magic of harissa. Whether you’re a seasoned heat seeker or just starting your culinary adventure, learning How To Make Harissa is a journey worth taking.
This fiery condiment originates from Tunisia and has captured hearts (and taste buds!) across the globe. Its versatility knows no bounds, transforming simple meals into culinary masterpieces. Join me as we unlock the secrets of homemade harissa and discover a world of flavor possibilities!
The Ingredients that Ignite the Flame
Making your own harissa at home allows you to control the heat level and customize the flavors to your liking. Here’s what you’ll need:
Essential Fire-Starters:
- Dried chiles: The heart and soul of harissa! Choose from a variety like guajillo for a fruity heat, ancho for a smoky depth, or Arbol for a fiery punch. A mix of chiles creates a more complex flavor profile. Aim for about 2 ounces total.
- Hot water: This helps rehydrate the dried chiles, awakening their flavor and making them easier to blend.
Flavor Enhancers:
- Garlic: 2-3 cloves will add a pungent kick.
- Spices: This is where your harissa gets its personality! Go classic with 1 teaspoon each of cumin and coriander seeds, or get adventurous with caraway seeds, smoked paprika, or even a pinch of saffron.
- Olive oil: About 1/4 cup, for a luscious texture and rich flavor.
Balancing the Heat:
- Lemon juice or vinegar: A tablespoon adds a touch of acidity to balance the heat and enhance the other flavors.
- Salt: To taste, of course!
Optional Extras:
- Rose petals or rose water: For a touch of floral elegance.
- Preserved lemon: Adds a unique, tangy depth.
The Tools You’ll Need
- A baking sheet: For toasting the chiles.
- A small skillet: For toasting the spices.
- A food processor or blender: To transform the ingredients into a smooth paste.
- A jar with a tight-fitting lid: For storing your homemade harissa.
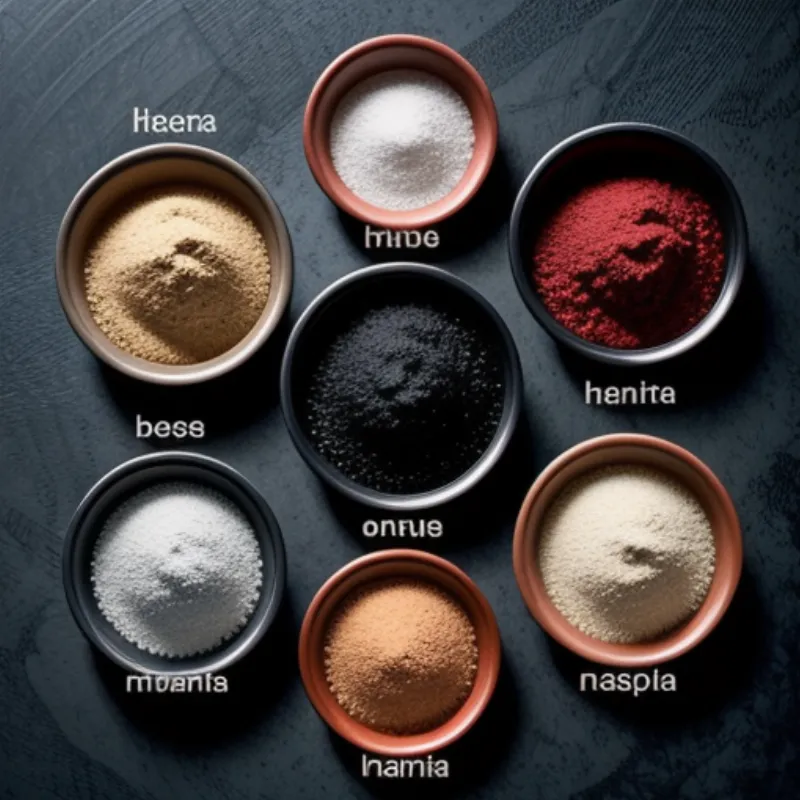
 Harissa ingredients
Let’s Make Harissa: A Step-by-Step Guide
- Awaken the Chiles: Remove the stems and seeds from the dried chiles. Place them in a bowl and cover with hot water. Let them soak for about 30 minutes to soften.
- Toast the Spices: While the chiles are soaking, toast the cumin and coriander seeds in a dry skillet over medium heat for a few minutes, until fragrant. This will enhance their flavor.
- Blend It All Up: Drain the soaked chiles and add them to a food processor or blender along with the toasted spices, garlic, and lemon juice or vinegar. Blend until a smooth paste forms, adding olive oil gradually for desired consistency.
- Taste and Adjust: This is your harissa, so make it your own! Taste and adjust the seasoning with more salt, lemon juice, or spices as needed. If you prefer a smoother texture, you can strain the harissa through a fine-mesh sieve.
- Store and Enjoy: Transfer your vibrant harissa to a jar, leaving about a half-inch of space at the top. Pour a thin layer of olive oil on top to help preserve it. Store in the refrigerator for up to 2 weeks.
Tips & Tricks for Harissa Perfection
- Adjust the Heat: For a milder harissa, remove the seeds and membranes from the chiles before soaking. If you like it extra hot, add a pinch of cayenne pepper.
- Roast the Garlic: Roasting the garlic before adding it to the harissa will give it a mellower, sweeter flavor.
- Play with Textures: For a chunkier harissa, pulse the ingredients in the food processor instead of blending until completely smooth.
- Get Creative: Don’t be afraid to experiment with different spices and flavorings. Try adding smoked paprika, rose petals, or preserved lemon for a unique twist.
FAQs: Answering Your Harissa Questions
Q: Can I use fresh chiles instead of dried?
A: Absolutely! You can substitute fresh chiles for dried. Use about twice the amount of fresh chiles, and adjust the amount of liquid accordingly.
Q: How do I store my homemade harissa?
A: Harissa will last up to 2 weeks in an airtight container in the refrigerator. For longer storage, freeze in ice cube trays and then transfer to a freezer-safe bag.
Q: How can I use harissa?
A: Harissa is incredibly versatile! Use it as a marinade for chicken, fish, or tofu; stir it into soups and stews; spread it on sandwiches; or use it as a dipping sauce for vegetables, bread, or falafel. The possibilities are endless!
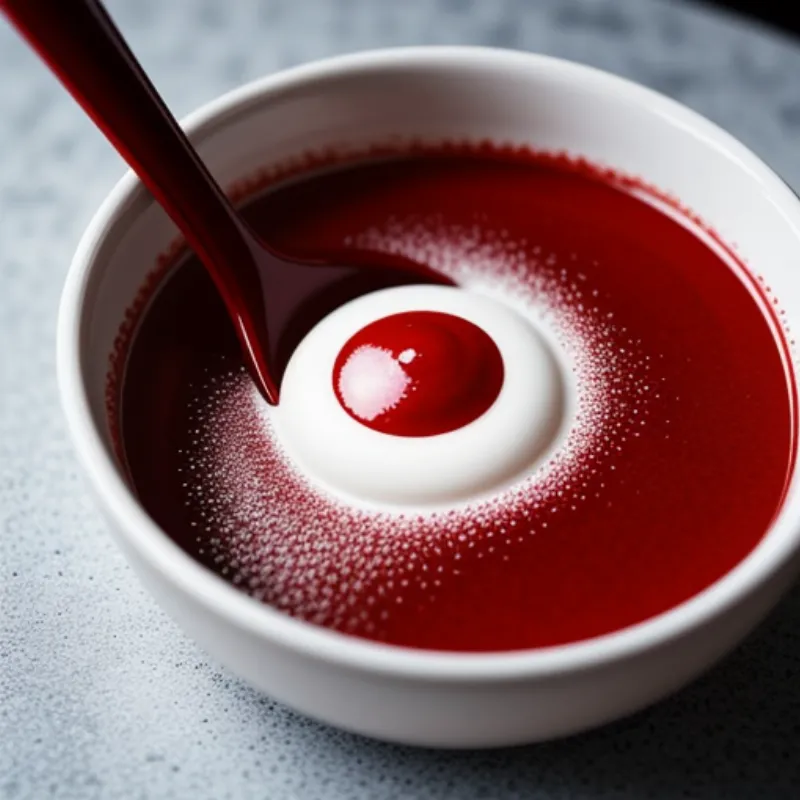
 A bowl of harissa paste
Unleash the Flavor: Dishes to Make with Harissa
- Harissa Chicken Tagine: A classic Moroccan dish with tender chicken simmered in a flavorful sauce.
- Spicy Harissa Hummus: Give your hummus a fiery twist with a spoonful of harissa.
- Harissa Roasted Vegetables: Toss your favorite vegetables with harissa and roast until tender and caramelized.
Looking for more inspiration? Check out our recipe for How to Make Tergoule, a hearty North African stew that pairs perfectly with a dollop of harissa on top!
A World of Flavor at Your Fingertips
Congratulations! You’ve just made your own batch of fiery, flavorful harissa. This North African treasure is sure to become a new favorite in your kitchen. Use it to spice up your everyday meals, impress your friends with exotic flavors, and embark on a culinary adventure with every bite. Don’t forget to share your culinary creations and harissa experiments with us in the comments below! We’d love to hear your stories.
