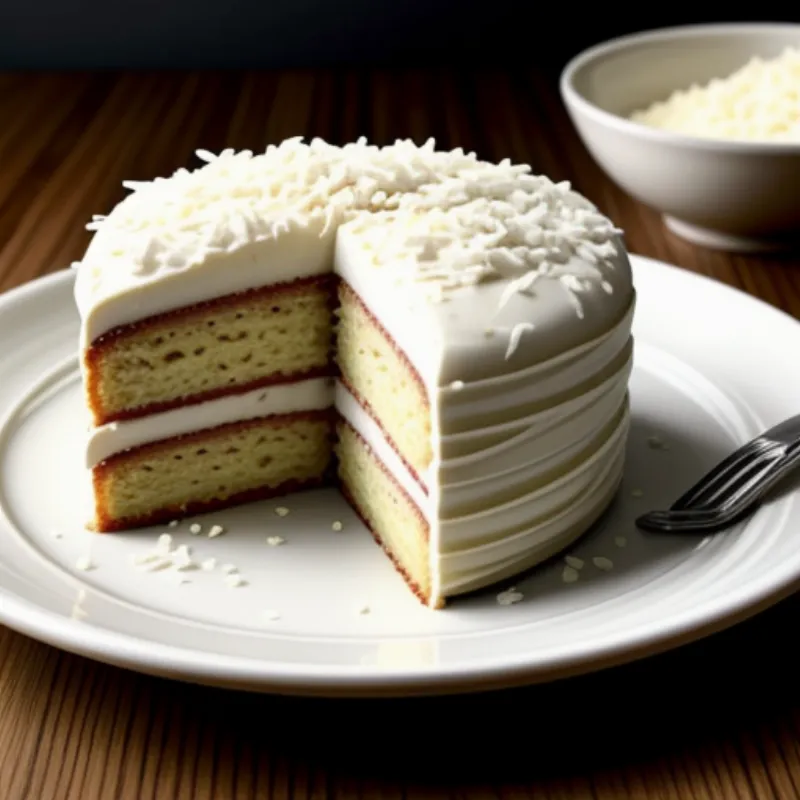
Haupia cake is a beloved Hawaiian dessert that combines a creamy coconut pudding layer with a buttery, crumbly crust. Imagine sinking your teeth into a slice of this tropical delight, with its subtle sweetness and delicate coconut flavor transporting you straight to a sunny beach in Hawaii. Intrigued? Let’s dive into How To Make Haupia Cake that will impress your family and friends!
The Perfect Haupia Cake Recipe
This recipe will guide you through each step, ensuring your haupia cake turns out perfect every time. Don’t be intimidated by the multiple layers; we’ll break it down into manageable parts.
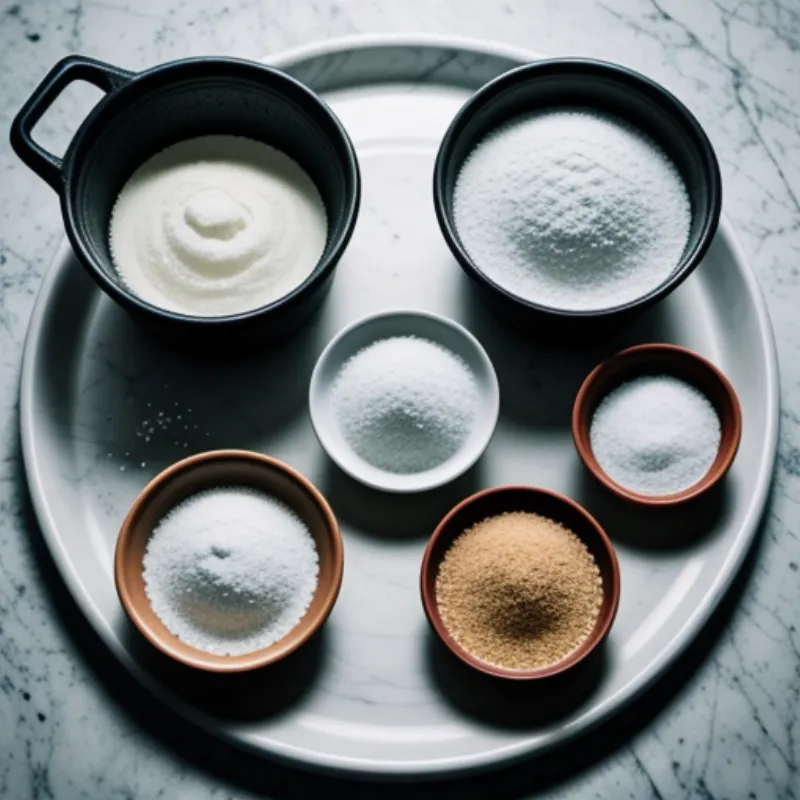
Ingredients You’ll Need
For the Crust:
- 1 1/2 cups graham cracker crumbs
- 1/4 cup granulated sugar
- 6 tablespoons (3 ounces) unsalted butter, melted
For the Haupia Filling:
- 1 (13.5-ounce) can full-fat coconut milk
- 1/2 cup granulated sugar
- 1/4 cup cornstarch
- 1/4 teaspoon salt
- 2 tablespoons unsalted butter
Essential Baking Tools
- 9-inch square baking pan
- Medium saucepan
- Whisk
- Rubber spatula
- Parchment paper (optional)
Step-by-Step Instructions
1. Preparing the Crust
- Preheat your oven to 350°F (175°C).
- In a medium bowl, combine the graham cracker crumbs and sugar.
- Pour in the melted butter and stir until the mixture resembles wet sand.
- Press the crumb mixture into an even layer on the bottom of your baking pan. If desired, line the pan with parchment paper for easier removal later.
- Bake the crust for 8-10 minutes, or until lightly golden brown.
- Remove from the oven and set aside to cool completely.
2. Crafting the Creamy Haupia Filling
- In a medium saucepan, whisk together the coconut milk, sugar, cornstarch, and salt until smooth.
- Place the saucepan over medium heat and cook, whisking constantly, until the mixture thickens and comes to a boil. This should take about 5-7 minutes.
- Reduce the heat to low and simmer for 1 minute, continuing to whisk.
- Remove from the heat and stir in the butter until melted and incorporated.
3. Assembling Your Haupia Cake
- Pour the hot haupia filling over the cooled crust, spreading it evenly.
- Refrigerate the cake for at least 4 hours, or preferably overnight, to allow the haupia to set completely.
Tips and Tricks for Haupia Perfection
- For a richer flavor, use coconut cream instead of coconut milk in the filling.
- If you prefer a firmer haupia, add an extra tablespoon of cornstarch to the filling.
- To avoid a skin from forming on the haupia while it chills, place a piece of plastic wrap directly on the surface of the filling.
- Haupia cake is best served cold. Let it sit at room temperature for about 15 minutes before serving to allow the flavors to fully develop.
Haupia Cake FAQs
Q: Can I make haupia cake ahead of time?
A: Absolutely! In fact, it’s best to make it at least a few hours ahead, or even the day before, to allow ample chilling time for the haupia to set.
Q: What can I substitute for graham cracker crumbs?
A: Digestive biscuits, shortbread cookies, or even vanilla wafers make excellent substitutes for graham cracker crumbs.
Q: My haupia filling seems lumpy. What went wrong?
A: Lumpy haupia filling usually indicates the cornstarch wasn’t fully dissolved before cooking. Make sure to whisk the cornstarch mixture thoroughly before heating it.
Presenting Your Hawaiian Masterpiece
Once chilled and set, cut your haupia cake into squares and serve. You can elevate the presentation by adding a sprinkle of toasted coconut flakes, a dollop of whipped cream, or a scattering of fresh berries.
 Haupia Cake Slices
A Taste of the Islands
Making haupia cake is a delightful culinary journey that transports you straight to the heart of Hawaiian cuisine. This simple yet elegant dessert is sure to become a new favorite in your household. So gather your ingredients, put on your apron, and experience the joy of crafting this tropical masterpiece!
 Haupia Cake Ingredients
Don’t forget to share your haupia cake creations with us! We’d love to hear about your baking adventures.
