Honey cake: the name itself evokes warmth, sweetness, and a comforting sense of home. This delightful treat, with its fragrant aroma and delicate crumb, has captivated taste buds across the globe for centuries. Whether you call it medovik, layered honey cake, or simply a slice of heaven, one thing’s for sure: this dessert is well worth the effort. Today, we’ll guide you through a foolproof recipe, sharing tips and tricks to help you create a honey cake that’s as impressive as it is delicious. So, put on your apron, preheat your oven, and let’s embark on this delightful baking journey together!
What is Honey Cake?
Honey cake is more than just a dessert; it’s an experience. This luscious treat boasts a unique texture, a beautiful layered appearance, and a flavor profile that’s both rich and nuanced. Unlike traditional cakes that rely heavily on sugar for sweetness, honey cake gets its signature taste from—you guessed it—honey! The result is a cake that’s subtly sweet, with a hint of floral complexity, and a lingering warmth that’s utterly irresistible.
But honey cake is more than just its flavor. It’s also incredibly versatile. From the creamy, custard-like fillings found in Russian medovik to the simple elegance of a Lithuanian honey cake, the variations are endless. This allows you to tailor the recipe to your liking, adding personal touches to create a cake that’s uniquely yours.
Ingredients You’ll Need
Before we dive into baking, let’s gather our ingredients. Here’s what you’ll need to create a classic honey cake:
For the Cake Layers:
- 1 cup (340g) honey (choose a mild-flavored honey like clover or wildflower)
- 1 cup (200g) granulated sugar
- 4 large eggs
- 1 teaspoon baking soda
- 1/2 teaspoon salt
- 4 cups (480g) all-purpose flour (plus extra for dusting)
- 1/2 cup (115g) unsalted butter, melted and cooled
For the Honey Cream Filling:
- 2 cups (480ml) heavy whipping cream
- 1 cup (240g) sour cream
- 1/2 cup (170g) honey
- 1 teaspoon vanilla extract
Optional Garnishes:
- Chopped walnuts or pecans
- Honeycomb candy
- Fresh berries
Tips for Ingredient Substitutions:
- Honey: While we recommend using mild honey, feel free to experiment with bolder flavors like buckwheat or acacia. Keep in mind that stronger honey varieties will lend a more pronounced flavor to your cake.
- All-purpose flour: For a slightly chewier texture, you can substitute up to 1 cup of all-purpose flour with cake flour.
- Sour cream: If you don’t have sour cream on hand, you can substitute it with plain Greek yogurt.
Tools of the Trade
Having the right tools can make the baking process smoother and more enjoyable. Here’s what you’ll need:
- Two 9-inch round cake pans
- Parchment paper
- Electric mixer (handheld or stand mixer)
- Large mixing bowls
- Whisk
- Rubber spatula
- Serrated knife
- Offset spatula (for frosting)
Let’s Bake! A Step-by-Step Guide
Now comes the fun part: bringing our honey cake to life! Follow these steps carefully for best results:
1. Preparing the Cake Pans:
- Preheat your oven to 350°F (175°C).
- Grease and flour two 9-inch round cake pans. Line the bottoms with parchment paper for easy removal later.
2. Making the Honey Cake Batter:
- In a large bowl, combine the honey, sugar, eggs, baking soda, and salt. Using an electric mixer, beat on medium speed for 2-3 minutes, or until the mixture is light and fluffy.
- Gradually add the melted butter to the honey mixture, mixing until well incorporated.
- Slowly add the flour, one cup at a time, mixing on low speed just until the batter is smooth. Be careful not to overmix.
3. Baking the Cake Layers:
- Divide the batter evenly between the prepared cake pans.
- Bake for 25-30 minutes, or until a wooden skewer inserted into the center comes out clean.
- Allow the cakes to cool in the pans for 10 minutes before inverting them onto a wire rack to cool completely.
4. Making the Honey Cream Filling:
- While the cakes are cooling, prepare the honey cream filling. In a large bowl, beat the heavy whipping cream with an electric mixer on medium-high speed until stiff peaks form.
- In a separate bowl, whisk together the sour cream, honey, and vanilla extract until smooth.
- Gently fold the sour cream mixture into the whipped cream until well combined. Be careful not to overmix.
5. Assembling the Honey Cake:
- Once the cake layers have cooled completely, use a serrated knife to carefully level the tops if needed.
- Place one cake layer on a serving platter. Spread evenly with about 1/3 of the honey cream filling.
- Top with the second cake layer and frost the entire cake with the remaining honey cream filling.
6. Chilling and Serving:
- Refrigerate the assembled cake for at least 2 hours, or preferably overnight, to allow the flavors to meld and the cake to set.
- Once chilled, garnish as desired and slice into wedges to serve.
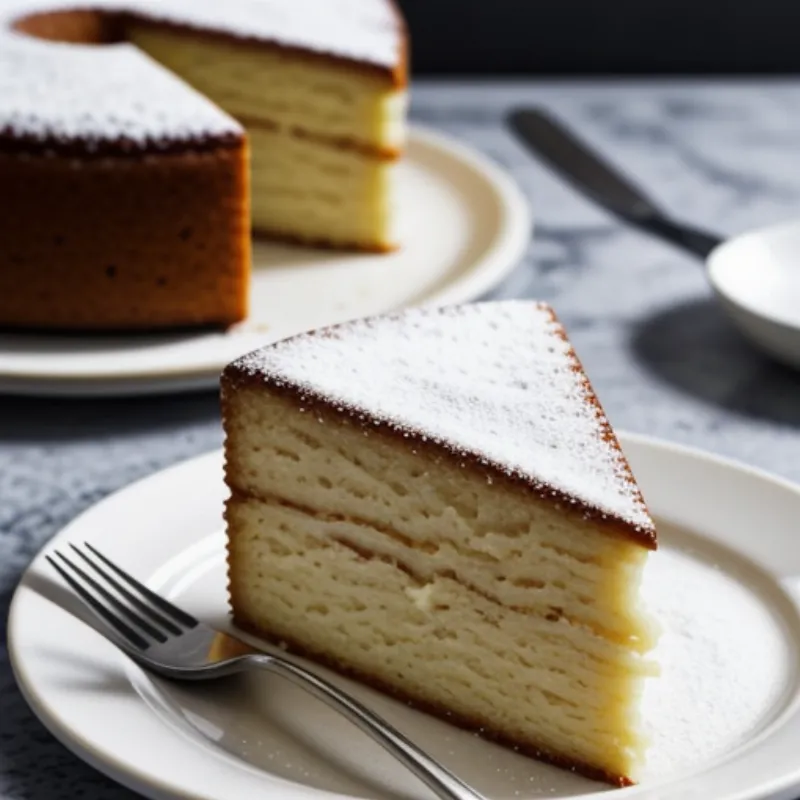
 Honey Cake Slices
Tips for Honey Cake Success:
- Room Temperature Ingredients: For best results, use eggs and sour cream that are at room temperature. This will help them incorporate more easily into the batter and filling, resulting in a smoother, more consistent texture.
- Don’t Overmix: Overmixing the cake batter can lead to tough, rubbery layers. Mix the batter just until the ingredients are combined, and avoid overworking it.
- Cooling Completely: It’s essential to let the cake layers cool completely before assembling the cake. If the layers are still warm, the filling will melt and create a messy, unstable cake.
- Chilling Time: Honey cake tastes even better the next day! Chilling the cake allows the flavors to meld and the layers to soften, resulting in a more flavorful and cohesive dessert.
FAQs about Honey Cake:
Q: Can I make honey cake ahead of time?
A: Absolutely! In fact, honey cake tastes best when made a day or two in advance. The flavors have time to deepen, and the cake becomes even more moist and tender.
Q: How should I store leftover honey cake?
A: Store leftover honey cake in an airtight container in the refrigerator for up to 3 days.
Q: Can I freeze honey cake?
A: Yes, you can freeze honey cake either before or after frosting. Wrap the unfrosted layers or the entire frosted cake tightly in plastic wrap and then again in aluminum foil. Freeze for up to 2 months. Thaw overnight in the refrigerator before serving.
Q: My honey cake layers turned out a bit dry. What did I do wrong?
A: Several factors could contribute to dry cake layers, including overbaking, using old baking soda, or an inaccurate oven temperature. Make sure to check your oven temperature with an oven thermometer and use fresh baking soda for optimal results. Additionally, be sure to measure your flour accurately, as using too much flour can also lead to dry cake layers.
Variations and Flavor Twists:
While this classic honey cake recipe is delicious on its own, don’t be afraid to get creative and experiment with different flavors and add-ins! Here are a few ideas to inspire you:
- Nutty Delight: Fold chopped walnuts, pecans, or almonds into the honey cream filling for added crunch and flavor.
- Citrus Burst: Add the zest of one lemon or orange to the cake batter for a refreshing citrusy twist. You can also layer thin slices of citrus fruit between the cake layers for an extra burst of flavor.
- Spice It Up: Incorporate warm spices like cinnamon, nutmeg, or cardamom into the cake batter for a cozy and aromatic treat.
- Chocolate Indulgence: Add a layer of chocolate ganache or chocolate frosting between the honey cake layers for a decadent touch.
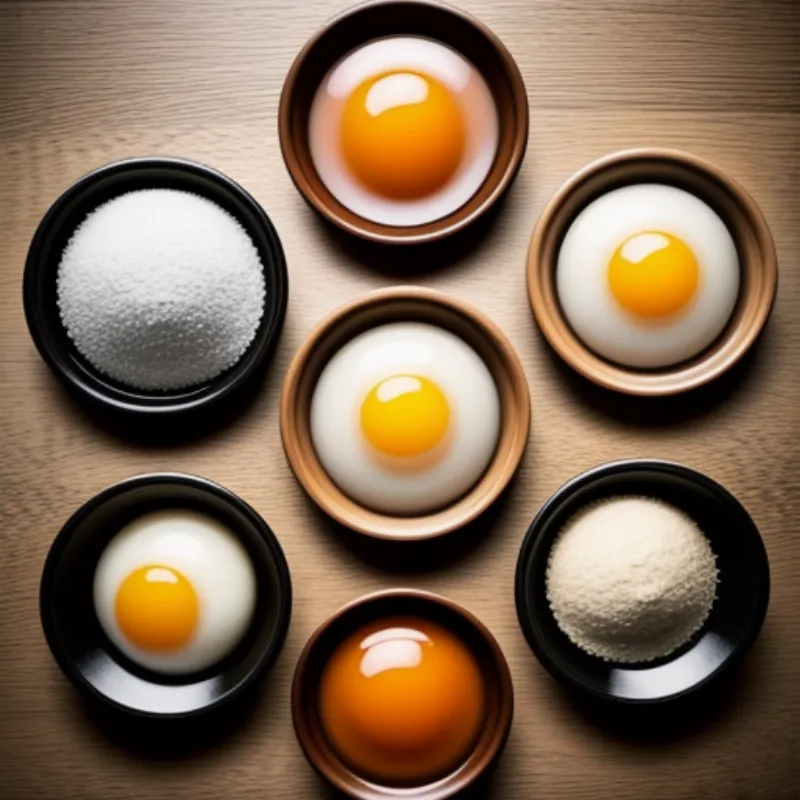
 Honey Cake Ingredients
A Taste of Tradition, a World of Possibilities
Honey cake is more than just a dessert; it’s a testament to the timeless appeal of simple, wholesome ingredients transformed into something truly special. It’s a cake that tells a story, evoking memories of family gatherings, special occasions, and the pure joy of sharing a delicious homemade treat.
We encourage you to try your hand at making this beloved classic. Whether you follow our recipe to the letter or use it as a springboard for your own culinary creations, we’re confident you’ll discover the magic of honey cake.
Don’t forget to share your baking adventures with us! Leave a comment below and tell us about your experience making honey cake. What are some of your favorite variations and flavor combinations? We can’t wait to hear from you! Happy baking!
If you’re eager to explore the world of honey cakes further, be sure to check out our other honey cake recipes:
- How to Make Lithuanian Honey Cake: Discover the simple elegance of this traditional Lithuanian treat.
- How to Make Kek Sarang Semut: Embark on a culinary adventure with this Indonesian honey comb cake, known for its unique texture and irresistible sweetness.
- How to Make Russian Honey Cake: Indulge in the creamy, layered decadence of this iconic Russian dessert.
Happy baking!
