Ice cream floats! The very name evokes memories of carefree summer days, childhood laughter, and that delightful moment when the ice cream meets the soda, creating a symphony of flavors and textures. This classic treat, with its simple charm and refreshing taste, has been a beloved dessert for generations. Today, we’re diving deep into the art of crafting the perfect ice cream float at home.
What Makes the Perfect Ice Cream Float?
The beauty of an ice cream float lies in its simplicity. It’s all about the harmonious marriage of creamy, cold ice cream and a bubbly, flavorful soda. But there are a few tricks to elevate your float from good to unforgettable. “The key is to use quality ingredients and pay attention to the details,” advises Chef Emily Carter, a renowned pastry chef specializing in frozen desserts. “Don’t be afraid to experiment with different flavor combinations and toppings to create your own signature float.”
Ingredients You’ll Need
For a classic ice cream float, you’ll need just a handful of ingredients:
- Ice Cream: Vanilla ice cream is the go-to choice, but don’t limit yourself! Experiment with chocolate, strawberry, or any flavor that tickles your fancy.
- Soda: Root beer reigns supreme in the float world, but you can use cola, ginger ale, or even fruit-flavored sodas for a unique twist.
- Glass: Tall glasses are ideal for showcasing the layers and preventing overflow.
Optional Extras:
- Whipped Cream: For an extra dose of indulgence, top your float with a dollop of freshly whipped cream.
- Cherries: A bright red cherry perched on top adds a touch of nostalgia and visual appeal.
- Sprinkles: Because who can resist a sprinkle of fun?
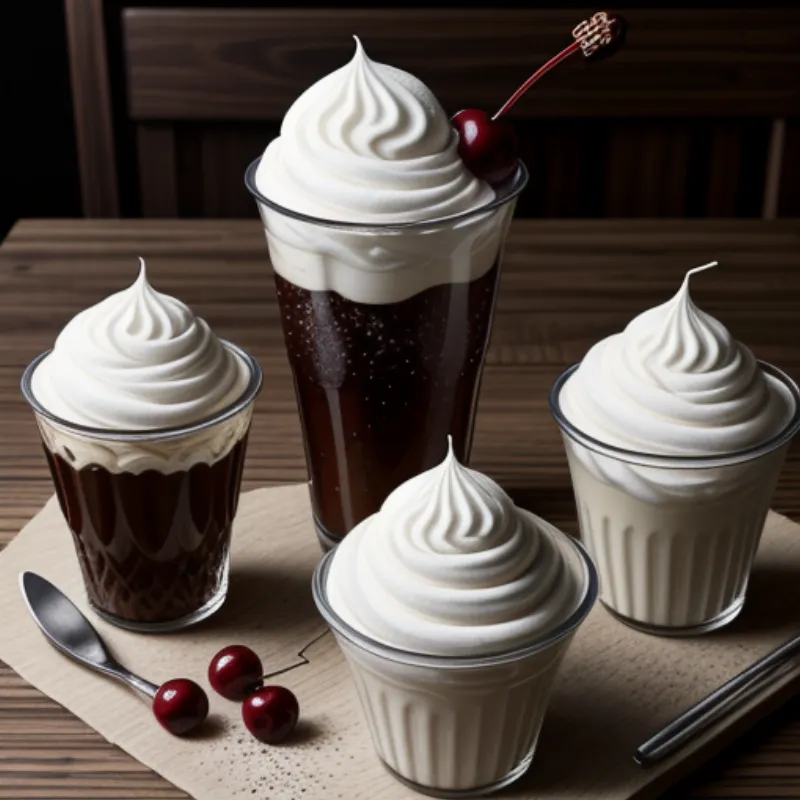
 Ice Cream Float Ingredients
Equipment You’ll Need
- Ice Cream Scoop: A good quality scoop will help you create those perfect, round scoops of ice cream.
- Straws: For sipping and enjoying every last drop of your float.
Let’s Make an Ice Cream Float!
- Chill your glass. This will help keep your float colder for longer.
- Add your ice cream. Place one or two scoops of your chosen ice cream at the bottom of the glass.
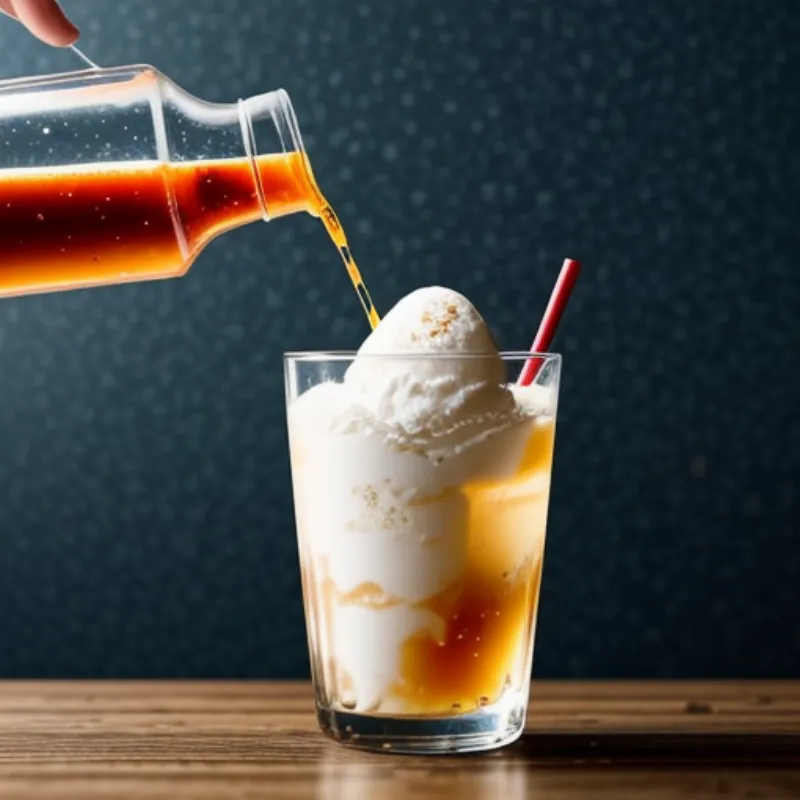
- Pour in the soda. Slowly pour the soda over the ice cream, leaving some space at the top to prevent overflowing.
- Add your toppings. This is where you can get creative! Go for the classic whipped cream and cherry combo, or let your imagination run wild with sprinkles, chocolate sauce, or chopped nuts.
- Serve immediately. Ice cream floats are best enjoyed right away, while the soda is still bubbly and the ice cream is nice and cold.
Tips for a Truly Spectacular Float
- Use cold ingredients. This will help your float stay colder for longer.
- Don’t overfill the glass. Leave some space at the top to prevent overflowing.
- Experiment with flavors. Don’t be afraid to mix and match different ice cream and soda flavors to create your own unique combinations.
- Have fun! Making an ice cream float is all about enjoying the process and creating a delicious treat that you can share with friends and family.
 Pouring Soda Over Ice Cream
FAQs About Ice Cream Floats
Q: Can I make an ice cream float ahead of time?
A: It’s best to enjoy your ice cream float immediately after making it, as the ice cream will start to melt and the soda will lose its fizz.
Q: What’s the best type of ice cream to use?
A: Any type of ice cream will work, but we recommend using a high-quality ice cream for the best flavor and texture.
Beyond the Classic: Exploring Flavor Combinations
Now that you’ve mastered the basic ice cream float, why not embark on a flavor adventure? Here at Family Cuisine, we believe in the power of culinary exploration. How about a scoop of coffee ice cream with cola, a dash of cinnamon, and a sprinkle of cocoa powder? Or perhaps a refreshing blend of raspberry sorbet with lemon-lime soda and fresh mint? The possibilities are endless!
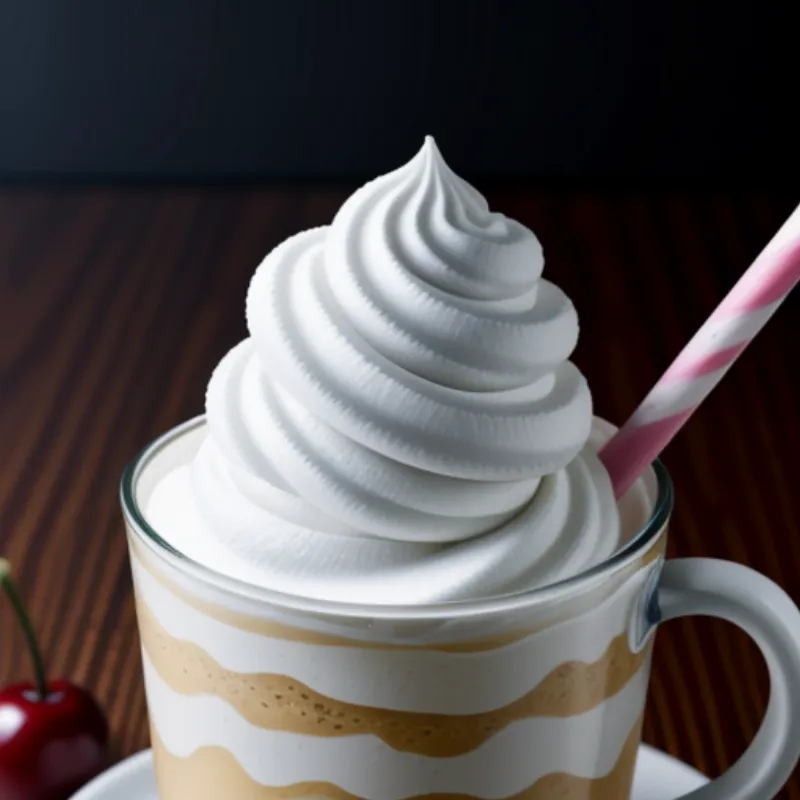
 Ice Cream Float with Whipped Cream and Cherry
So, gather your ingredients, put on your chef’s hat, and let’s get floating! Don’t forget to share your delicious creations with us in the comments below. And for more delightful dessert recipes, be sure to check out our article on How to Make a Floating Island Cake. Happy floating!
