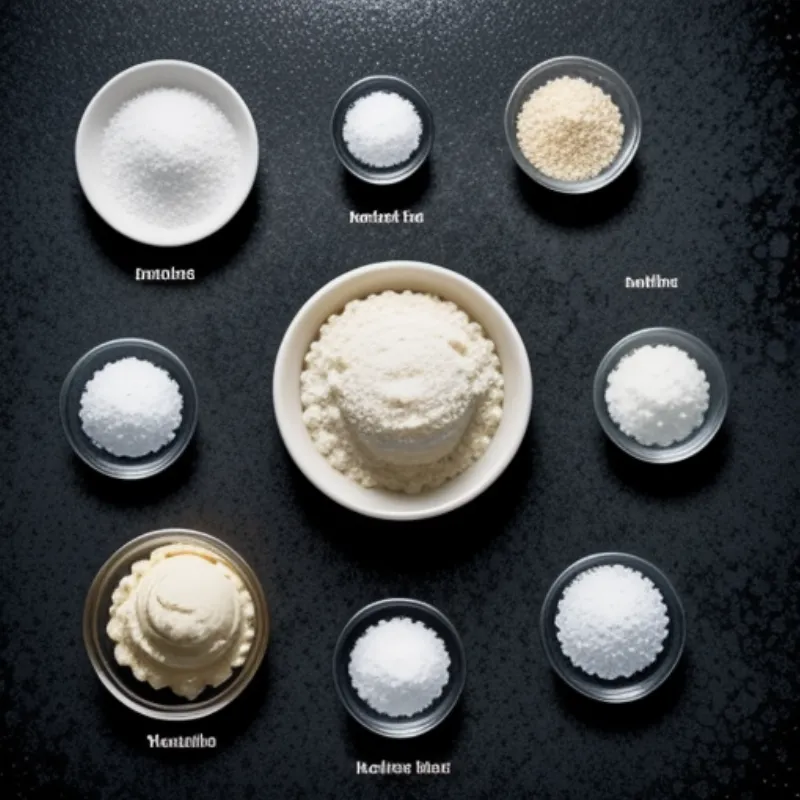
Nothing beats the summer heat like a scoop of delicious, homemade ice cream. And what’s more fun and engaging than making it yourself, right in a bag? This classic method is a fantastic activity for all ages, requiring minimal ingredients and no fancy ice cream maker!
This article will guide you through the simple steps of creating your own customized ice cream in a bag. Get ready for a delightful and refreshing treat that’s perfect for hot days and fun family gatherings!
Gather Your Ingredients & Equipment
The beauty of this recipe lies in its simplicity. Here’s what you need:
Ingredients:
- 1/2 cup heavy cream
- 1/2 cup milk (whole milk is best for a creamier texture)
- 1/4 cup granulated sugar
- 1/4 teaspoon pure vanilla extract
- 1/2 cup rock salt (coarse salt)
- Ice (enough to fill your large bag)
- Your favorite toppings (chocolate chips, sprinkles, fruit, etc.)
Tools:
- 1 small Ziploc bag (gallon-size)
- 1 large Ziploc bag (gallon-size)
- Measuring cups and spoons
- Tea towel or oven mitt
 Ice Cream in a Bag Ingredients
Step-by-Step Guide to Ice Cream Bliss:
-
Combine and Seal: In the small Ziploc bag, combine the heavy cream, milk, sugar, and vanilla extract. Seal the bag tightly, ensuring there are no leaks.
-
Prepare the Ice Bath: Fill the large Ziploc bag halfway with ice. Add the rock salt. The salt lowers the freezing point of ice, creating a super-chilled environment for your ice cream base to freeze quickly and evenly.
-
Double Bag It: Place the sealed small bag containing your ice cream mixture into the large bag filled with ice and salt. Seal the large bag tightly.
-
Shake It Up: Wrap the bag in a tea towel or put on an oven mitt to protect your hands from the cold. Shake the bag vigorously for about 5-7 minutes. You’ll notice the mixture starting to thicken into ice cream.
Pro Tip: For a fun activity with kids, put on some music and make it a dance party while shaking the bag!
-
Check and Churn: After 5 minutes, open the large bag and check the consistency. If it’s not thick enough, continue shaking for a few more minutes.
-
Add Toppings (Optional): Once your desired consistency is reached, you can add your favorite toppings directly into the bag. Seal it again and shake gently to distribute.
-
Serve and Enjoy: Remove the smaller bag from the ice bath, rinse it off, and cut a corner to squeeze your freshly made ice cream into bowls or cones.
 Shaking Ice Cream in a Bag
Tips & Tricks for the Perfect Scoop:
- Rock Salt is Key: Don’t skimp on the rock salt! It’s crucial for lowering the freezing point and achieving the perfect ice cream texture. Regular table salt won’t have the same effect.
- Double Bag for Extra Protection: Using two bags helps prevent any salty water from seeping into your delicious ice cream.
- Experiment with Flavors: Get creative with your add-ins! Try chocolate chips, chopped nuts, cookie pieces, or fresh fruit.
- Storage: While best enjoyed immediately, you can store any leftovers in the freezer in an airtight container.
FAQs
-
Why do I need to add salt to the ice? Adding salt to the ice lowers its freezing point, making the ice colder and allowing the ice cream mixture to freeze faster.
-
Can I make this recipe without rock salt? It’s not recommended. Rock salt is crucial for the freezing process. Without it, your ice cream mixture might not freeze properly.
-
Can I use a different type of milk? While whole milk yields the creamiest results, you can experiment with other types like low-fat or almond milk. Keep in mind that the consistency might vary.
 Enjoying Homemade Ice Cream
Making ice cream in a bag is a fun, easy, and rewarding experience. It’s a fantastic activity to do with kids or to simply enjoy a delicious homemade treat on a hot day. Give this recipe a try and let us know how your ice cream adventure turns out! Don’t forget to check out our other ice cream recipes, like How to Make Ice Cream Cupcakes or How to Make Ice Cream Stuffed Waffles for more frozen fun.
