There’s nothing quite like the satisfaction of making your own ice cream. That first spoonful, bursting with fresh flavor and the perfect creamy texture, is pure magic! It’s even more rewarding knowing you whipped it up yourself, right in your own kitchen. And the best part? You don’t need a fancy ice cream maker to achieve ice cream nirvana. A trusty stand mixer is all it takes!
In this article, we’ll guide you step-by-step through the process of making delicious homemade ice cream using a stand mixer. We’ll cover everything from essential ingredients to pro tips, ensuring your ice cream adventure is a resounding success.
Gathering Your Ice Cream Essentials
Before we dive into the fun part, let’s gather everything we need.
Ingredients:
- 2 cups heavy cream
- 1 cup whole milk
- ¾ cup granulated sugar
- 1 teaspoon pure vanilla extract
- ¼ teaspoon fine sea salt
- Your favorite mix-ins (chocolate chips, fruit, nuts, etc.)
Equipment:
- Stand mixer with whisk attachment
- Large bowl
- Rubber spatula
- Airtight container (freezer-safe)
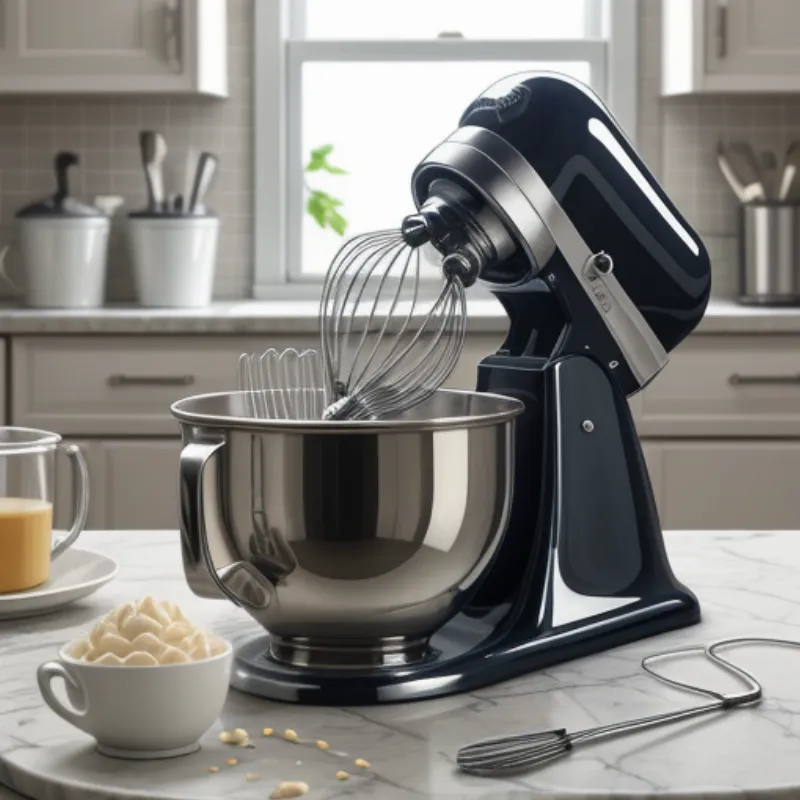
 Stand Mixer and Ingredients
The Art of Churning Ice Cream with a Stand Mixer
Get ready to unleash your inner ice cream artisan! Here’s how to transform those simple ingredients into a frozen masterpiece:
Step 1: Creating the Ice Cream Base
- In your stand mixer bowl, combine the heavy cream, whole milk, sugar, vanilla extract, and salt.
- Using the whisk attachment, beat on medium-high speed for 5-7 minutes. The mixture should be light and airy, resembling whipped cream with soft peaks.
Step 2: The Big Chill
- Pour the ice cream base into your airtight container.
- Cover tightly and freeze for at least 4 hours, or preferably overnight. This allows the base to solidify and develop the perfect ice cream texture.
Step 3: Churning Magic
- Once the ice cream base is completely frozen, break it into chunks.
- Place the chunks back into your stand mixer bowl (make sure it’s been chilled in the freezer beforehand).
- Attach the whisk attachment and churn on medium speed for about 10-15 minutes.
- The mixture will magically transform into a smooth, creamy delight.
Step 4: Flavor Burst!
- This is where the real fun begins! Add your desired mix-ins during the last few minutes of churning.
- For even distribution, gently fold them in using a rubber spatula.
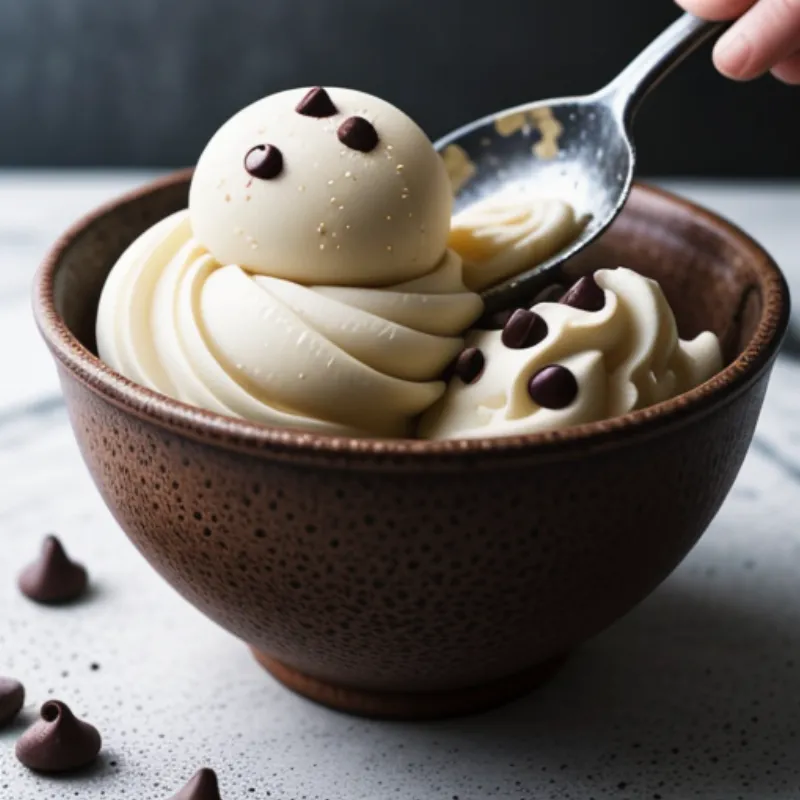
 Adding Chocolate Chips to Ice Cream
Step 5: The Final Freeze
- Transfer your freshly churned ice cream back into the airtight container.
- Freeze for another 2-3 hours to allow it to firm up completely.
Tips and Tricks for Ice Cream Perfection
- Temperature is Key: Ensure your ingredients, especially the heavy cream and milk, are well-chilled before starting. This helps create a stable whipped cream base.
- Don’t Overbeat: While it’s tempting to keep whisking, overbeating can lead to a grainy texture. Aim for soft peaks, not stiff ones.
- Get Creative with Flavors: The possibilities are endless! Experiment with different extracts, fruits, chocolates, candies – the sky’s the limit!
- Storage Savvy: Store your homemade ice cream in an airtight container to prevent ice crystals from forming.
FAQs: Your Ice Cream Queries Answered
Q: Can I use a hand mixer instead of a stand mixer?
A: While a hand mixer can work, a stand mixer is highly recommended for its stability and ability to achieve the perfect whipped cream consistency.
Q: My ice cream is too icy. What happened?
A: This usually indicates that the ice cream wasn’t churned long enough. Ensure you churn until it reaches a smooth and creamy texture.
Q: Can I make dairy-free ice cream using this method?
A: Absolutely! Substitute the heavy cream and milk with your preferred dairy-free alternatives, like coconut cream or almond milk.
The Sweet Reward
Congratulations, you’ve just crafted your very own batch of delectable homemade ice cream! Scoop, serve, and savor the fruits of your labor. Feel free to share your ice cream adventures in the comments below – we’d love to hear your stories and flavor combinations! And if you’re feeling extra adventurous, check out our recipe for Ice Cream-Stuffed Bao Buns!
